
If you love graphic and photo transfers as much as I do, this one's for you! I've put together 16 of my favourite transfer methods in one place, from packing tape and wax paper to sandwich bags, label sheets and Mod Podge. Plus, I'll show you which ones work with an inkjet printer.
With this many options, you're sure to find the perfect method for your next sign, junk journal or thrift store makeover.
What You'll Need
Graphics or photos printed on regular printer paper (laser or inkjet, depending on the method)
Clear packing tape and an old credit card
Label sheets (old CD or address labels, for the shiny carrier sheet underneath)
Clear page protector, shelf liner or transfer tape
Plastic sandwich or freezer bags, wax paper and parchment paper
Mod Podge Matte and water-based polycrylic
An iron (no steam)
Chalk paint for your base
Carbon paper and paint pens
Golden rules: reverse your words for any method where the graphic goes face down, and paint wood with chalk paint first. Chalk paint is absorbent and gives much better results than latex or acrylic.
Packing Tape Transfers (Methods 1 to 5)
This one is perfect for junk journals, altered art and decoupage. Press packing tape firmly onto your image with a credit card, trim, soak in warm water for 30 to 40 seconds, then rub the paper off the back. The ink stays on the tape and it's see-through!
Magazine words and pictures
Napkins (separate them down to one ply first)
Old book pages
Scrapbook paper (a great way to get a thin version of thick paper)
Laser-printed photos (this one won't work with inkjet)
If the tape loses its stickiness, glue it down with a glue stick or Mod Podge. See my full packing tape transfer tutorial.
6. Label Sheet Transfer for Glass (No Water!)
Peel the labels off a label sheet and print your graphic on the shiny carrier sheet with a laser printer.
Line up a piece of clear page protector or shelf liner at the top and smooth it down slowly with a credit card. Don't lift and reposition it!
Peel it off. The ink comes with it, and you have a clear sticker.
Clean the glass with window cleaner and an alcohol wipe, then smooth on your sticker.
Best of all, you can peel it off and change it when you want a new look.
7. Sandwich Bag Transfer
Cut a zipper-free sandwich or freezer bag into a flat sheet, lay it on a laser print with parchment paper on top and iron. It gives a soft matte finish, a nice alternative to glossy packing tape. Laser printers only. See my sandwich bag transfer tutorial.
8. Inkjet "Mod Podge Skin" Decal
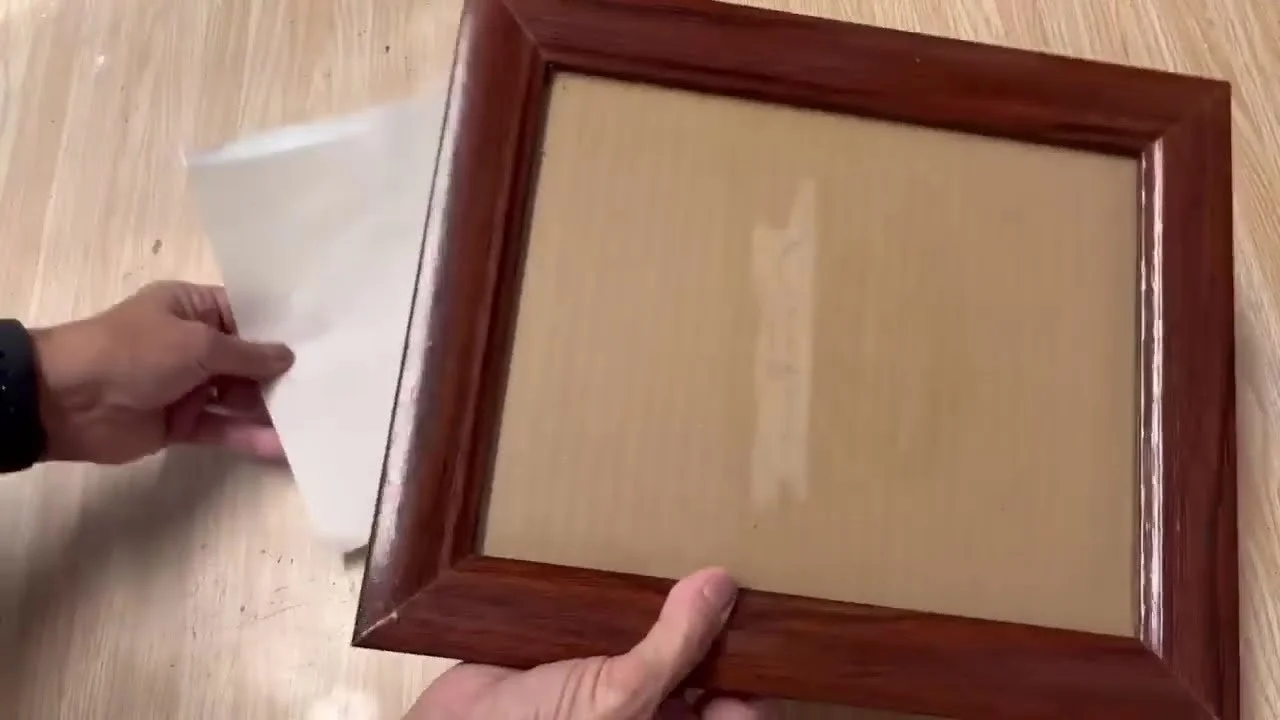
Brush an even coat of Mod Podge Matte on the shiny side of a label carrier sheet and let it dry.
Add a thicker second coat, smooth it with a card and let it dry completely (wet Mod Podge will gum up your printer).
Print your photo onto the Mod Podge with your inkjet printer.
Peel the printed "skin" off the carrier sheet, trim it and lay it onto a thin coat of Mod Podge.
Cover with parchment and give it a quick iron (high, no steam) to bond it. Seal with polycrylic if you like.
It's see-through, so it looks best on a white or light background. A game changer for anyone without a laser printer!
9. Inkjet vs Laser Mod Podge Transfer
I did the classic Mod Podge reverse transfer side by side. The laser print was brighter and crisper. The inkjet print smudged a little and felt gummier when I rubbed the paper off, but honestly it looked pretty good! If you sell your signs, a laser printer is worth it. Otherwise, use what you have. See my inkjet vs laser comparison.
10. Carbon Paper Sign
No transfer medium at all! Tape carbon paper and your printed lettering onto the wood, trace over the letters with a burnishing tool or toothpick, then fill in the outlines with paint pens. Perfect for rustic signs.
11. Iron-On Label Sheet Transfer for Wood
Tape the label carrier sheet to regular paper (shiny side out) so it doesn't jam, and print a reversed graphic with a laser printer. Don't touch the ink!
Lay it face down on raw or painted wood, cover with parchment paper and iron on high with no steam.
Lift a corner to check, iron a little more if needed, then peel.
Practice on scrap wood first to get the knack.
12. Iron-On Transfer for Fabric & Burlap
Give your fabric or burlap two coats of Mod Podge, letting each dry. This also stops the edges fraying.
Add one more light coat and, while it's still tacky, lay your laser-printed label sheet face down.
Cover with parchment and iron (high, no steam) until the Mod Podge is dry.
Let it cool completely, then peel off the carrier sheet.
13. Inkjet Photo Transfer on Wood
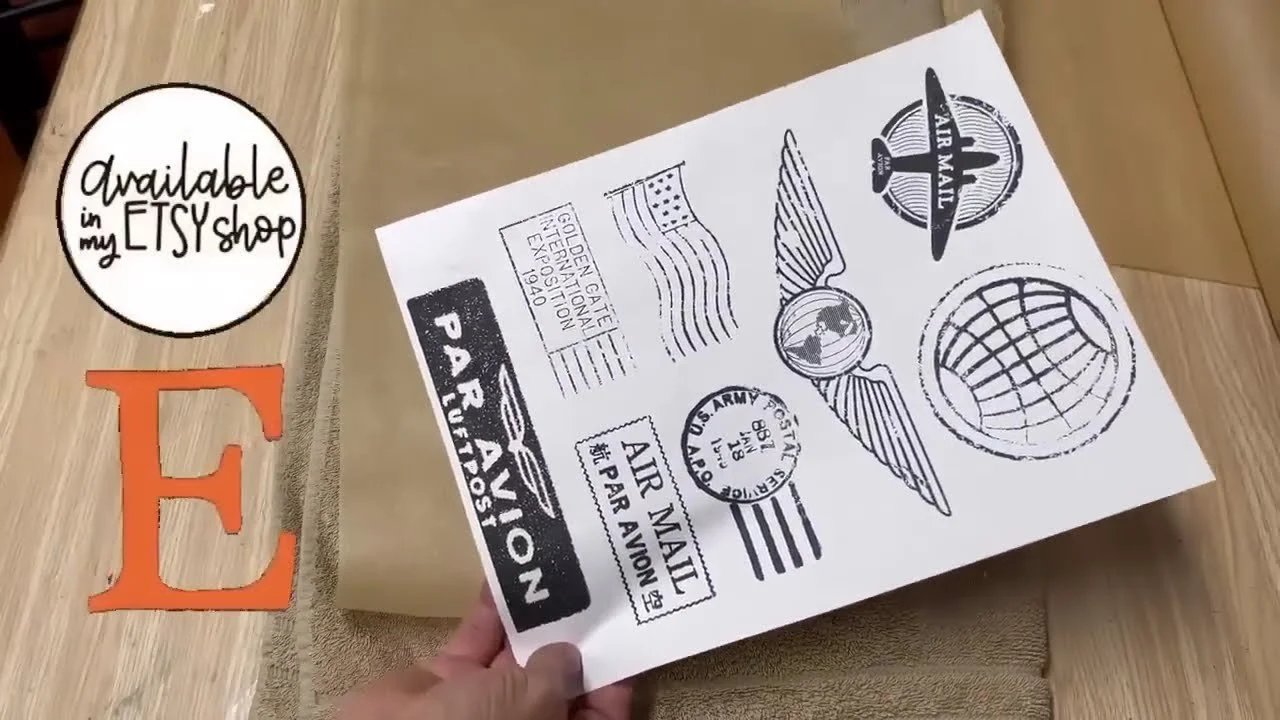
Print your photo on regular paper and let the ink sit for about 10 minutes. Brush Mod Podge Matte onto the photo (not the wood), press it face down onto chalk-painted wood and let it dry overnight. Rub off the paper with a damp finger, then seal it with a coat or two of water-based polyurethane, which brings the colours right back. See my smear-free inkjet photo transfer.
14. Wax Paper Transfer
Cut wax paper to the size of printer paper (parchment won't work) and print a reversed graphic on the waxy side with an inkjet printer. Let it sit a minute, lay it face down on chalk-painted wood and burnish with a credit card. It can take a little practice, and a paint pen fixes any smudges. See my wax paper transfer tutorial.
15. Napkin Decoupage
Separate a pretty napkin down to its printed ply and decoupage it onto canvas or wood with a light coat of Mod Podge underneath and on top. Here's my guide to decoupage for beginners.
16. Polycrylic Transfer
Use water-based polycrylic (oil-based won't work) the same way as a Mod Podge transfer: brush it on a reversed laser print, press it face down on light-painted wood, let it dry, then gently rub the paper off with a barely damp finger. Too much water lifts the finish. Seal with another coat. See my polycrylic transfer tutorial.
My Best Tips
Check your printer first. Packing tape, sandwich bag, label sheet and polycrylic transfers need a laser printer. The Mod Podge skin, inkjet photo and wax paper methods work with inkjet.
Thrift your label sheets. Old CD and address labels are often under $3 at the thrift store. Save the peeled labels for gift tags!
Light backgrounds show transfers best, especially the see-through methods.
Don't over-wet when rubbing paper off. Damp, not soaking.
Practice on scrap wood before a big project.
Want to see which methods really work best? Read I tested 11 image transfer methods and my favourite Mod Podge image transfer.
If you give it a try, I'd love to see how it turns out! Tag me @OurUpcycledLife on social media. I always enjoy seeing your beautiful creations. 💕 Until next time, happy crafting!
