
If you've never tried a packing tape transfer, you're in for a treat. It's one of those techniques that feels almost magical the first time you see it, and all you need is a roll of packing tape and some warm water.
I love using these in junk journals, scrapbooking and decoupage projects. The transfer comes out clear, so whatever you put underneath shows right through. Lay one over coffee-stained paper or an old book page and it looks gorgeous.
What You'll Need
Clear packing tape (dollar store tape works just fine)
Your image: a magazine page, old book page, napkin, thin scrapbook paper, or a photo printed on a laser printer
An old credit card
Scissors
A bowl of warm water
Glue stick or Mod Podge (only if your tape loses its stickiness)
How to Do It
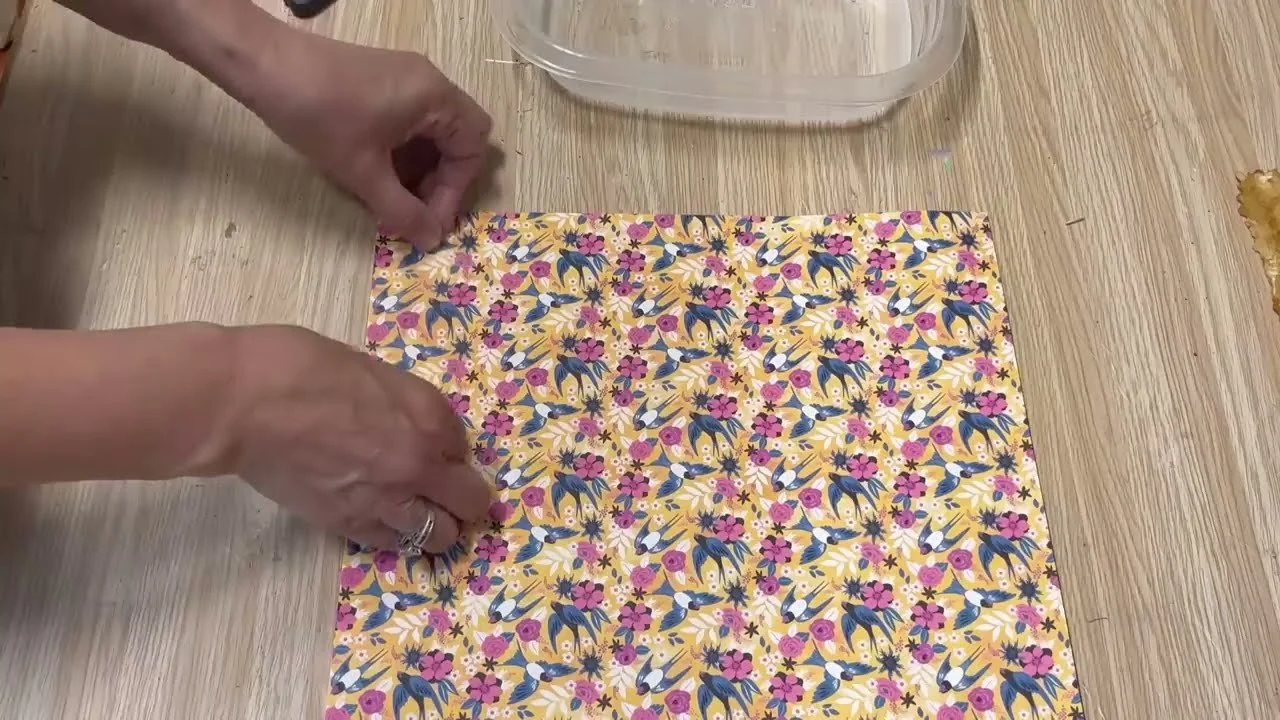
Cut a piece of packing tape a little bigger than your image. For something wider than the tape, lay two strips side by side.
Stick the tape onto your image and press it down really well with a credit card. This is the most important step, so don't rush it.
Trim off the extra tape around your image.
Soak it in warm water for 30 to 40 seconds.
Take it out and gently rub the paper off the back with your fingers. Keep rubbing until all the paper is gone and you're left with your image on clear tape.
Let it dry, then stick it onto your project. If the tape doesn't stay sticky, add a little glue stick or Mod Podge.
My Best Tips
Printing your own photo? It has to be a laser printer. Inkjet prints won't transfer.
Using a napkin? Peel it down to one layer first. A little of the colour may rub off, but most of it stays.
Book pages with print on both sides work great. Only the front side transfers.
Want graphics ready to go for your transfers? Members of Our Upcycled Society get my whole graphics library, with new designs every week, plus my Transfers Made Simple ebook free 💛
If you give it a try, I'd love to see how it turns out! Tag me @OurUpcycledLife on social media. I always enjoy seeing your beautiful creations. 💕 Until next time, happy crafting!
