
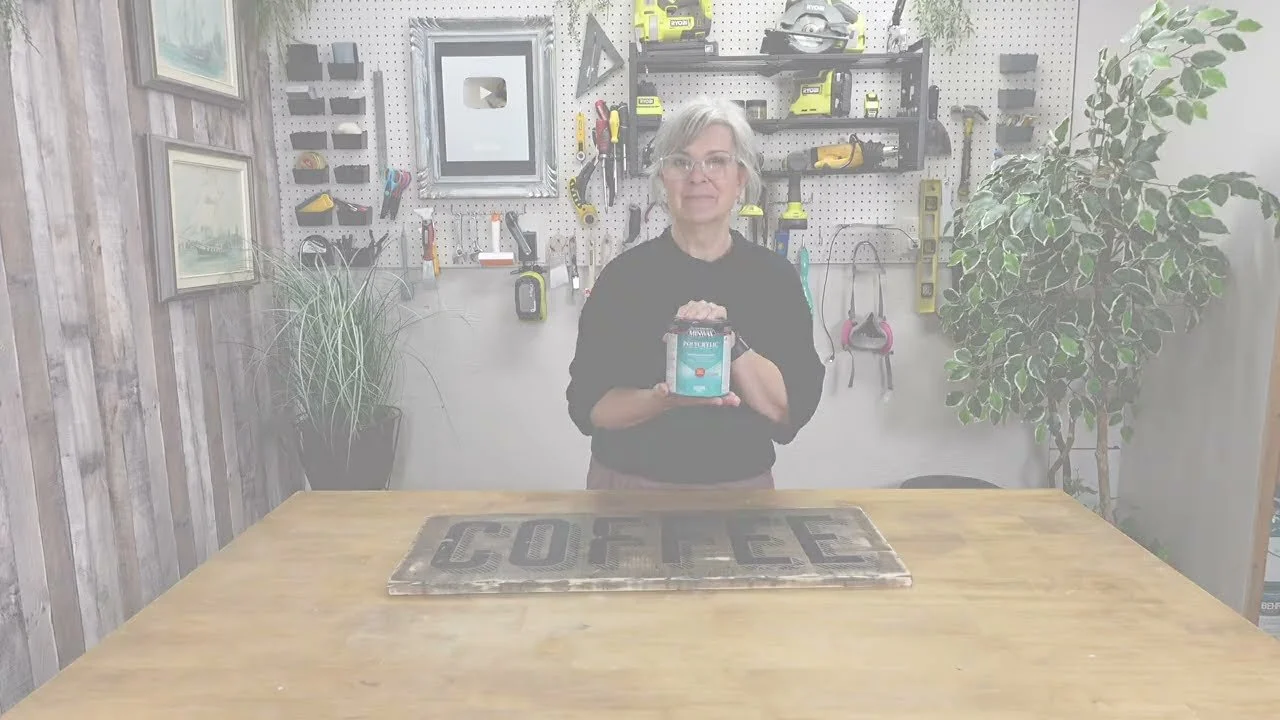
I made a coffee sign for my coffee bar using a trick I wish I'd known years ago. No Cricut, no fancy tools, just a can of polycrylic and some label backing paper. It's cheap, it's easy, and honestly it looks like it came from the store.
This has been my go-to transfer method for a while now. Unlike a Mod Podge transfer, you don't have to rub off any paper. That can be really tough on your fingers, especially if you have arthritis. With this one you just peel, and you get a crisp, bold transfer every time.
What You'll Need
A piece of wood (scrap wood works great)
The shiny backing paper from sticker or label sheets
Your graphic, printed in reverse on a laser printer
Polycrylic sealer (I use semi-gloss)
A paintbrush
A brayer
Painter's tape (for bigger designs)
A damp cloth
Sandpaper (optional, for a distressed look)
How to Do It
Peel the stickers or labels off your sheet so you're left with just the shiny backing paper.
Reverse (mirror) your graphic before printing, or your words will come out backwards.
Print your graphic on the shiny side of the backing paper using a laser printer. Try not to touch the toner, because it smudges easily.
Trim your graphic. For a big design with several pieces, line them up and hold them together with painter's tape so nothing shifts.
Sand your wood lightly and wipe off the dust. Stain or paint it first if you like.
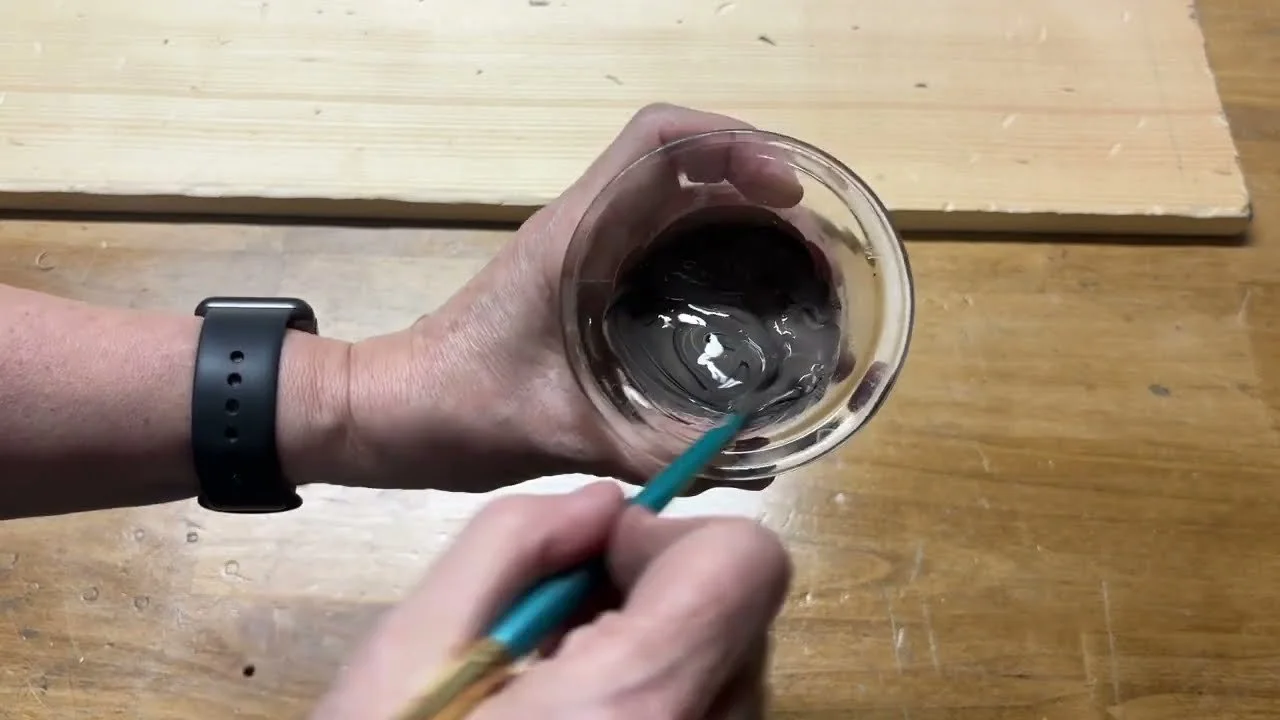
Brush on a generous, even coat of polycrylic. Don't be shy with it.
While it's still wet, lay your graphic face down where you want it. Roll over it with a brayer for a minute or two to press the toner into the polycrylic and smooth out any bubbles.
Let it dry completely, about 4 to 5 hours depending on your humidity.
Peel the paper off. If any paper is left behind, rub it gently with a damp cloth.
Finish with one more coat of polycrylic to protect it.
My Best Tips
Laser printer only. Inkjet won't transfer.
Print on the shiny side. If you print on the other side, the paper sticks and won't release.
Want it to look old? Distress the wood with a hammer and screwdriver before you start, then sand lightly after the transfer to soften the shine.
No brown paint? Mix your own stain from acrylic paint and a little water.
Want graphics ready to go for your transfers? Members of Our Upcycled Society get my whole graphics library, with new designs every week, plus my Transfers Made Simple ebook free 💛
If you give it a try, I'd love to see how it turns out! Tag me @OurUpcycledLife on social media. I always enjoy seeing your beautiful creations. 💕 Until next time, happy crafting!
