
What if I told you there's an easy way to put your favourite pictures and designs onto wood, canvas or almost anything you find at the thrift store? No special skills, no fancy tools. All you need is a printer and a little Mod Podge!
For this one I picked up a dated canvas at Value Village for $5.99 and turned it into a rustic farmhouse "Busy Bee Organic Honey" sign. This is one of my all-time favourite techniques, and once you learn it you'll never look at thrift store frames and canvases the same way again.
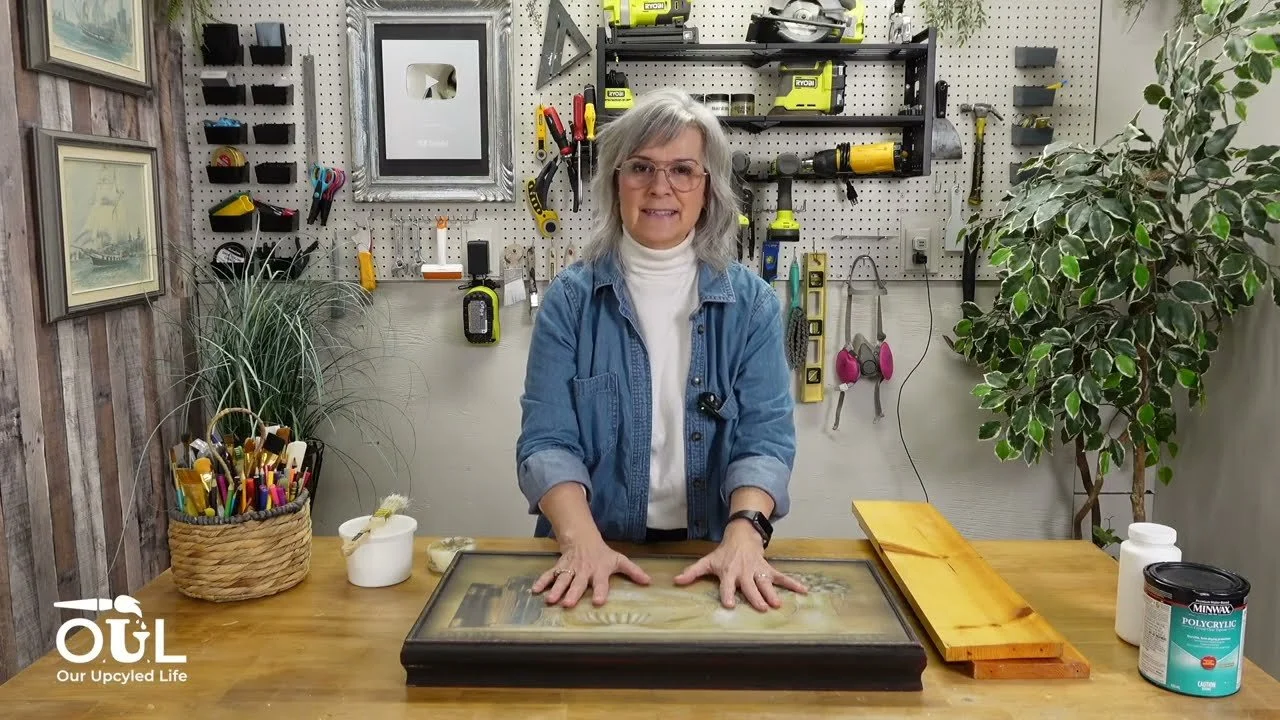
What You'll Need
A canvas, piece of wood or thrifted art
White homemade chalk paint and a paintbrush
A plain candle (any pillar candle works)
A graphic printed in reverse on the cheapest regular printer paper you can find
A small dish of water and a rag or sponge
180 grit sandpaper
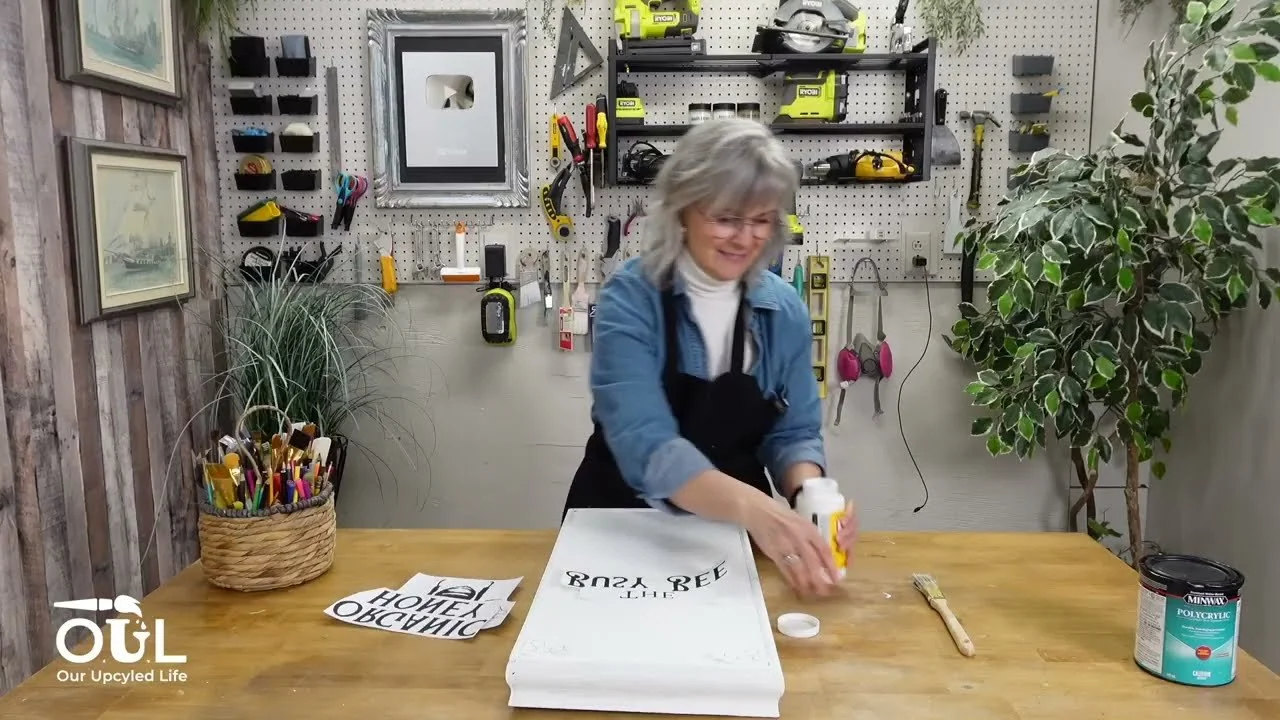
How to Do It
Reverse your graphic. In Word (or any program), flip your image so the words read backwards, and size it to fit your project. If you skip this, your words will be backwards on the finished piece!
Wax the edges. Rub a candle on the corners and edges, anywhere that would naturally wear over time. The paint won't stick there, so the colour underneath shows through when you sand later.
Paint with chalk paint. Give it two coats of white chalk paint (three if you want solid coverage). Chalk paint is absorbent, so it soaks up the Mod Podge and the ink. Regular latex or acrylic paint won't give you nearly as good a result.
Let it dry completely. Not even a little tacky! If you're unsure, leave it overnight or set it in the sun.
Plan your layout. Lay your graphics in place. If you're new to this, tape them down first.
Apply a thin coat of Mod Podge to the front of one graphic at a time. Less is more! Too much leaves a raised edge, bubbles and wrinkles.
Press it face down while it's wet and smooth it from the middle out with your fingers. Pay extra attention to the edges of the letters, because anywhere the paper isn't touching won't transfer.
Let it dry for a full 24 hours. This is the step where you have to be patient. Rush it and the image won't transfer properly.
Rub off the paper. Dampen a small area at a time with a little water, then rub in small circles with your fingers until the paper rolls away. Work small sections so the water doesn't lift the paint underneath.
Distress it. Lightly sand the edges and corners with 180 grit sandpaper. The waxed spots will reveal the colour underneath. Give the whole surface a very light pass to catch any leftover paper.
Seal it with one light coat of water-based polycrylic. It's dry in about 10 to 15 minutes.
My Best Tips
Cheap paper works best. Thin, inexpensive printer paper means less paper to rub off.
Laser printers give the best results. An inkjet will work, but transfers can come out more faded. See my inkjet vs laser comparison.
Use your fingers, not a sponge, to rub off the paper. You can feel when it's gone, and you're less likely to rub off the image.
Still see a white haze? That's leftover paper. Rub a little more, and a light haze disappears once you seal it anyway.
Always use a water-based sealer. Oil-based sealers turn yellow over time. I don't love Mod Podge as a top coat either, because it can look thick and milky.
Embrace the imperfections. A few rubbed-off spots or a slightly crooked graphic look just like an old general store sign.
They sell! Signs made this way are one of my best sellers at craft sales.
The Busy Bee graphic I used is in my Etsy shop, and it's also in the Society graphics library.
Want to try more transfer methods? See my polycrylic transfer and 11 image transfer methods tested.
If you give it a try, I'd love to see how it turns out! Tag me @OurUpcycledLife on social media. I always enjoy seeing your beautiful creations. 💕 Until next time, happy crafting!
