
If you only have an inkjet printer, you know how frustrating photo transfers can be. The ink runs, it smears, and you end up starting over. I worked out a technique that gives me a clean, crisp inkjet transfer every single time, with no rubbing at all.
The secret is making a Mod Podge "skin" on the shiny backing sheet from a pack of labels, printing right onto it, then peeling it off like a decal. I used it to put one of our camping photos into a thrifted frame, and it turned out beautifully.
What You'll Need
A sheet of address or CD labels (thrift stores often have them)
Mod Podge Matte (or Gloss)
A paintbrush
An old credit card
An inkjet printer
Scissors
Your project surface (wood, a frame insert, etc.), painted a light colour
Parchment paper and an iron
Water-based polycrylic (optional, for extra protection)
How to Do It
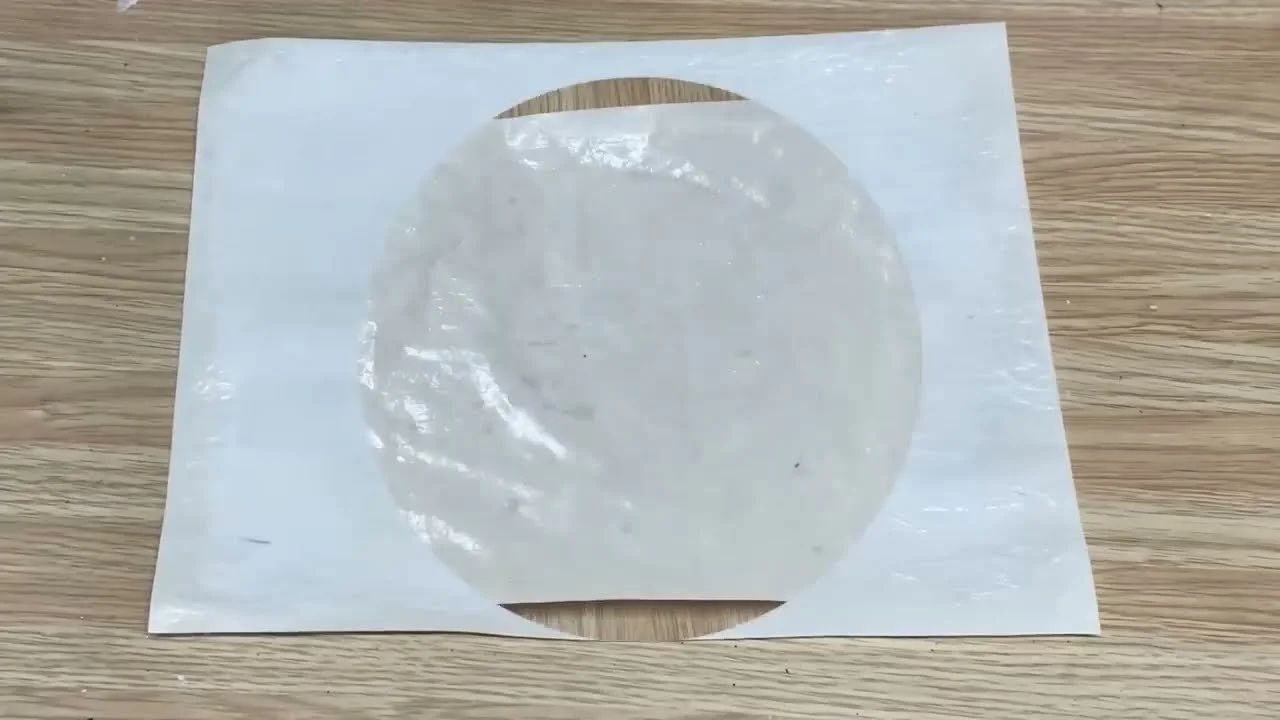
Peel all the labels off the sheet so you're left with the shiny backing (carrier) sheet.
Brush an even coat of Mod Podge over the whole shiny side, right out to the edges. A few bubbles are okay. Let it dry completely.
Brush on a second, much thicker coat, then smooth it with a credit card so there are no lumps or brush marks. You're building a "skin," so make sure none of the shiny paper shows through.
Let it dry completely. This is really important, because a damp sheet will gum up and ruin your printer.
Load the sheet so your printer prints onto the Mod Podge side, and print your photo.
Let the ink dry for a few minutes so it doesn't smudge.
Peel the printed Mod Podge skin right off the carrier sheet and trim the edges.
Brush a light coat of Mod Podge onto your project and press the photo on, smoothing out any bubbles.
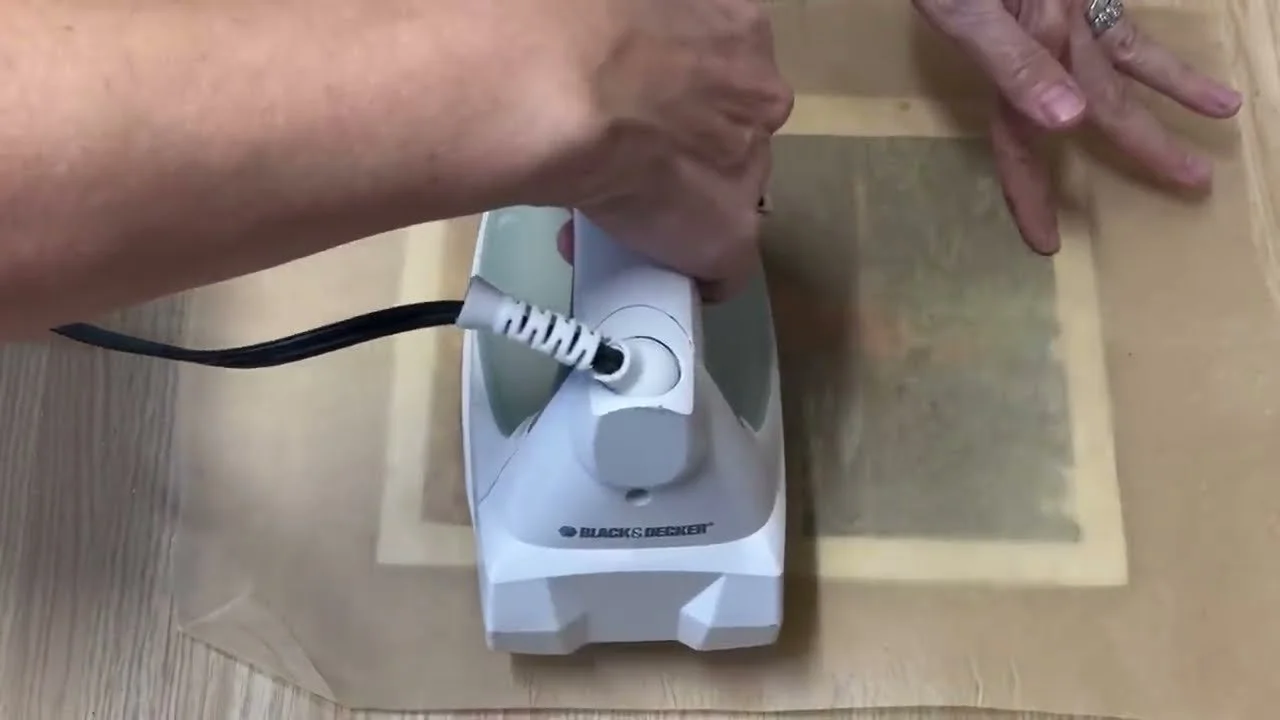
Cover it with parchment paper and run an iron on high (no steam) lightly over the top to help it bond. Let it cool.
For extra protection, brush on a coat of water-based polycrylic.
My Best Tips
Use a light background. The transfer is see-through, so a dark surface will show through your photo.
Make the second coat thick. A thin skin can tear when you peel it.
Be patient with drying. Never put a damp sheet through your printer.
Don't waste the labels! Stick them on the back of scrapbook paper and cut them into gift tags.
Want to try more transfers? See my wax paper transfer and 4 ways to transfer photos to wood. Members of Our Upcycled Society get my whole graphics library, with new designs every week, plus my Transfers Made Simple ebook free 💛
If you give it a try, I'd love to see how it turns out! Tag me @OurUpcycledLife on social media. I always enjoy seeing your beautiful creations. 💕 Until next time, happy crafting!
