
If you've always wanted to try decoupage but didn't know where to start, this one's for you. Decoupage is sometimes called "painting with paper." You glue paper cutouts onto a surface and seal them, and the finished piece looks like it was hand-painted.
A napkin on a small glass jar is the easiest way to begin, so that's what I'm showing you here, step by step at a beginner's pace.
What You'll Need
A small glass jar (start small!)
White chalk paint
A small paintbrush
A decoupage napkin
Mod Podge Matte
Scissors
An iron and parchment paper
Rubbing alcohol wipes
A little plastic wrap
Water-based polycrylic or Mod Podge for the top coat
How to Do It
Clean your jar with rubbing alcohol to remove grease and grime.
Paint it with two coats of white chalk paint, letting it dry between coats. Always paint your surface lighter than your napkin so the design shows up.
Separate the napkin layers and keep only the top printed layer. Wetting your fingertips makes the layers easier to pull apart.
Cut the napkin down to the size of your project.
Iron it flat on medium with no steam, between a tea towel and parchment paper, to remove any creases.
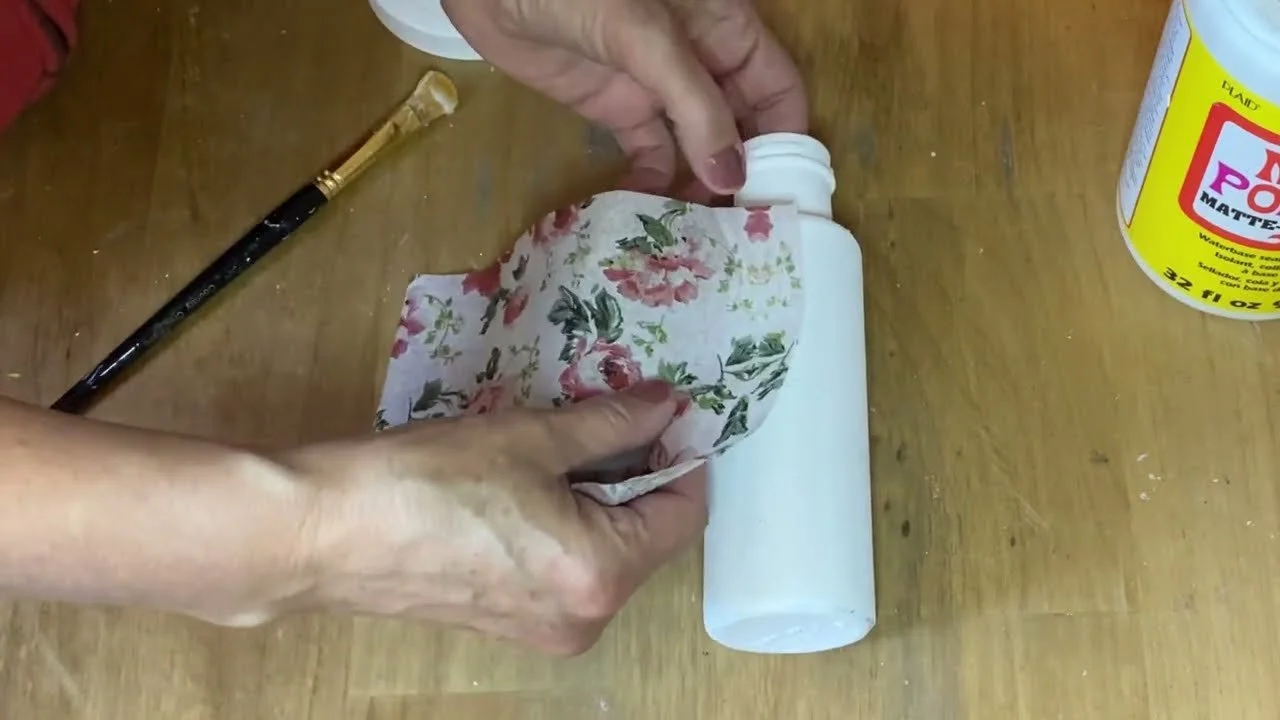
Brush a very light coat of Mod Podge onto a small section of the jar.
Lay the edge of the napkin on it and gently brush it down. Keep working one small section at a time.
For a curved neck or tricky edges, cut out small pieces of the design and press them on one at a time.
Brush a little Mod Podge along the top and bottom edges so they stick down, and let it dry completely.
Seal it with a top coat of polycrylic or Mod Podge.
My Best Tips
Less is more. Too much Mod Podge is the number one cause of bubbles and wrinkles.
Don't lift the napkin once it's down, because it tears easily. Dab wrinkles out with a little ball of plastic wrap instead.
Use chalk paint on glass and plastic. Latex and acrylic tend to peel.
Use real decoupage glue, not school glue. Mod Podge is a glue, sealer and finish all in one.
It doesn't have to be perfect. Practise on dollar store jars and enjoy it!
Ready for the next step? See my no-chip method for painting glass jars and my homemade Mod Podge test. Members of Our Upcycled Society get my whole graphics library, with new designs every week, plus all my recipe booklets 💛
If you give it a try, I'd love to see how it turns out! Tag me @OurUpcycledLife on social media. I always enjoy seeing your beautiful creations. 💕 Until next time, happy crafting!
