
Only have an inkjet printer? This wax paper transfer is for you. All you need is a sheet of wax paper, your printer and a credit card, and you can put words or a graphic right onto wood in just a few minutes.
It gives a lovely rustic, hand-painted look. I'll be honest, it can be a little finicky and it's not my favourite method, but it's quick, cheap and fun to try. Here's how to get the best results.
What You'll Need
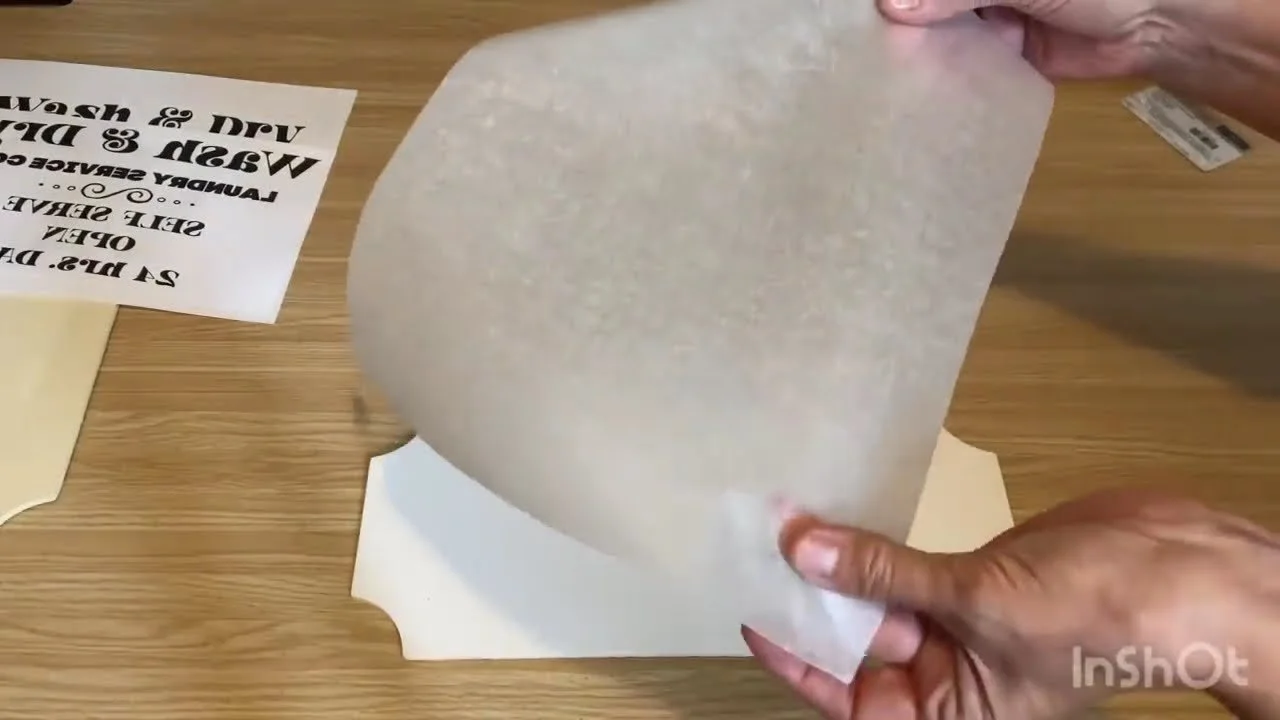
Wax paper (not parchment paper, it won't work)
An inkjet printer
Scissors
Your graphic, reversed (mirrored)
A piece of wood painted with white chalk paint
A credit card or burnishing tool
A paint pen for touch-ups (optional)
Twine or jute for hanging (optional)
How to Do It
Cut a piece of wax paper exactly the size of a regular sheet of printer paper.
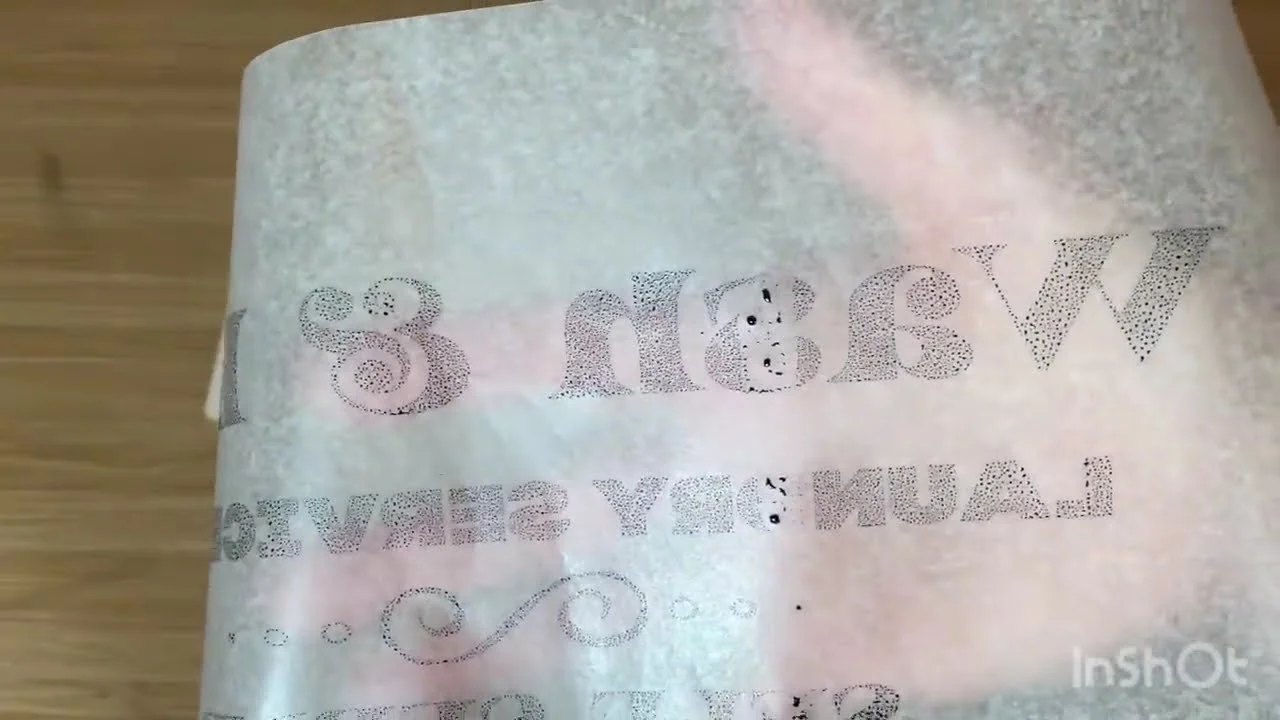
Reverse (mirror) your graphic so the words don't come out backwards.
Feed the wax paper through your inkjet printer so it prints on the shiny, waxy side. Only one side has wax, so check which way your printer feeds.
Let the ink sit for about 30 seconds. Don't touch the printed area, because the ink is just sitting on top and will smear.
Carefully lay it ink side down exactly where you want it on your wood. Once it touches, don't move it.
Press it down gently with your hands, then burnish over the whole design with a credit card to push the ink onto the wood.
Lift the wax paper away, and touch up any spots with a paint pen if you need to.

My Best Tips
Wax paper only. Parchment paper won't hold the ink the same way.
Don't rush the placement. You only get one shot, so line it up before it touches.
Expect a rustic look. It won't be perfect, and that's part of the charm.
Practise first. It may take a couple of tries to get the hang of it.
Try other surfaces. It also works on fabric, canvas and paper.
Want a crisper, longer-lasting transfer? Try my polycrylic transfer or 4 ways to transfer photos to wood. Members of Our Upcycled Society get my whole graphics library, with new designs every week, plus my Transfers Made Simple ebook free 💛
If you give it a try, I'd love to see how it turns out! Tag me @OurUpcycledLife on social media. I always enjoy seeing your beautiful creations. 💕 Until next time, happy crafting!
