
I've done transfers with Mod Podge, polycrylic and packing tape, and they all work beautifully. But one day I got curious and wondered if a plain old sandwich bag could do the same thing. Guess what? It works fantastic!
What I love about this one is the finish. Packing tape transfers come out really glossy, but a sandwich bag transfer has more of a soft matte look. It's flexible, it won't rip, and it's perfect for junk journals, scrapbooking and all kinds of DIY projects.
What You'll Need
Sandwich bags or freezer bags (the kind without a printed label)
Your image printed on a laser printer, or a book page, magazine page, napkin or scrapbook paper
Parchment paper
An iron (no steam)
A towel to protect your table
Scissors
A bowl of warm water
A glue stick
How to Do It
Cut the zipper top off your bag, then cut the bag open so you have one flat sheet of plastic. Trim it a little bigger than your image.
Lay down your towel, then a piece of parchment paper. Put your image on top, face up, then the plastic, then another piece of parchment paper.
Iron it on the highest setting with no steam. Take your time and make a few passes so the plastic melts right into the paper, especially along the edges and corners.
Let it cool, peel off the parchment, and add a second layer of plastic the same way. One layer is too thin, so don't skip this.
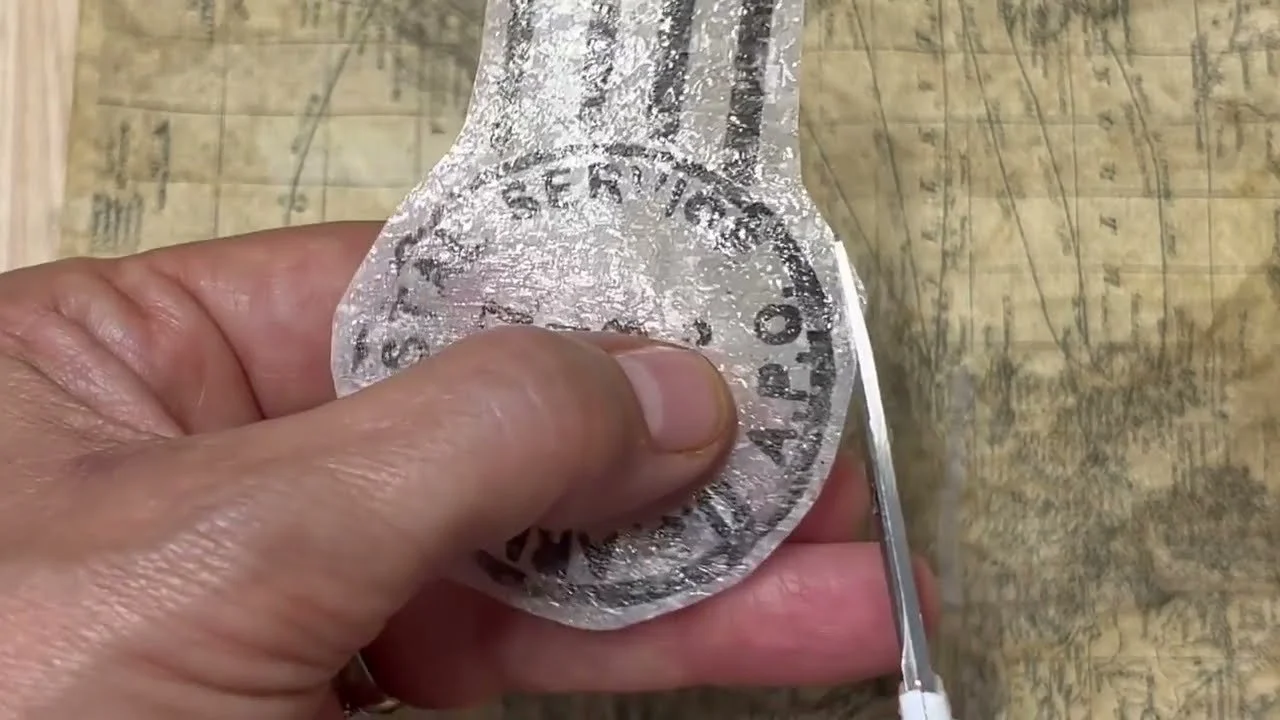
Cut out your image and check the edges. If any spot isn't sealed, iron it again.
Soak it in warm water for about 30 seconds.
Rub the paper off the back slowly and gently. If you rub too hard you'll rub the transfer off too, so take your time.
Trim around the edges and glue it onto your project with a glue stick.
My Best Tips
Printing your own image? It has to be a laser printer. Inkjet won't work. If you don't have one, your local Staples can print copies for you.
Using thin sandwich bags? You can iron two layers on at once. With thicker freezer bags, do one layer at a time.
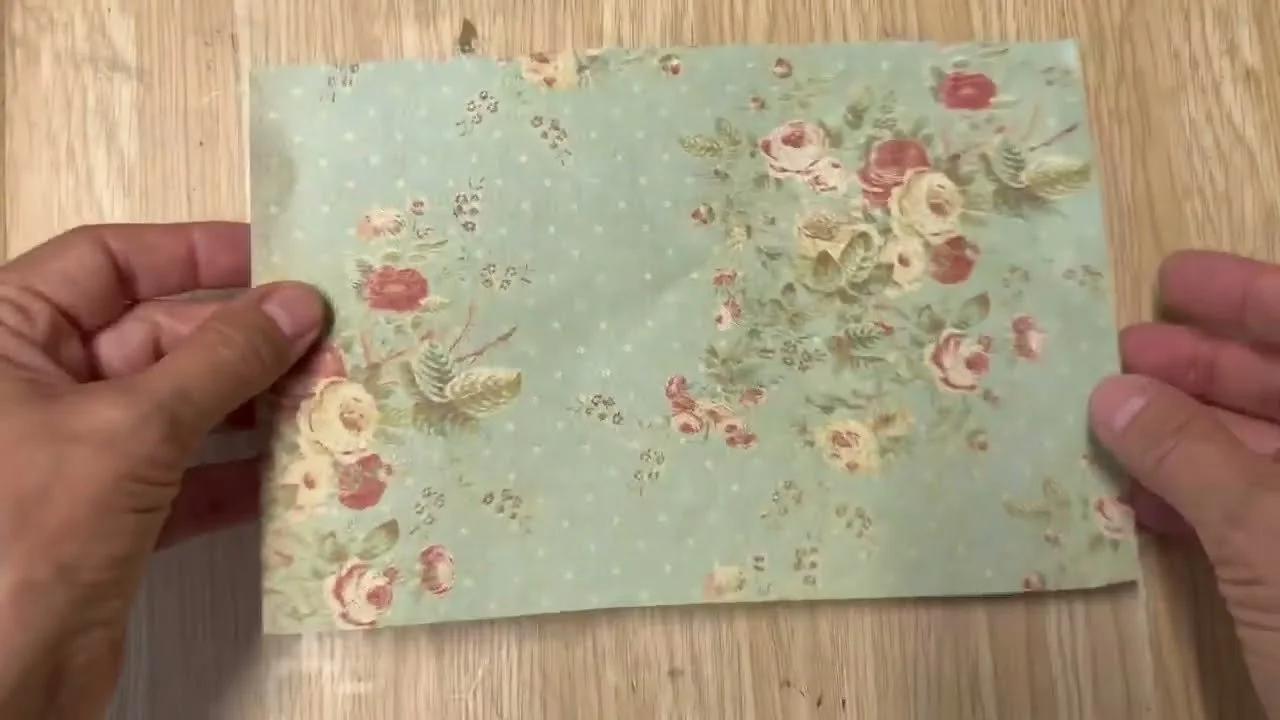
It won't be perfectly clear. It leaves a soft haze, which looks gorgeous over coffee-stained paper, maps or brown tissue paper.
Try it on glass. Make a big sheet with a freezer bag, wrap it around a glass bottle or jar and pop a candle inside.
Want graphics ready to go for your transfers? Members of Our Upcycled Society get my whole graphics library, with new designs every week, plus my Transfers Made Simple ebook free 💛
If you give it a try, I'd love to see how it turns out! Tag me @OurUpcycledLife on social media. I always enjoy seeing your beautiful creations. 💕 Until next time, happy crafting!
