
Teapots are everywhere at the thrift store, and they usually cost just a couple of dollars. I picked up a whole bunch and turned them into the last things you'd expect, from a candle and a wind chime to a sewing station and a bird feeder!
These make wonderful, affordable gifts too. Here are my 10 favourite teapot upcycles.
Before you start: do a quick Google reverse image search on each teapot to make sure it isn't collectible. We don't want to glue or paint something that's worth money!
What You'll Need
Thrifted teapots (glass, china, cafe-style and pretty patterned ones)
E6000 glue and a hot glue gun
An old candle and a tin can (for melting wax)
Mod Podge Matte, a laser-printed graphic and a label sheet
Spray primer, black spray paint, homemade chalk paint and polycrylic spray
Floral foam and fresh flowers
Cotton fabric, stuffing, a needle and thread
Old spoons, a small plate with holes around the edge, beads and fishing line
A drill bit for metal, wire, a twig and bird seed
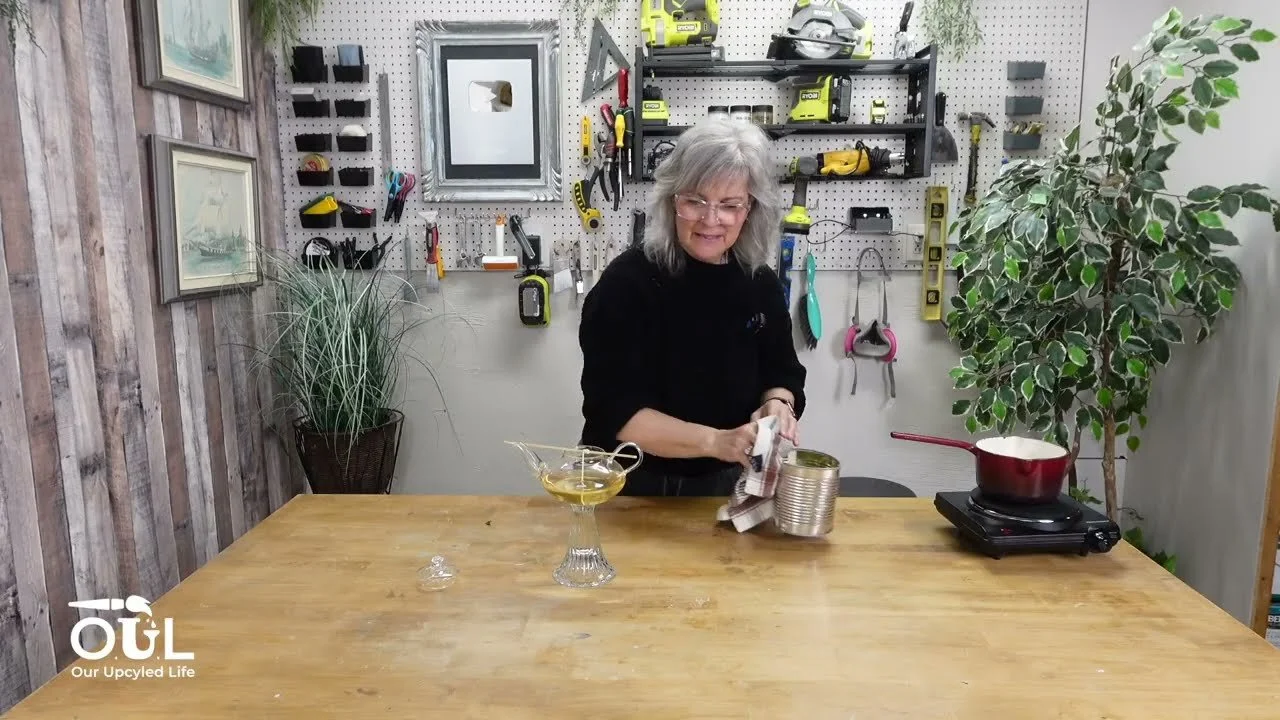
1. Glass Teapot Candle
Glue a glass teapot onto a glass candle holder for a pedestal. Run E6000 around the rim and add two dabs of hot glue to hold it while it dries overnight.
Squeeze the top of a tin can to make a little spout, drop in an old candle and set it in a saucepan of simmering water until the wax melts.
Pull out the old wick, wrap it around a skewer so it just touches the bottom, and rest the skewer across the teapot.
Carefully pour in the wax and let it harden. Trim the wick and enjoy!
2. Succulent Planter (No Drilling)
Want to keep your teapot usable? Leave the plant in its plastic nursery pot and snip down the sides of the pot in four places so it squishes down into the teapot. No soil mess, no drainage hole needed.
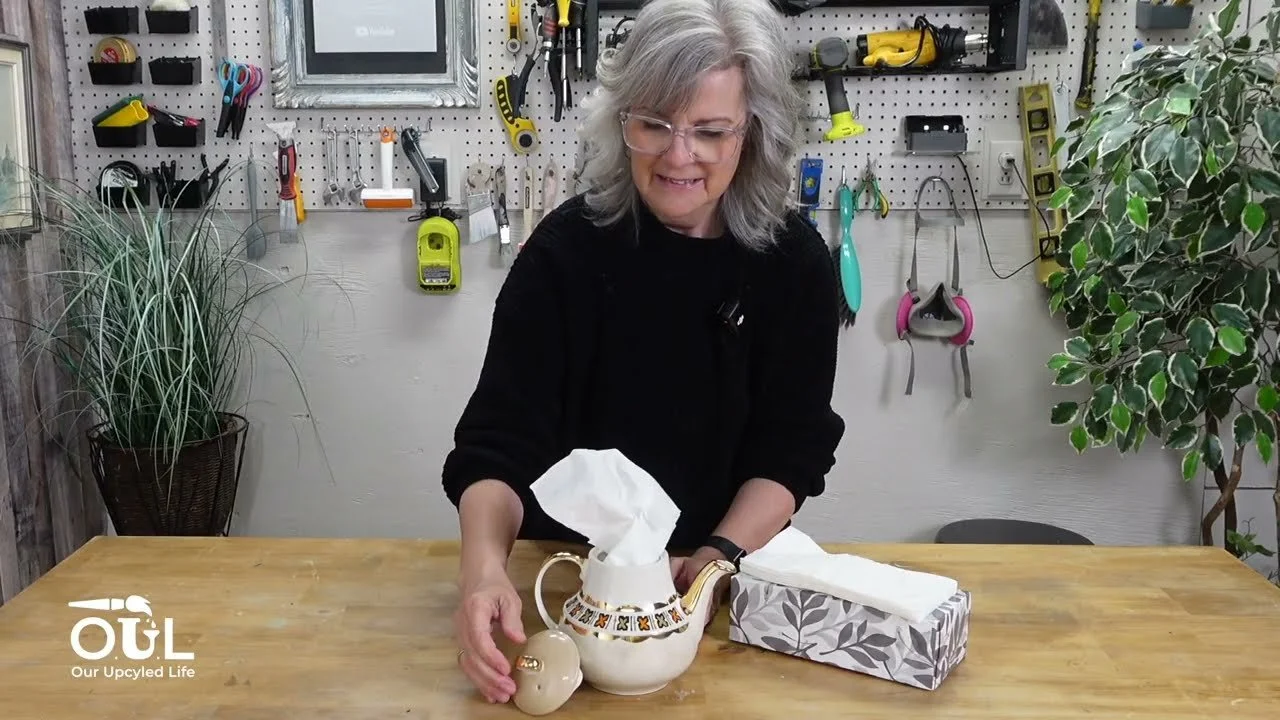
3. Tissue Holder
Too pretty to change? Fold a stack of tissues into the teapot and pull them out through the top. Clever and cute on a kitchen counter!
4. Primitive Teapot with a Fabric Label
Remove the lid of a cafe-style teapot (mine came off its hinge pin with pliers) and spray paint it flat black.
Print a reversed graphic on the shiny side of a label sheet (old CD or address labels work) with a laser printer.
Brush Mod Podge Matte onto a piece of absorbent cotton, lay the graphic face down while it's wet and smooth it with a brayer.
Let it dry about an hour, then peel off the label backing. The image stays on the fabric! If it's not transferring well, press it with an iron on low first.
Trim, fray the edges a little, and Mod Podge it onto the teapot.
5. Teapot Flower Arrangement
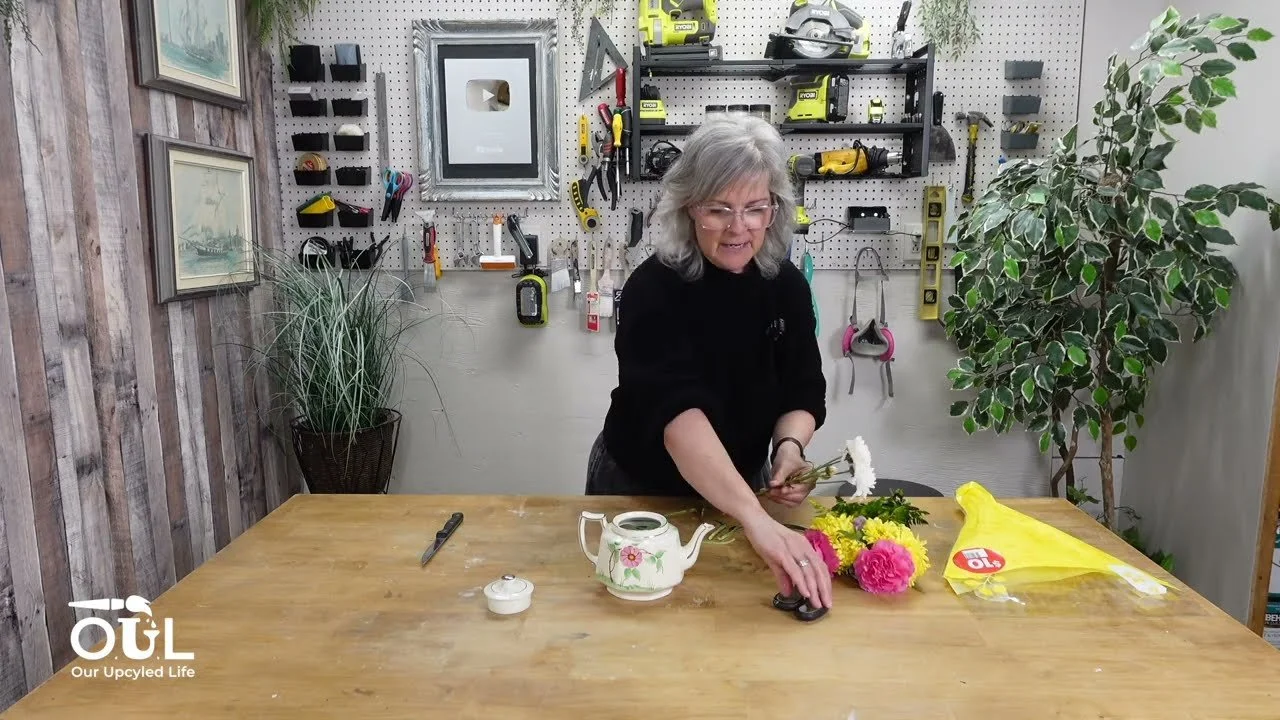
Cut dollar store floral foam to fit inside the teapot, soak it at the sink (pour any extra water out the spout) and arrange fresh flowers. It's a perfect, affordable gift for Mother's Day, birthdays or Christmas.
6. Sewing Station & Pin Cushion
Cut a fabric circle about 1 to 1 1/2 inches bigger than the lid.
Sew a running stitch around the edge, fill the middle generously with stuffing and pull the thread tight. Tie it off.
Hot glue the cushion to the top of the lid.
Fill the teapot with thread, needles, a tape measure and floss, and stick your pins in the top!
7. "Be Thankful" Painted Teapot Planter
Spray it with primer, then give it two coats of homemade chalk paint. See my tips on painting glass and ceramic so it never chips.
Trim your reversed graphic close and brush a thin coat of Mod Podge Matte onto the front. Smooth it onto the teapot.
Let it dry 24 hours, dampen the paper a little at a time and rub it off with your fingers.
Seal with polycrylic spray and add plant clippings. (It's decor now, not food safe.)
Tip: this works best on a white painted surface. On a colour, you can sometimes see the outline of the Mod Podge. Here's my full Mod Podge image transfer tutorial.
8. Yarn & Twine Holder
Put a ball of yarn, twine or ribbon inside, wrap a bit of painter's tape on the end and feed it through the spout. It pulls out smoothly without tangling. Perfect for knitters and crocheters!
9. Teapot Wind Chime
Find a small plate with holes or openings around the edge (mine was $4.99 at the dollar store) and E6000 the teapot onto it, angled so rain will run off.
Set thrifted spoons upside down on a block of wood and drill a hole near the end with a wood and metal bit.
Tie fishing line through each spoon (three knots!), string on beads and tie them evenly around the plate.
Thread wire through the teapot, twist the end so it can't slip out, loop it around the handle and glue the lid on so it won't blow off.
10. Teapot Bird Feeder
Hot glue a twig from the garden into the spout as a perch, fill the teapot partway with bird seed and hang it in a tree.
My Best Tips
Research before you upcycle so you don't alter a collectible.
E6000 plus a dab of hot glue holds pieces steady while the strong glue cures.
Keep it reversible when you can. The planter, tissue holder and yarn holder don't change the teapot at all.
Painted teapots are decor only. They're no longer food safe.
Love upcycling thrift store dishes? Don't miss my 15+ ways to upcycle old china.
If you give it a try, I'd love to see how it turns out! Tag me @OurUpcycledLife on social media. I always enjoy seeing your beautiful creations. 💕 Until next time, happy crafting!
