
This is one of my biggest roundups. It has thrift store and yard sale finds, scrap wood, rusty metal from the scrap bin and a whole lot of things I pulled out of my own recycling bin. Most of these cost a dollar or two, or nothing at all.
A few dump finds from this video (the lanterns, birdhouse, solar jar, yellow bench and the two cabinets) are already in my trash-to-treasure roundup, so here I'm sharing everything else.
My Go-To Supplies
Homemade chalk paint in black and white, and paint testers in fun colours
Spray primer for plastic, metal and glass
Mod Podge Matte and water-based Polycrylic
Napkins, CD label sheets and printed graphics
80 grit sandpaper, a scuff pad and a palm sander
E6000, Gorilla super glue and a hot glue gun
Candle wax, Vaseline, salt and school glue for aged finishes
Jute twine
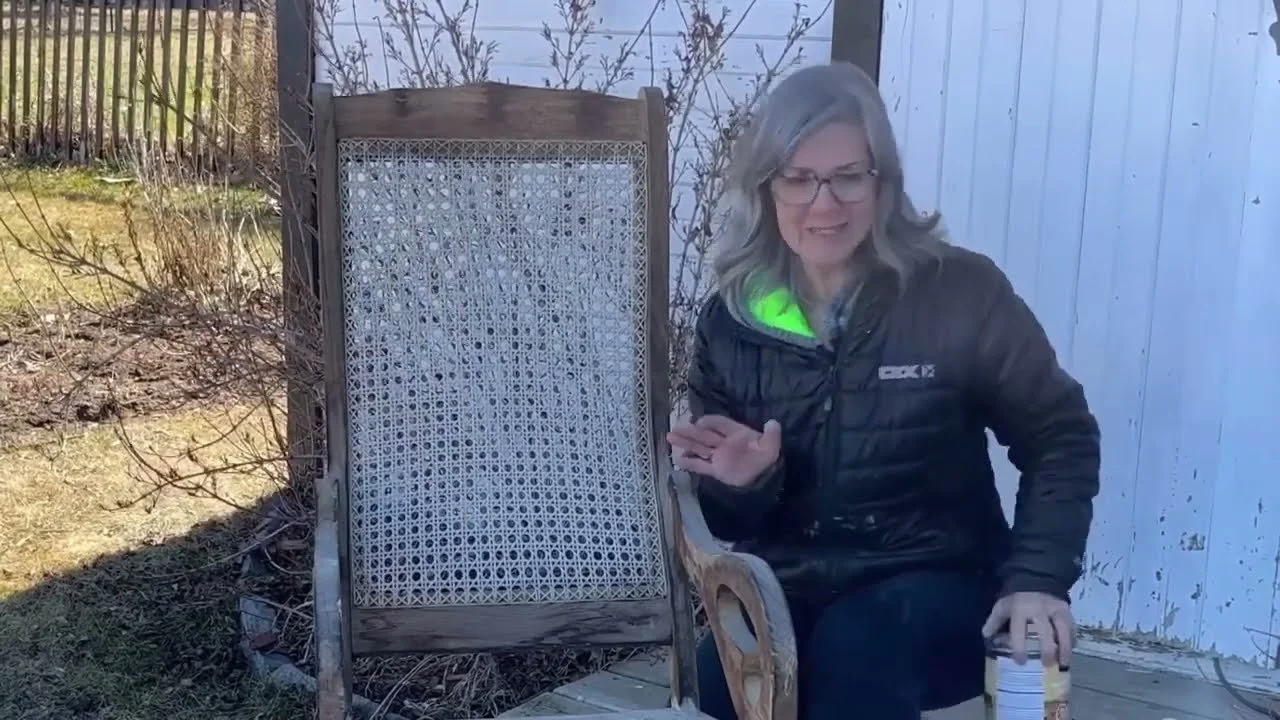
Thrift Store & Yard Sale Finds
Rocking chair: I washed it with TSP, lightly sanded it with 220 grit, used linseed oil on the brittle caning and a clear penetrating oil on the wood.
Glass vase pedestal: A vase and candle holder from the 75% off table, glued together with Gorilla super glue.
Teapot keepsake: A 25 cent yard sale teapot, left exactly as is, to hold my grandmother's silver spoons.
Ladle display: A thrifted ladle on a raw-edge piece of wood sealed with Polycrylic.
Farmhouse wooden tray: A $1 tray painted with black chalk paint for a country look.
Rolling pin: I taped off the handles and added a graphic with a water-based poly transfer, which blends into raw wood better than Mod Podge.
Cutting board sign: I sanded off the old graphic (it took patience) and added a new one.
Wicker basket: A $2 magazine basket gets yellow spray paint and a graphic.
Galvanized bucket: One of my best sellers. Press the graphic right into the ribs or you'll lose the lettering.
Faux flower basket: Snip off the dated handle and it looks brand new.
Salt & pepper shakers: Layers of spray paint and a little dirt give them a marble stone look.
Silver platter cake stand: A cheap platter glued onto a glass candlestick. It's lovely as a holiday centrepiece.
Black candle holder planter: Paired with a $2.99 faux plant and given an aged terracotta look.
Banana hanger plant holder: A distressed thrift store banana hanger holding a chalk painted salsa jar.
Scrap Wood Projects
Simple wooden box: Cut a base and sides, then use wood glue and a brad nailer. These sell really well for me.
Faux cutting boards: I distressed scrap wood with a hammer, chisel and nails, then stained it for an old rustic look.
Wooden risers: An old dresser piece on 2x4 ends makes great risers for displays.
Rustic blocks: 2x4 pieces painted, sanded on the edges and turned into shelf sitters.
Bracket shelf: Patina brackets from the scrap metal bin with a roughed-up pine board.
Red burn pile sign: White chalk paint over old red paint with a 4th of July graphic. It works with an inkjet printer too.
Floral sign: Candle wax, Vaseline and salt layered on a burn pile scrap for a truly aged look.
$50 wooden chest: Layered blue and black paint with a school glue crackle and a graphic. Use very little water on crackle or the graphic rubs off.
Rusty Metal Makeovers
Metal high chair: Scrape off the loose paint and spray paint right over it.
Toolbox planter: Engine enamel keeps the rusty patina and adds a hard finish.
Chippy plant stand: I just scuffed off the loose paint and left the character.
Metal step ladder: Scuffed, scrubbed and put to work in my log home kitchen.
Rusty shovel sign: Remove the loose rust, then add a graphic using the plastic sleeve method with a ragged edge.
Tin can shovel: A painted coffee tin with a graphic, mounted on a broken shovel handle.
Vinyl tin can planter: Pretty spray paint and a Cricut-cut permanent vinyl design.
Tin can wall pockets: Take out the bottoms of your tin cans and turn them into smashed cans or wall pockets.
Mesh container makeover: I swapped dated dollar store mesh baskets for cleaned-up tin cans.
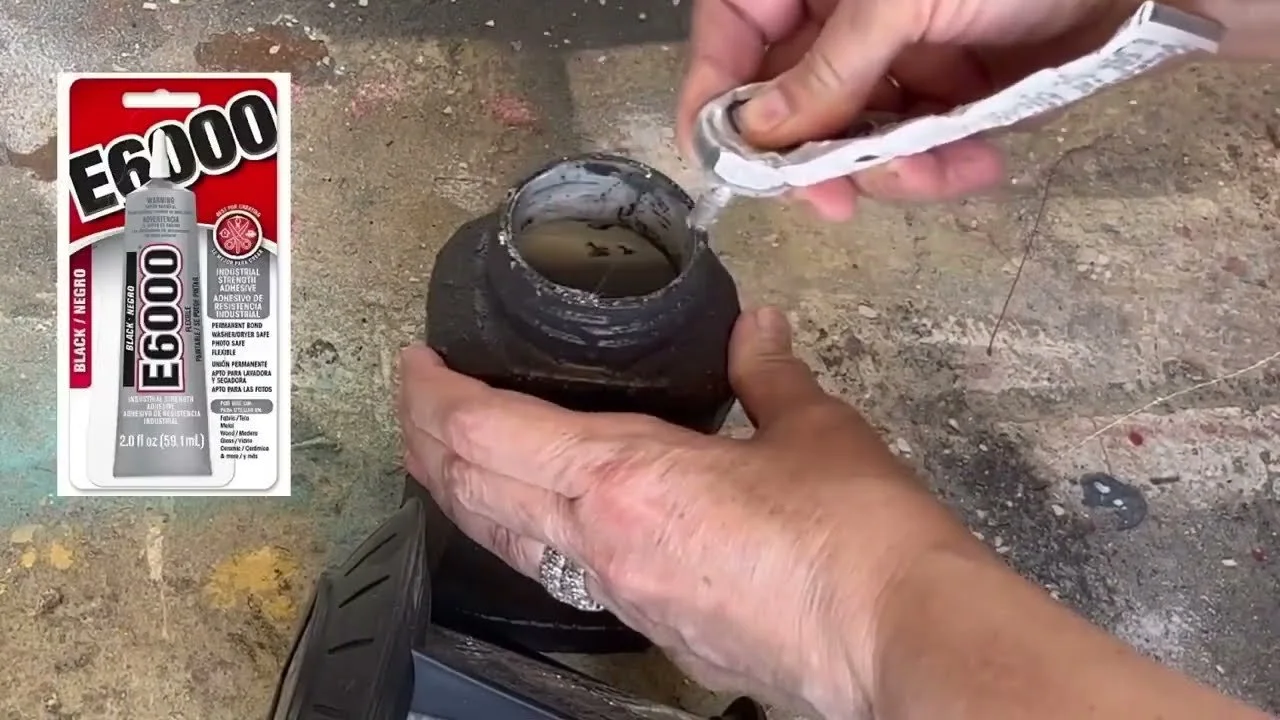
Recycling Bin Upcycles
Protein powder container: Add a Cricut label and use it for leftovers instead of buying containers.
Coffee container tumbler: Drill a straw-sized hole in the lid.
Kleenex box craft box: Cover it with scrapbook paper and cut little handles. It's perfect for glues.
Tinted glass jar: Elmer's glue and food colouring give a coloured glass look.
Jar lid fridge magnet: Decoupage a quote or photo into a painted lid. Tip: screw the lid onto a jar to spray paint it.
Twine lid coaster: Hot glue a cardboard circle into a lid and coil jute twine on top.
Textured candle holder: Dollar store wooden cutouts, terracotta paint and homemade sand paint on a tin can.
Garden markers: Dollar store markers painted white with vegetable and herb labels.
Lid wind chime: Prime and paint saved lids in different colours, drill and string them up.
Napkin glass jar: A glass jar with a custom printed napkin decoupaged on.
Pickle jar planter and canister: Chalk paint sticks to glass, and an E6000-glued knob turns the lid into a canister top.
Clothes hangers: Prime the plastic, then add Mod Podge and dirt, dabbed with instant coffee for a primitive finish.
Spice jar shaker: Drill holes in the lid for salt, flour or even water.
Vitamin bottles: Cut the neck off to make a bag sealer, and more.
Nut container: A custom label printed on a thrifted CD label sheet.
Coffee canister: White chalk paint and a napkin applied with the plastic sleeve method.
Crown Royal soap dispenser: Chalk paint and a printed napkin. Tape it to paper to get it through the printer.
Jute candle jars: Washed jars wrapped in thick and thin jute.
Napkin pillar candle: Use just the single printed ply, trimmed to wrap all the way around.
Cardboard box planter: Cut the flaps and tape off and paint it to look like a pot.
T-shirt grocery bag: Turn a paint-stained old tee into a reusable bag.
Mailer box gift boxes: Flatten, paint and refold to regift.
Plastic jug scoop: Trace and cut a handy scoop for the craft room or garage.
Pantry jar labels: Printable labels to organize your kitchen.
Dried flower stickers: Press summer flowers into packing tape stickers.
Furniture Makeovers
Grandma's kitchen chair: A 1950s-style dump chair rebuilt using the old pieces as a template, with a reverse graphic on the back.
Kids' chair: I sanded off a dated monkey graphic and decoupaged a napkin onto the seat.
Green outdoor chair: Furniture stripper took off the varnish when sanding wouldn't, then exterior paint from a tester.
Modern dresser: A scratched, wonky dump dresser, primed and painted in semigloss enamel with a fresh plywood back.
Newspaper table: I painted it and decoupaged newspaper on top with Polycrylic, smoothing it with a brayer.
Napkin lamp: A battery lamp decoupaged with leftover napkin plies, lightly sanded for an aged look.
My Best Tips
Save your jars, lids, tins and boxes. Half of these projects came straight from my recycling bin.
Prime plastic and shiny surfaces before painting so the paint doesn't peel.
Use a laser printer for reverse graphic transfers, and reverse your text first.
Never throw away the extra napkin plies. They're perfect for custom decoupage.
Buy paint testers for small projects. You get great colours without wasting money.
Galvanized pails, wooden boxes and rustic blocks are some of my best sellers if you want to make a little extra money.
Want more? Try my 88 thrift store finds, my thrift store home decor for every season, and my homemade chalk paint recipe.
If you give it a try, I'd love to see how it turns out! Tag me @OurUpcycledLife on social media. I always enjoy seeing your beautiful creations. 💕 Until next time, happy crafting!
