
Stop buying stickers! With a roll of packing tape and a printer, you can make your own custom labels and stickers in minutes. I used these to label the jars in my pantry, and they're just as cute on journals, gifts and all kinds of DIY projects.
Here are three different packing tape methods, so you can pick the one that works best with your printer and your project.
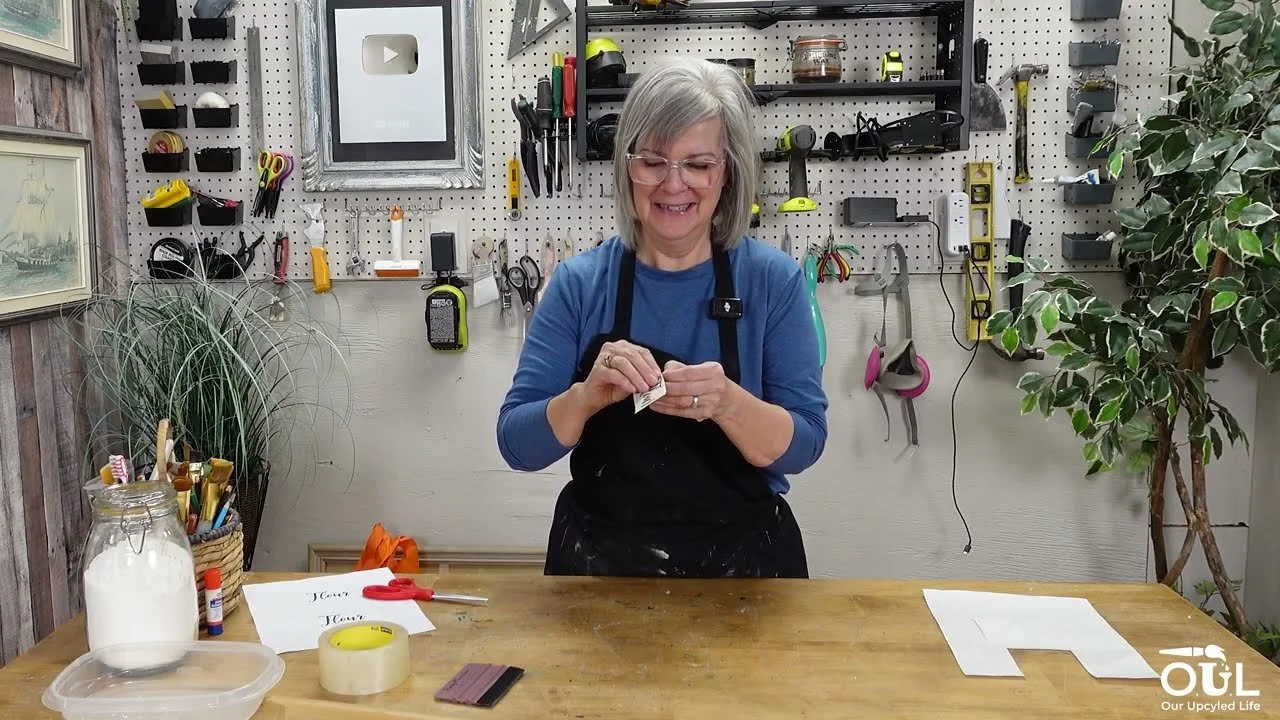
What You'll Need
Clear packing tape
Your graphics or words, printed (a laser printer for Methods 1 and 2, any printer for Method 3)
The shiny backing sheet from a used sticker or label sheet (Method 1)
A bowl of warm water (Method 2)
Parchment paper and a glue stick (Method 3)
Scissors
A credit card or wallpaper smoothing tool
240 grit sandpaper (only if your laser printer is newer)
Method 1: Shiny Label Backing Sheet
Peel all the stickers off a used label sheet so you're left with the shiny backing paper.
Print your graphic on the shiny side with a laser printer. If you have a newer laser printer, lightly sand the shiny side with 240 grit sandpaper first so the toner sticks.
Cover the graphic with a piece of packing tape a little bigger than the design.
Press it down really hard with a credit card or wallpaper tool to move the toner onto the tape.
Cut it out, then peel the tape off the sheet. The design comes right off with it!
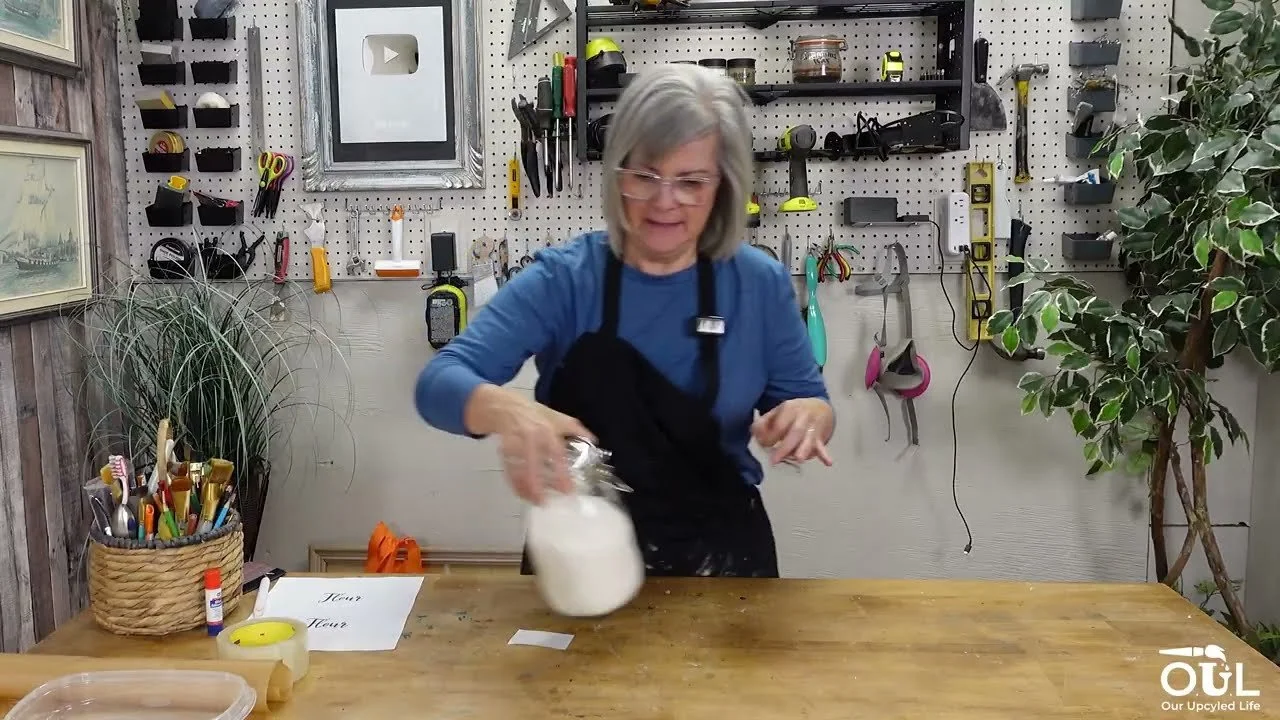
Method 2: Warm Water Transfer
Print your graphic on regular paper with a laser printer and cut it out.
Lay packing tape over it and press it really, really hard.
Trim off the extra tape and drop it into a bowl of warm water for a minute or so.
Rub the paper off the back with your fingers. The design stays on the tape.
Let it dry. The tape gets sticky again where there's no ink. If it's not sticky enough, add a little Mod Podge or glue stick.

Method 3: Parchment Paper Stickers
This one works with an inkjet printer too, and it's a fun one to make with the grandkids!
Print your graphic and cut it out neatly. Make it a little narrower than your tape so there's a clear border.
Stick a piece of packing tape onto parchment paper, sticky side down.
Rub glue stick on the back of your graphic and press it onto the tape.
Cover it with a second piece of packing tape and press it all together firmly.
Cut it out, leaving a little edge of tape all around, then peel off the parchment paper. You've got a sticker!
My Best Tips
Press hard. The more pressure, the better the toner sticks to the tape.
Size your graphics in Canva so they fit the width of your tape.
Never lose the end of your tape again by folding it over a bread tie.
Save the used sticker sheets. The leftover sticker grids are great for junk journals.
My favourite? The warm water method!
Want more packing tape magic? See my full packing tape transfer tutorial. Members of Our Upcycled Society get my whole graphics library, with new designs every week, perfect for labels and stickers 💛
If you give it a try, I'd love to see how it turns out! Tag me @OurUpcycledLife on social media. I always enjoy seeing your beautiful creations. 💕 Until next time, happy crafting!
