
Before you toss that tin can in the recycling bin, save it! Soup cans, tuna cans and big coffee canisters can all be turned into beautiful planters, organizers, candle holders and garden decor with a little paint and a few supplies from your stash.
Here are 18 of my favourite tin can upcycles. They're easy for any skill level, and some of them are my best sellers at craft sales!
What You'll Need
Tin cans and coffee canisters (save the lids too!)
A can opener that leaves smooth edges
Spray primer or white spray paint
Chalk paint or acrylic paint (latex tends to peel and chip on metal)
Mod Podge (store-bought or homemade) and water-based polycrylic
Paper towel, napkins, scrapbook paper or fabric
Air dry clay or texture paste
Twine, macramé cord, wooden beads and spindles
Hot glue gun and E6000
Before You Start
Prime first. A coat of spray primer or white spray paint gives the paint something to grip and hides the shiny metal.
Keep the seam at the back of every project.
For a flat-back "smashed" can, remove the bottom and squeeze the can flat at one end with a vise, or your hands and a rubber mallet. Drill a hole at the seam to hang it.
Using real plants? Drill drainage holes in the bottom.
Textured Planters
Paper towel texture: layer strips of paper towel and Mod Podge around the can. Paint it once it's dry for a pretty, sturdy finish.
Texture paste swirls: cover the can with a thick layer of texture paste and swirl it with the end of a paintbrush. I layered brown, black, white, terracotta and a pop of turquoise, then added twine at the top.
Faux brick: roll air dry clay about 1/4 inch thick, roll a doily over it for texture and cut it into squares. Hot glue them onto the can while the clay is still wet, cover the rims with clay, then paint terracotta and dry brush white. (Next time I'd put the bricks closer together!)
Crinkled stucco look: crumple paper towel strips dipped in homemade Mod Podge onto the can, then paint with white chalk paint.
Glue on wooden beads for little feet and add faux plants.
Crafty & Practical Cans
Wall planters on a board: flatten coffee canisters, prime, chalk paint, add Mod Podge reverse transfers and screw them onto a stained piece of pine. Fill with moss and faux flowers.
Pedestal pencil holder: stack and hot glue three tin can lids into a pedestal, paint it and glue it under a paper-towel-textured can.
Tiered tuna can shelf: spray paint tuna cans black, decoupage scrapbook paper strips around them and glue them onto a cut spindle. (Thin thick paper first by peeling packing tape off the back.)
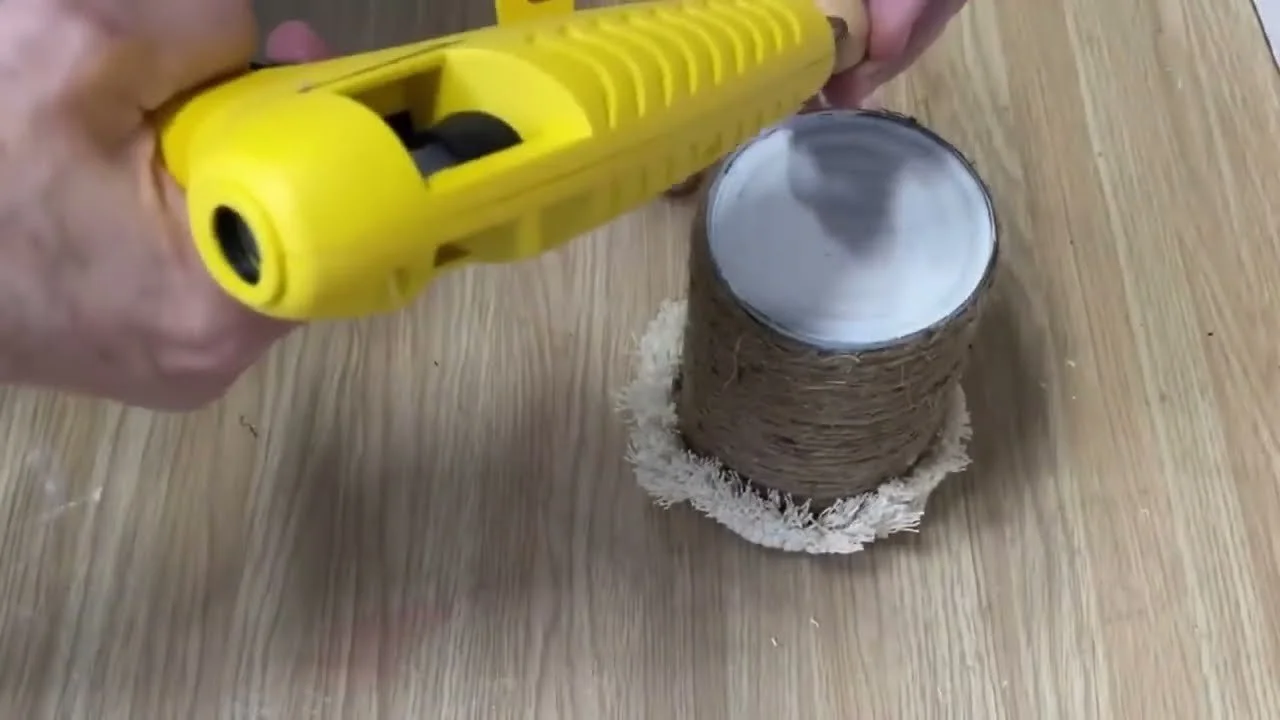
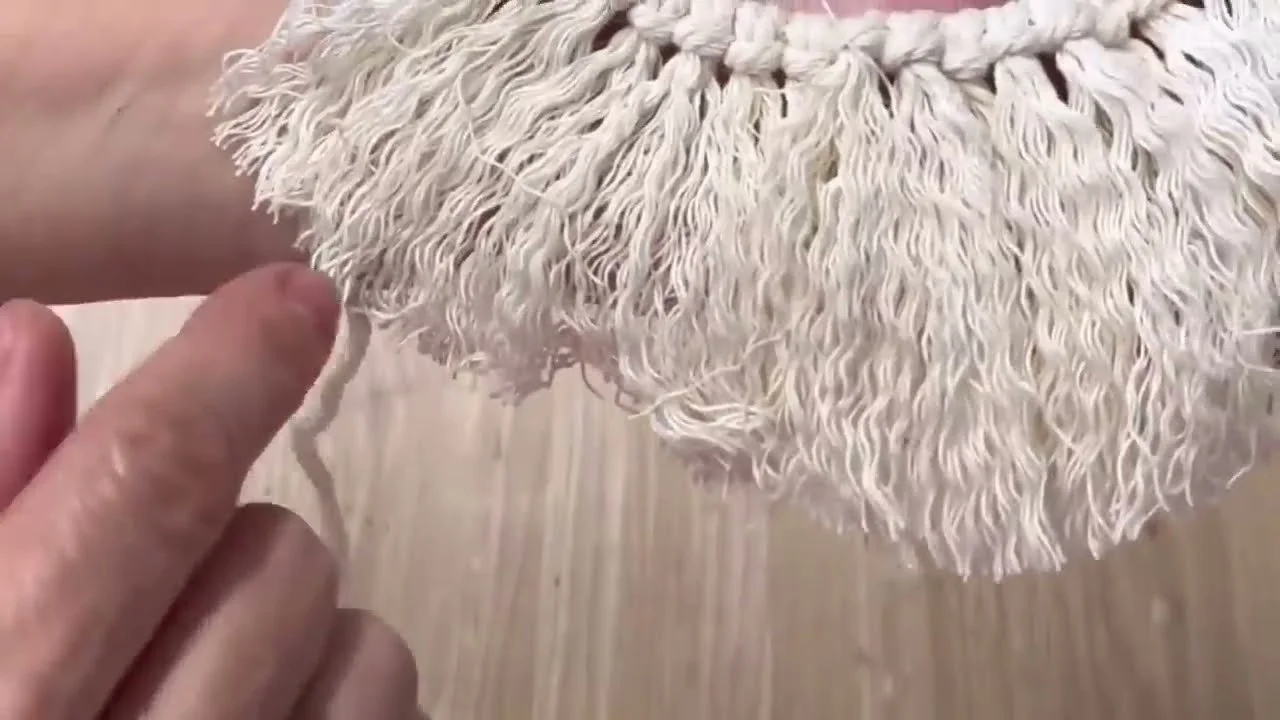
Boho fringe can: wrap a painted can in twine and hot glue a combed-out macramé cord fringe around the top. Add wooden bead feet.
Tin can candle: paint, add a transfer, then pour in melted leftover candle wax around a wick. Perfect for the patio.
Distressed napkin can: chalk paint over black, scuff the edges with your scissors and add a homemade printed napkin.
Vintage patina can: leave a rusty can as is, add a vinyl graphic and a wire handle you coil around a pencil.
Stencilled candle holder: stencil a design with acrylic paint, glue the can onto a spindle, fill it with sand and add candles.
Grocery bag holder: decorate a big coffee canister, cut an X in the plastic lid and seal with engine enamel. Stuff it with bags and pull one through the top.
Smashed Can Garden Decor
Junk & crap hanger: add a graphic and a wire hanger. Fill it with annuals or use it to hold bits and pieces in the shed.
Sand paint boho can: two coats of homemade sand paint, sealed, with a fringe glued along the bottom.
Floral napkin can: decoupage a single ply of a floral napkin over white chalk paint, then sand off the extra at the edges.
Tea towel can: decoupage a piece of a thrifted tea towel onto the can and mount it on stained pine.
Shovel handle planter: attach a piece of a broken shovel or rake handle, add a napkin graphic and line the bottom with coffee filters so the soil stays in but water drains out.
My Best Tips
Use napkin graphics on ribbed cans. It's hard to rub paper off all those grooves, so the homemade napkin method works much better than a reverse transfer.
Use the plastic sleeve trick. Lay your napkin face down on a plastic sleeve, drizzle on a little water, smooth out the wrinkles, then flip it onto the Mod Podge. Plastic wrap is great for smoothing out bubbles.
Paint light under napkins. Dark colours show through.
Rag the napkin edges with the edge of your scissors so the graphic blends in.
Seal everything with polycrylic, or engine enamel for anything that needs wiping down.
Love upcycling from the recycling bin? Try my 39 glass jar hacks and decoupage for beginners.
If you give it a try, I'd love to see how it turns out! Tag me @OurUpcycledLife on social media. I always enjoy seeing your beautiful creations. 💕 Until next time, happy crafting!
