
If there's one product I can't live without in my craft room, it's Mod Podge. In this roundup I'm sharing 21 ways I use it: photo and graphic transfers, decoupage on bowls, lampshades and tables, window clings, and even a roadside find or two.
Don't have any on hand? You can make your own. See my homemade Mod Podge vs store bought comparison.
My Go-To Supplies
Mod Podge Matte (gloss works too)
Laser printer and regular computer paper (some techniques work with inkjet)
Napkins, tissue paper and scrapbook paper
Homemade chalk paint
Packing tape and parchment paper
A soft brush and a squirt bottle of water
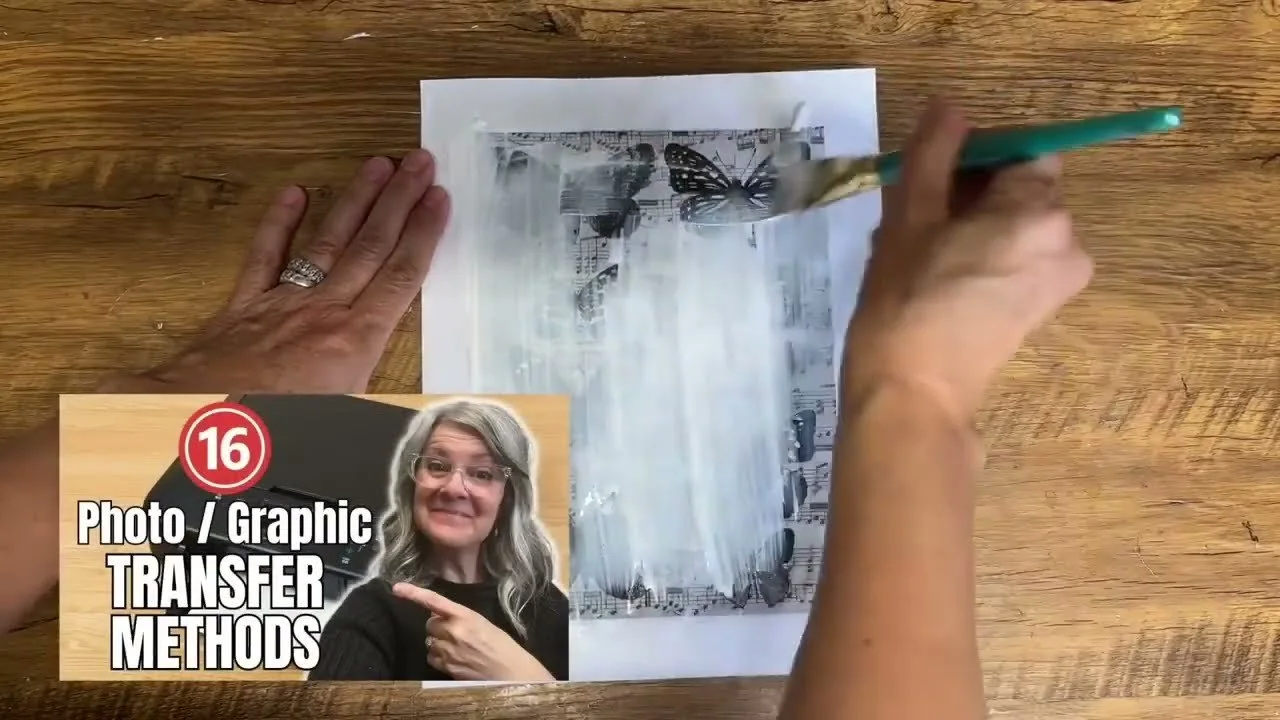
Transfer Techniques
Photo transfer on wood: Paint the plaque black then two coats of white chalk paint for the best transfer. Apply a thin, even coat of Mod Podge to the print, press it face down and rub out every bubble.
DIY window clings: Build up three thin coats of Mod Podge over a printed graphic, letting each dry for a couple of hours, then peel it off.
Fabric transfer: A laser print works best, but you can try inkjet too. The results are just a little softer.
Magazine page transfer: Pick a photo from a magazine like National Geographic and transfer it onto watercolour paper, wood, canvas or glass.
Tissue paper transfer: Print on tissue paper using sticker backing paper, then use a very gentle hand. A napkin ply works too.
Inkjet photo transfer: Build up a thin coat, then a much thicker one, and let it dry completely before peeling.
Stone art: Choose a smooth rock without many nooks, wash it well, and add a graphic.
For even more methods, see my photo transfer hacks.
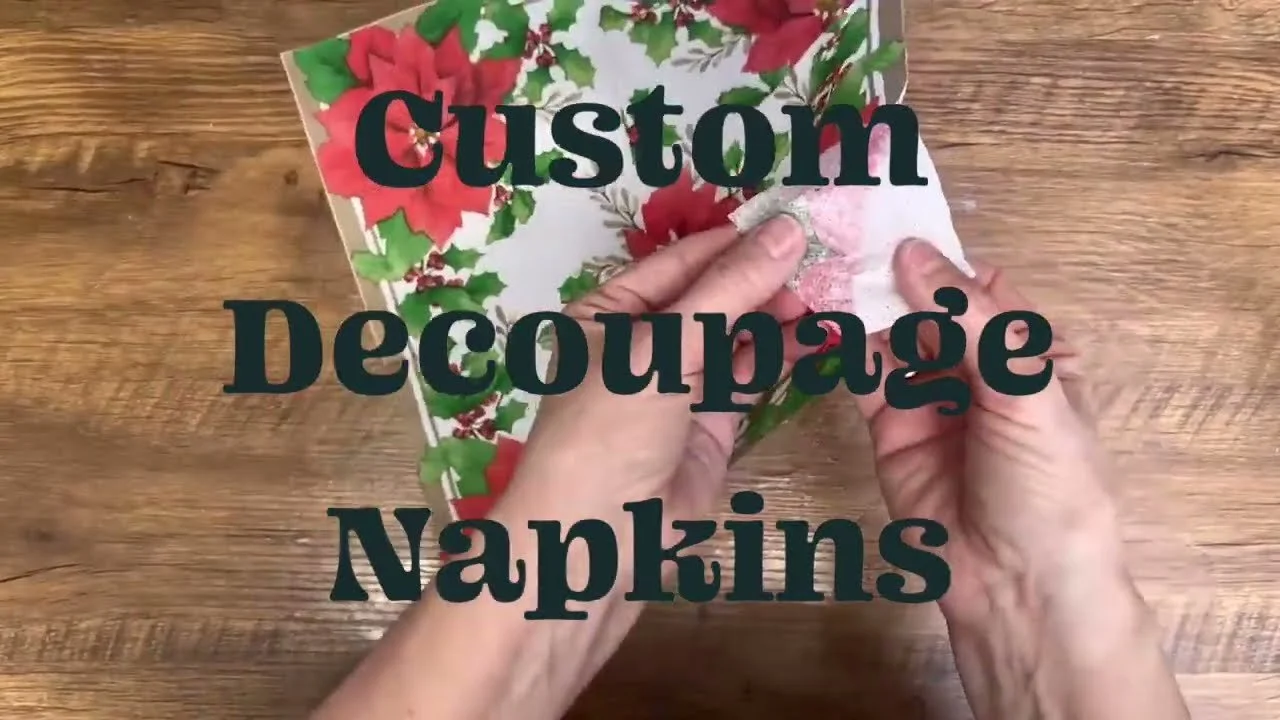
Decoupage Projects
Custom decoupage napkins: Iron a single white ply onto printer paper with parchment, then print your own design.
Napkin bowl: Clean a thrifted glass bowl with an alcohol wipe, then work the napkin down towards the bottom without lifting your brush.
Mod Podge clay bowl: Mould homemade Mod Podge clay around a bowl and trim it with an X-Acto knife.
Burned-edge napkin quotes: Dollar store napkins, a lighter, a little water and Mod Podge.
Scrapbook paper decoupage: Thick paper? Cover the front with packing tape, soak it and rub the paper off the back so it lies thin and flat.
Funky lampshade: A $2.99 '70s bed sheet from Value Village decoupaged onto a lampshade to match my craft room.
Oak lamp refresh: I left the solid oak unpainted and decoupaged the glass panels. Packing tape gave me grip to slide them back in!
Salvaged table: Water damage on solid wood refreshed, with scrapbook paper decoupaged on top.
Decoupaged tin cans: Prime first, then use chalk or acrylic paint, not latex, which peels. See more tin can upcycles.
Handmade box: I kept the colour someone lovingly painted and just decoupaged fresh paper in the base.
Thrift & Roadside Flips
Roadside block with a pot lid knob: An old general store graphic on wood, topped with a pot lid knob.
Toned-down print: Brush a coat over a print that's too bright for your space to soften the colours and seal it at the same time.
Scrap wood shelf sitters: 2x4 pieces cut into eight equal blocks.
Vintage jewelry box: Pull out the dusty insides and give it a fresh start.
Crackle bread boards: Black and yellow chalk paint with the hairspray method for chippy crackle, then a graphic.
My Best Tips
Thin, even coats are the sweet spot. Too much bubbles and wrinkles, too little won't hold.
Always check how many plies your napkins have, and save the leftover plies for custom napkins.
Graphics transfer best onto a chalk painted surface.
Be patient with drying time. Humidity makes a big difference.
Want more? Read decoupage for beginners and my 5 easy decoupage methods.
If you give it a try, I'd love to see how it turns out! Tag me @OurUpcycledLife on social media. I always enjoy seeing your beautiful creations. 💕 Until next time, happy crafting!
