
If you've ever ended up with a wrinkly, bubbly napkin stuck to your project, you're not alone! There are lots of ways to decoupage, and each one works best for different projects.
Today I'm sharing my 5 favourite decoupage methods for beginners, all shown on wood. Try them all and see which one you like best. Most of them give you a smooth, wrinkle-free finish every time.
What You'll Need
Pretty napkins
Wood pieces painted with a light-coloured chalk paint
Mod Podge
A dollar store glue stick
Plastic wrap (cling wrap)
Parchment paper (not wax paper) and an iron
A plastic sleeve, a sponge or spray bottle and paper towel
Fine sandpaper and water-based polycrylic
Before You Start
Use one ply only. Separate your napkin and decoupage with just the printed top layer. Save the plain inner plies for wiping up messes or for making your own printed napkins.
Paint a light background. Napkins turn a little see-through, so dark paint will show through.
Iron out the creases. Lay the napkin on a towel, cover it with parchment paper and press with a warm iron.
Trim it down. Cut the napkin just a little bigger than your project so you're not fighting a big floppy piece.
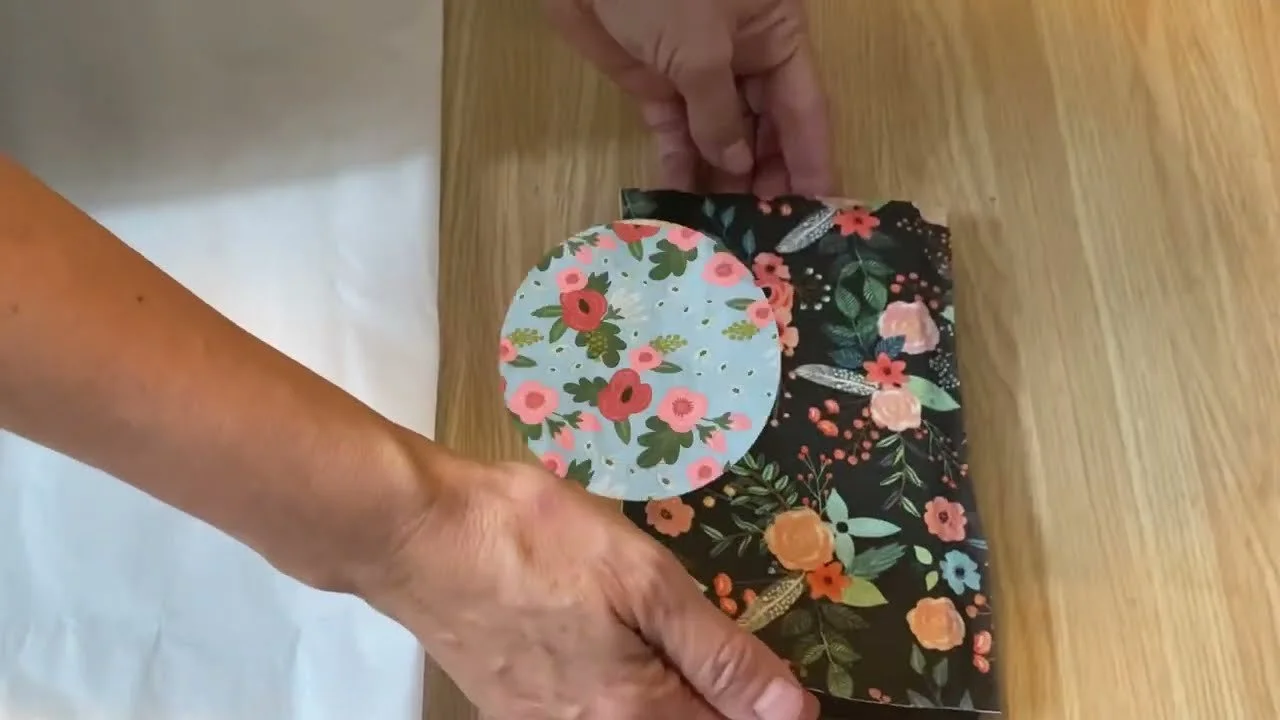
Method 1: Iron-On Mod Podge
Brush a generous coat of Mod Podge over the wood and let it dry completely. I like to add a second light coat and let that dry too.
Lay the napkin in place and cover it with parchment paper.
With your iron on high and no steam, press for 2 to 3 seconds at a time, moving slowly across the napkin. The heat melts the Mod Podge into the napkin.
Lift a corner of the parchment to check, and go over it once more.
No bubbles, no wrinkles and no drying time once it's ironed. This one needs a flat surface, like a tabletop or box lid.
Method 2: Standard Mod Podge + Plastic Wrap
Brush on a light coat of Mod Podge. Too much makes it hard to handle.
Lay the napkin exactly where you want it. You can't lift it once it's down!
Tap it with your fingers, then dab over it with a scrunched piece of plastic wrap to push out the bubbles and wrinkles. This is great for getting into little corners.
Let it dry.
Method 3: Glue Stick
Rub a glue stick over the whole surface, right out to the edges.
Lay the napkin down and tap it lightly.
Dab with plastic wrap to smooth out any wrinkles.
So easy and so quick, and a cheap dollar store glue stick works perfectly.
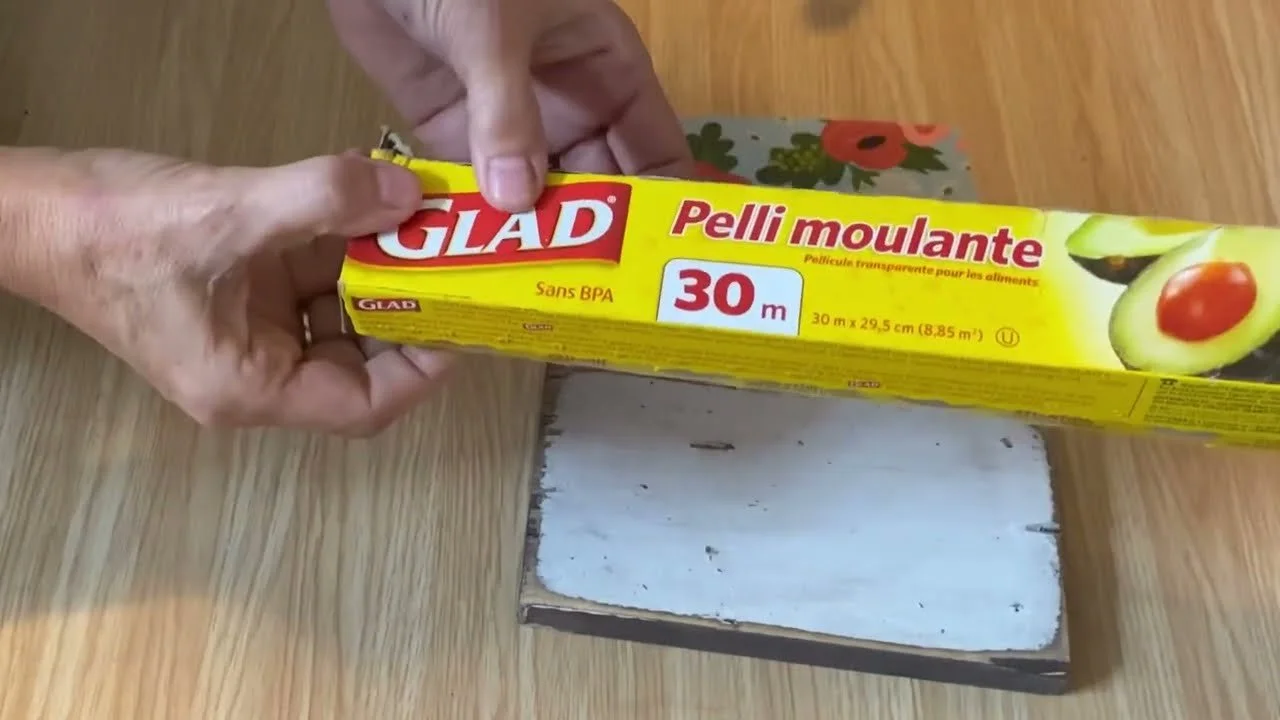
Method 4: Iron-On Plastic Wrap
Lay a piece of plastic wrap flat on the wood and trim it to size.
Place the napkin on top, then cover with parchment paper.
Iron on high, holding for about 5 seconds at a time before moving. Don't slide the iron or the napkin will shift. The plastic wrap melts and glues the napkin to the wood.
Check a corner, go over it once more and let it cool.
No drying time, and it's perfect for small pieces. Always keep the parchment between the iron and the napkin.
Method 5: Water Transfer
Brush a thin coat of Mod Podge onto the wood.
Lay the napkin face down on a plastic sleeve and wet it with a sponge or spray bottle until it's soaked through.
Gently smooth out the wrinkles, then blot the extra water with paper towel. Be careful, it tears easily!
Flip the sleeve onto the wood, rub over the back and peel the sleeve away.
This is the only method where you can slide the napkin around to reposition it. It's my go-to for curves, corners and shaped pieces.
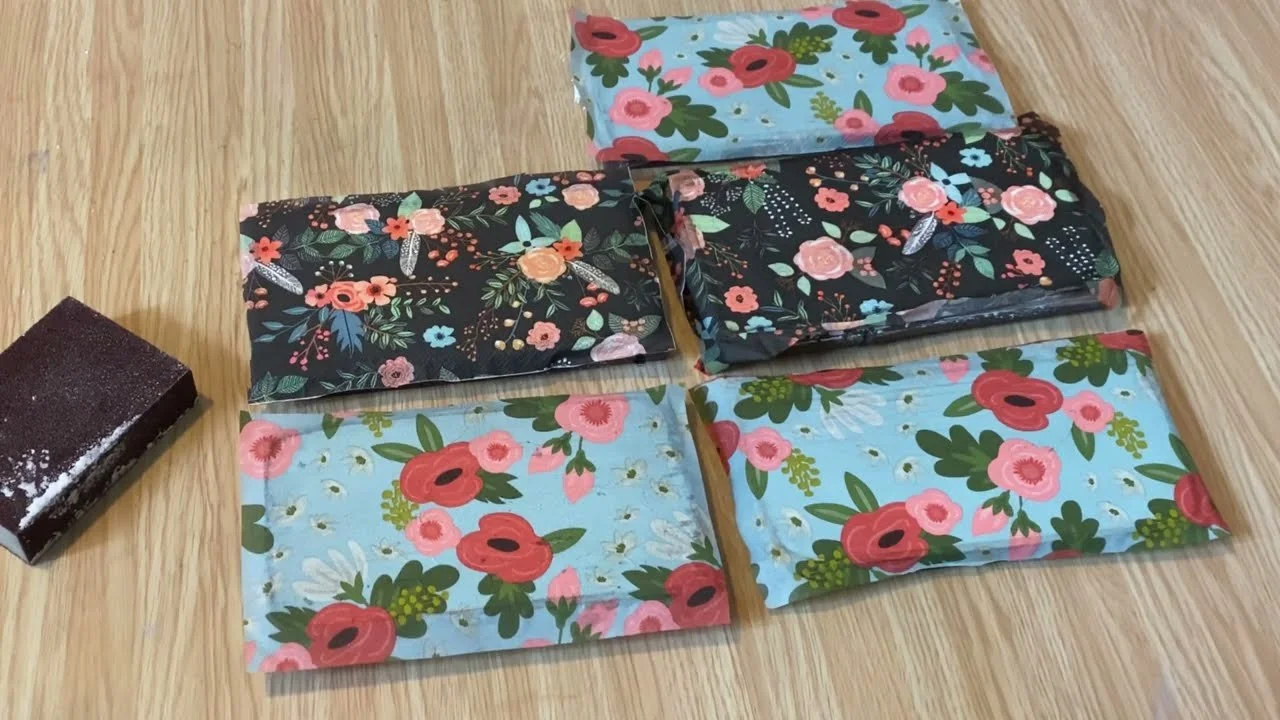
Finishing
Once everything is dry, sand around the edges with fine sandpaper to remove the extra napkin for a clean, tidy finish.
My Best Tips
Which method should you use? For flat surfaces, use either iron-on method. For curves and corners, use the water transfer. For quick little projects, use the glue stick.
Less is more with your top coat. Most bubbles and wrinkles show up at this stage! I skip Mod Podge as a top coat and use water-based polycrylic, brushed on very lightly, almost like a dry brush.
Keep plastic wrap handy for dabbing out any little bubble, whichever method you use.
Practice on scrap wood. Try all five on small pieces to find your favourite.
Ready for more? Try decoupaging a napkin onto a glass jar, my tutorial on decoupaging fabric onto furniture with polycrylic and my comparison of homemade vs. store-bought Mod Podge.
If you give it a try, I'd love to see how it turns out! Tag me @OurUpcycledLife on social media. I always enjoy seeing your beautiful creations. 💕 Until next time, happy crafting!
