
Thrift flips are my favourite kind of project. You take something dated, dusty or downright ugly and give it a whole new life for just a few dollars. This roundup has jewelry boxes, frames, vases, signs, a rocking chair, and even a $3.99 foot massager I took apart for parts!
My Go-To Supplies
Homemade chalk paint, baking soda paint and sand paint
Mod Podge Matte for decoupage and reverse graphic transfers
Polycrylic sealer
A dollar store pillar candle for distressing
80 grit sandpaper and painters tape
E6000 and spray primer
Furniture & Big Flips
Rocking chair with painted fabric: Refresh the wood first, then paint the upholstery for a whole new look without reupholstering.
Farmhouse coat rack: Rub candle wax where it would naturally wear, then paint and sand for a chippy finish.
Dog leash rack: A coat rack with a "love" graphic where the O is a dog paw. It's a great spot for leashes and little dog jackets.
General store shelf: A broken shelf layered with rustic chippy paint and white chalk paint.
Wall sconce: I swapped the dated gold for matte spray paint with the cord and socket taped off.
Second sconce: I loved the original finish, so I only took the shelf off and filled the screw holes.
Wicker storage basket: A loose, dusty basket from the shed, fixed up and refreshed.
Jewelry Boxes & Frames
Vintage jewelry box: I always pick these up because they upcycle beautifully with paint and a graphic.
'90s jewelry box: Layers of leftover acrylic paint and candle wax for a colourful, chippy finish.
Gutted jewelry box: Pull out the dated lining. It's a job, but worth it.
Solid wood frames: $4.99 frames at 50% off, taken apart and refreshed.
Thrifted embroidery: Fold the fabric over the backing without cutting, so the original stays intact.
Spring frame: A reverse graphic transfer with my own "in a field of roses" quote.
Horseshoe frame: A new wood back, a colour change and an old horseshoe.
'90s heart frame: Cut the heart off at the top for a clean square frame.
Vases, Candles & Glass
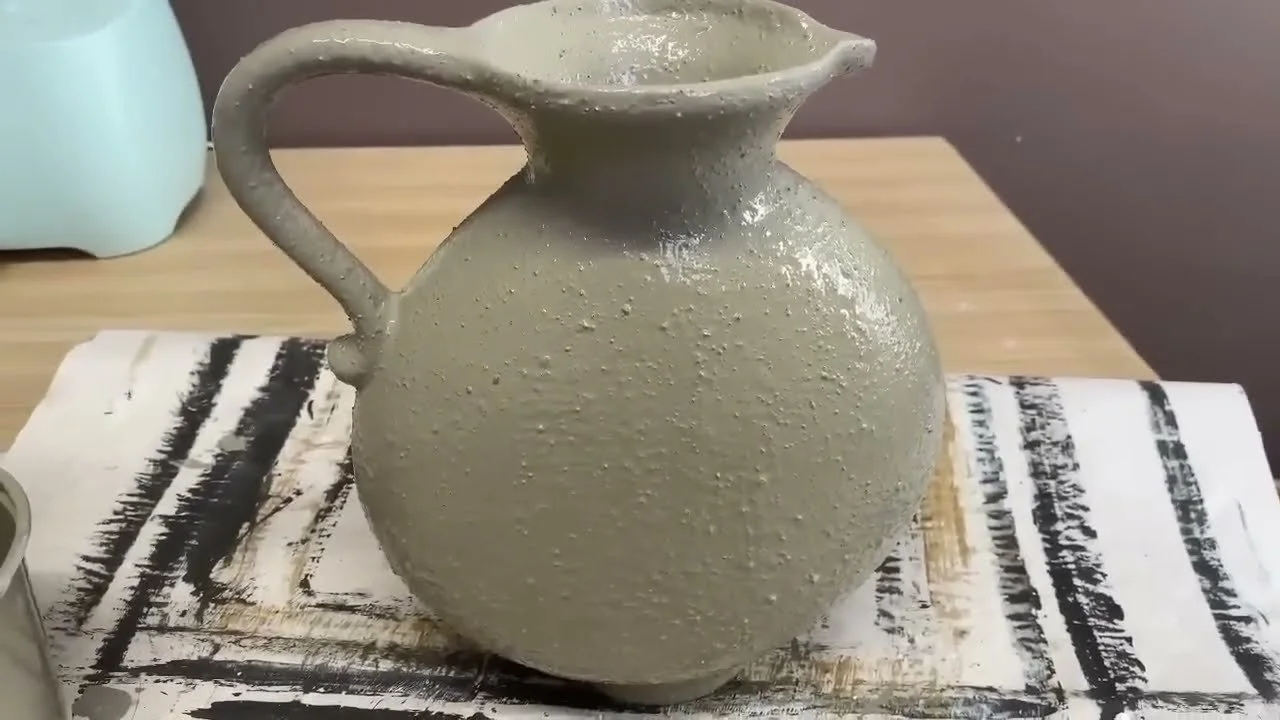
Sand paint vase: A grey stone colour mixed with sand for amazing texture.
Baking soda paint vase: Brush on the first coat and sponge on the second for texture.
Votive planter: Glue a glass bowl onto a candle votive with E6000.
Chalk painted votive: Chalk paint plus a reverse graphic transfer.
Mystery glass piece: A $3.99 glass find (maybe a bug catcher?) given a new purpose.
Raised plate: Sand paint on a plate with a little bowl underneath to lift it up.
Cloche: An upside-down vase on a wood base with a spindle top glued on as a handle.
Custom napkin candle: Print your own graphic on the back ply of a napkin and heat it onto a pillar candle with wax paper.
Bleached candlesticks: Bleach '80s wood candlesticks for a lighter, modern look.
Glass tray: Graphics on the front with the back left as glass.
Signs, Trays & Bread Boards
Bread board: A reverse graphic transfer, left 24 hours, then the paper rubbed off and sealed.
Grandma's apple pie board: On raw wood, I use a Polycrylic transfer instead.
Baking soda paint tray: A thin, watery coat for a soft look.
Ticking stripe tray: Three coats of white and a painted stripe using painters tape.
Napkin welcome sign: One napkin ply decoupaged into the carved areas, so there's no fiddly sanding.
Fish sign for the man cave: Black centre, candle wax and chippy layers.
Grandpa's garage saw: Spray primer first or the rust leeches through, then a graphic. It makes a great gift.
Farm life shovel: A rusty shovel with a graphic split around the dip.
Patio sign: Made from pieces of a $3.99 foot massager!
Key holder: A simple "keys" graphic on a little rack.
Charging station: Chalk paint and a graphic turn a box into a phone charging spot.
Mail holder: A napkin holder, sanded and chippy, for mail by the front door.
Kitchen & Little Extras
Saucepan planter: A bundt pan, spindle and porcelain knobs make the saucepan look like a real pot.
Banana hanger plant holder: Chalk paint, sanding and a painted glass jar from the recycling bin.
Kleenex box cover: White paint and a homemade decoupage napkin.
Vintage coffee carafe: I used Cricut vinyl to keep the metal finish.
Farmhouse milk jug: Sponge paint over the raised lettering instead of hand painting.
Kitchen labels: Easy custom labels for jars and canisters.
Vintage tin: If the graphic is good, leave it. If not, add your own.
Stone salt & pepper shakers: Roll tacky paint in dirt for a cement look.
Mid-century wood bowl: Glue it onto a base for a pedestal.
Wooden bead trinket dishes: Small wooden bowls on big beads with E6000.
Building block shelf sitters: Children's blocks with chalk paint and words. These are some of my best sellers!
Mod Podge transfer planter: No vinyl needed, just computer paper and Mod Podge.
Handy Hanging Hacks
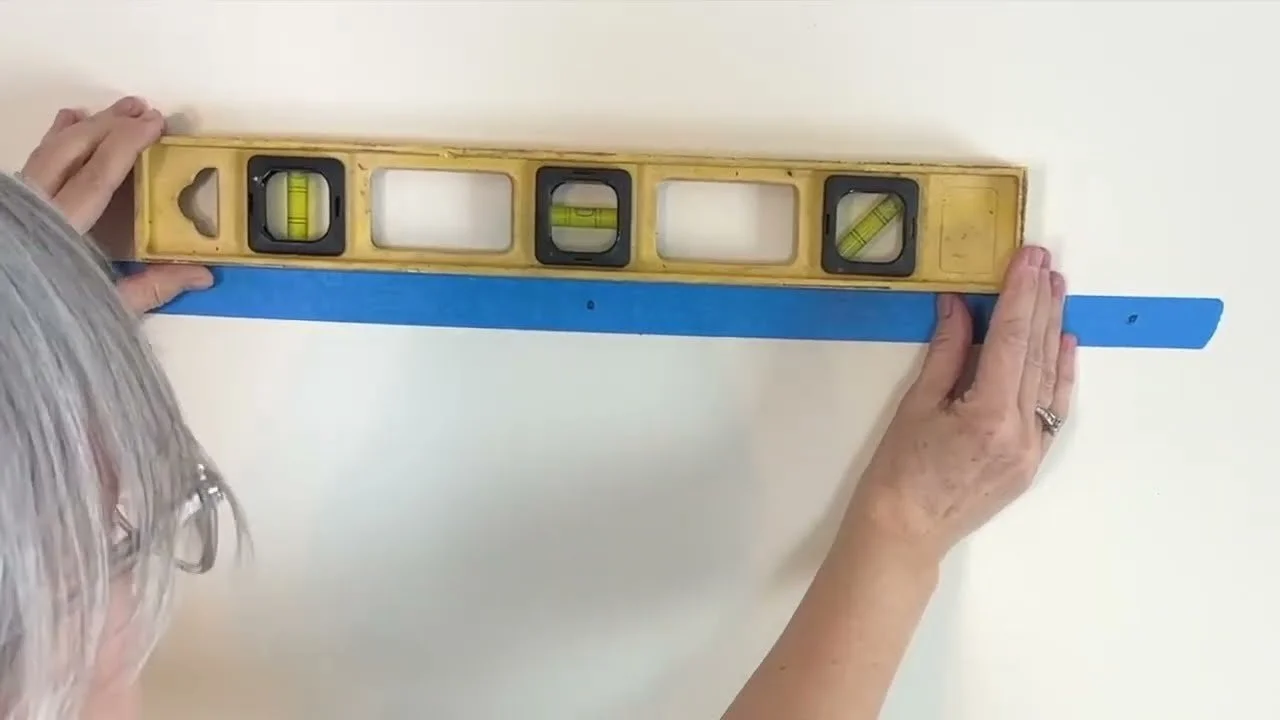
Masking tape trick: Mark both hangers on tape, level it on the wall and hang it perfectly centred the first time.
Toothpaste trick: Dab toothpaste on the hanger, press the frame to the wall, and the dot shows where to screw.
My Best Tips
Graphics stick best to a chalk painted surface. Use a Polycrylic transfer on raw wood.
Prime rusty metal before painting.
Don't overlook thrift store furniture with dated fabric. Paint can transform it.
Check the children's section for wooden blocks and toys to upcycle.
Want more? Try my 40 thrift store finds transformed, my clever thrift store upcycles and my trash-to-treasure roundup.
If you give it a try, I'd love to see how it turns out! Tag me @OurUpcycledLife on social media. I always enjoy seeing your beautiful creations. 💕 Until next time, happy crafting!
