
I love finding new ways to make brand new wood look old, chippy and vintage, and this one uses something you probably have in your bathroom: hairspray! It creates a gorgeous layered, chipped paint look that makes the perfect base for rustic signs.
The hairspray stops the top coat of paint from bonding to the layers underneath, so a little water lets you wipe it away right where wood would naturally wear over time.
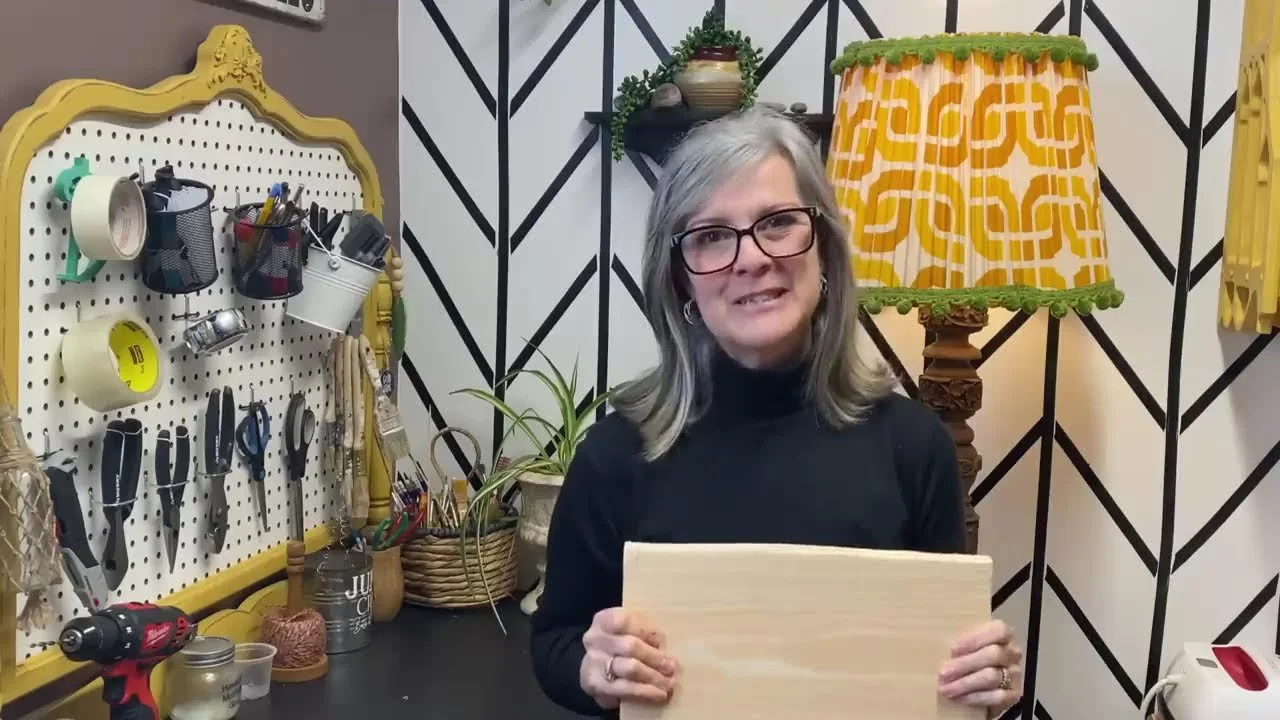
What You'll Need
A piece of new wood (I used pine)
A hammer and a craft knife for distressing
Sandpaper
Dark chalk paint for the base (I used my homemade black chalk paint)
2 or 3 accent colours of paint (I used terracotta and yellow)
Hairspray (aerosol or pump, any kind)
White acrylic paint
A spray bottle of warm water
A stencil brush with a hard, flat bottom
An old t-shirt rag
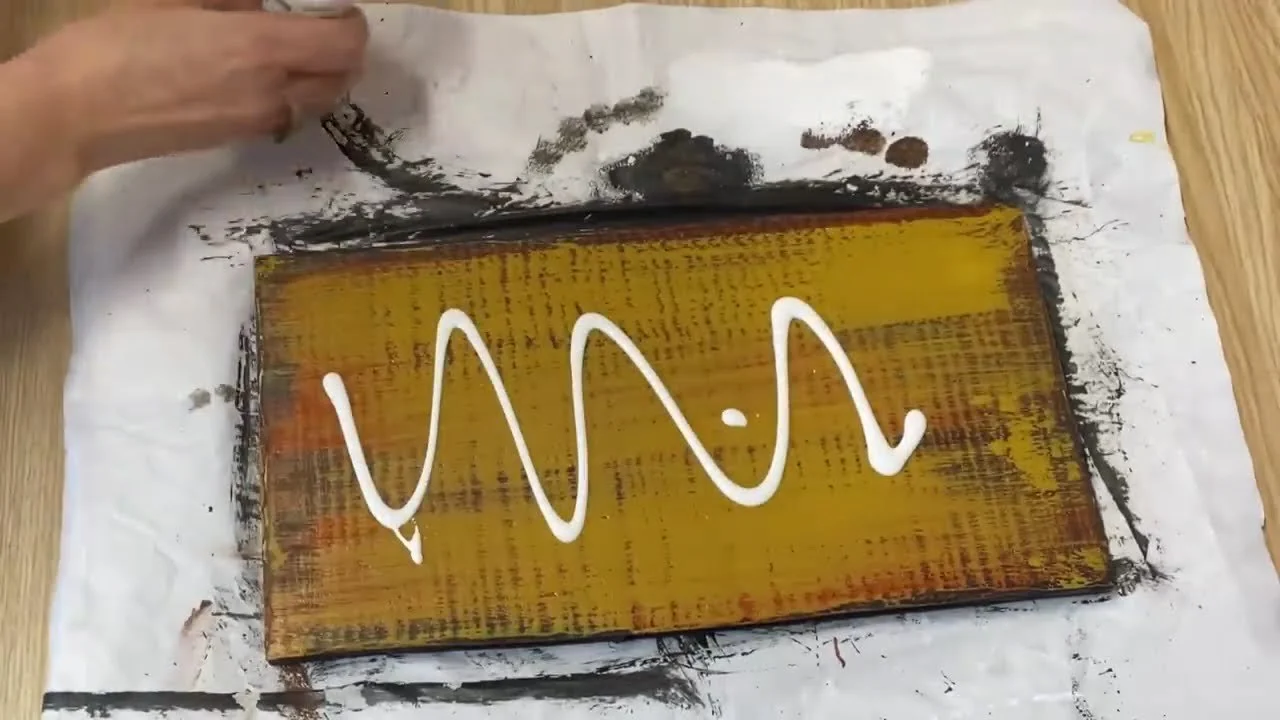
How to Do It
Distress your wood first. Tap the edges with a hammer, carefully chip a few bits off with a craft knife, then sand.
Paint a base coat in a dark colour and let it dry.
Dab on your accent colours here and there, letting each one dry. You want all the colours to peek through.
Spray on a thick coat of hairspray. I go over it three times. Let it dry completely.
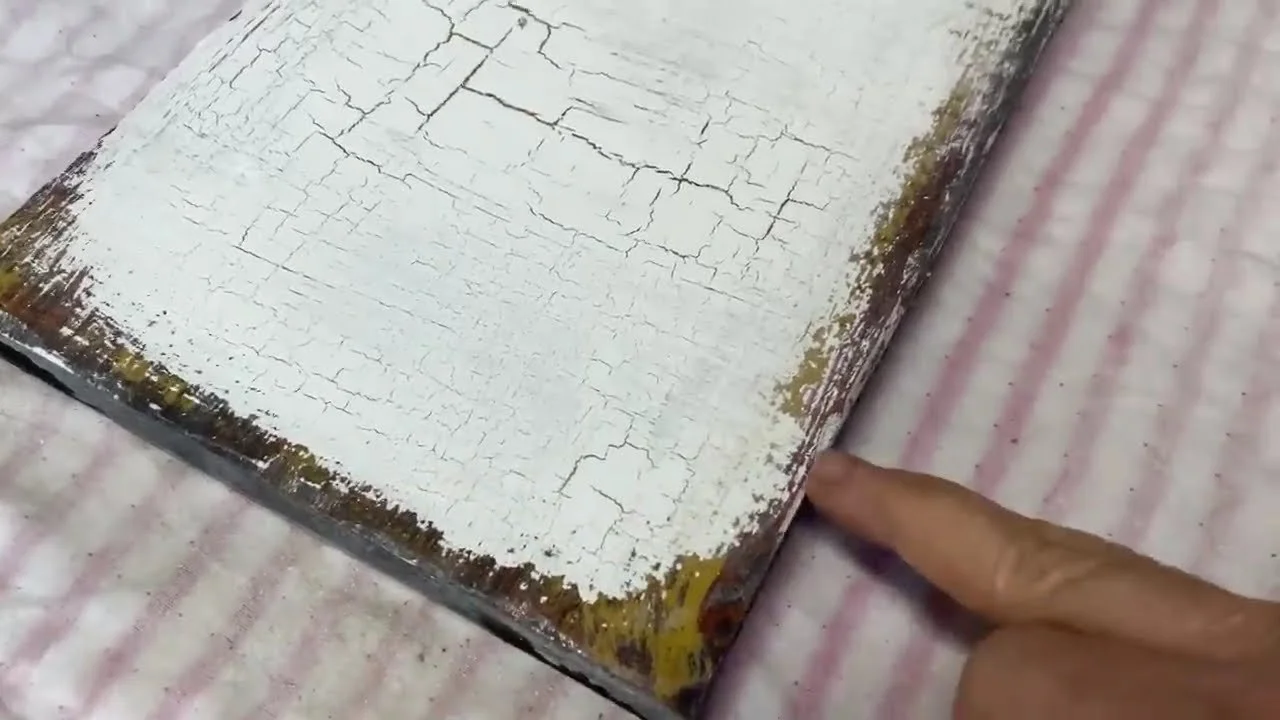
Paint a coat of white acrylic paint over the whole piece and let it dry. You'll see it start to crackle!
Spray a small area with warm water, scrub it with the stencil brush, and wipe with your rag. The white paint lifts away and shows the colours underneath.
Keep working in small sections, focusing on the edges and corners where wood would wear first.
Finish by lightly sanding the edges.
My Best Tips
Use acrylic paint for the top coat. It works best with this technique.
Be generous with the hairspray. A thick coat makes the paint lift more easily.
Leave the middle more intact and chip the edges more for a natural, worn look.
Play with colours. Any combination works, so try your favourites.
It makes a perfect base for signs. Add a transfer on top!
Want to add words or a graphic? Try my polycrylic transfer, or see my DIY chalk paint recipe. Members of Our Upcycled Society get my whole graphics library, with new designs every week, plus all my recipe booklets 💛
If you give it a try, I'd love to see how it turns out! Tag me @OurUpcycledLife on social media. I always enjoy seeing your beautiful creations. 💕 Until next time, happy crafting!
