
Pour a cup of coffee and settle in, because this is one of my biggest upcycling binges! Wooden blocks, dated lamps, orange-stained frames, rolling pins, rusty graters and even a foot massager all got a second life, and most of these finds cost just a few dollars.
I've grouped them by type so you can jump to whatever inspires you, with links to my full tutorials along the way.
My Go-To Supplies
Homemade chalk paint (black and white), sand paint and baking soda paint
A dollar store pillar candle and Vaseline for distressing
Spray primer and spray paint
Mod Podge Matte, napkins and laser-printed graphics
Water-based polycrylic (oil-based yellows!) and engine enamel
E6000, a hot glue gun and 80 to 120 grit sandpaper
Kitchen & Farmhouse Decor
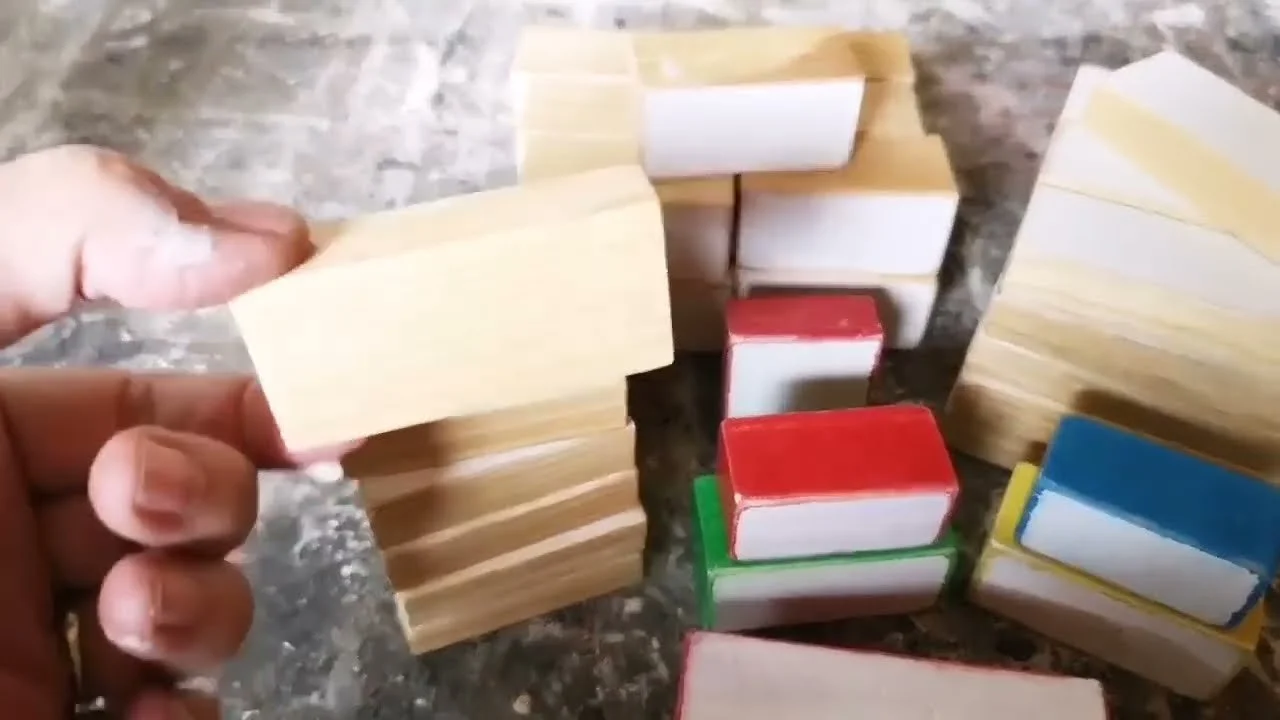
Wooden block shelf sitters: sand thrifted toy blocks with 120 grit, chalk paint the faces, distress and add letters. These are some of my best sellers!
Banana hanger plant jar: paint a dated banana hanger black, sand it, then hang a recycled glass jar with a graphic and a faux succulent from it with twine.
Saucepan tiered tray: bend the handle into a C-shape so it looks like part of the tray, and stack it with other yard sale pieces.
Rolling pins: paint the handles a bright farmhouse red and decoupage vintage advertising gift wrap around the middle.
Coffee pot sign: prime, paint white with chalk paint and add a coffee graphic with a Mod Podge reverse transfer.
Butter dish plate: matte black spray paint, then white chalk paint, sanded so the black peeks through, with a printed cow hang tag.
Metal pot: a fresh coat of white chalk paint and a word graphic. Anything with a word on it sells better!
Pantry labels: make clear labels from laser-printed words and packing tape. See my packing tape stickers and labels.
Grandma's apple pie cutting board: sand off the old ink and add a graphic with a polycrylic transfer, which works great on raw wood.
Rusted grater: rust it with peroxide, salt and water, seal it and clip on a farmhouse graphic.
Candlesticks, Vases & Little Things
Glass terrarium: spray paint a wooden candlestick blue, sand the edges and E6000 a glass bowl on top. Fill with soil, succulents and pebbles.
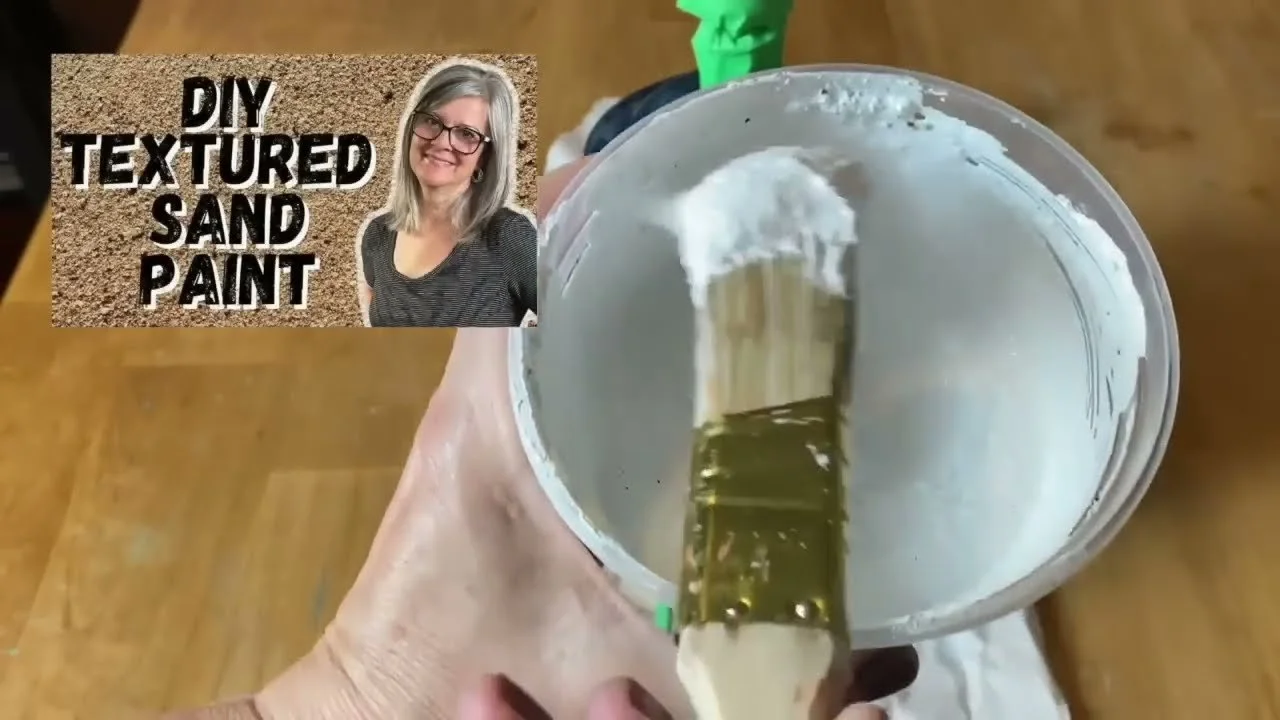
Cement-look vase: mix sand paint from an "oops" paint can and dab on the last coat for extra texture. Always check the oops section!
Beehive vase: a $3.99 glass vase becomes honey decor with a textured finish and a little painted hang tag.
Faux rust dish: dab Mod Podge on a glass dish, sprinkle with cinnamon and brush off the extra once dry.
Toothpick holder: white chalk paint and a tiny graphic.
Ornate tray: layer candle wax, gold metallic paint, more wax and a watery coat of baking soda paint, then distress.
Raised charger plate: sand paint a charger plate and E6000 a thrifted wooden bowl on top.
Wooden bead dishes: glue big wooden beads under small wooden bowls for little trinket dishes.
Vase cloche: turn a vase upside down on a plate and glue a spindle top on for a handle.
Custom napkin candles: wrap a printed napkin around a candle, cover with wax paper and heat it with a heat gun until the napkin melts in.
Lamps, Boxes & Little Furniture
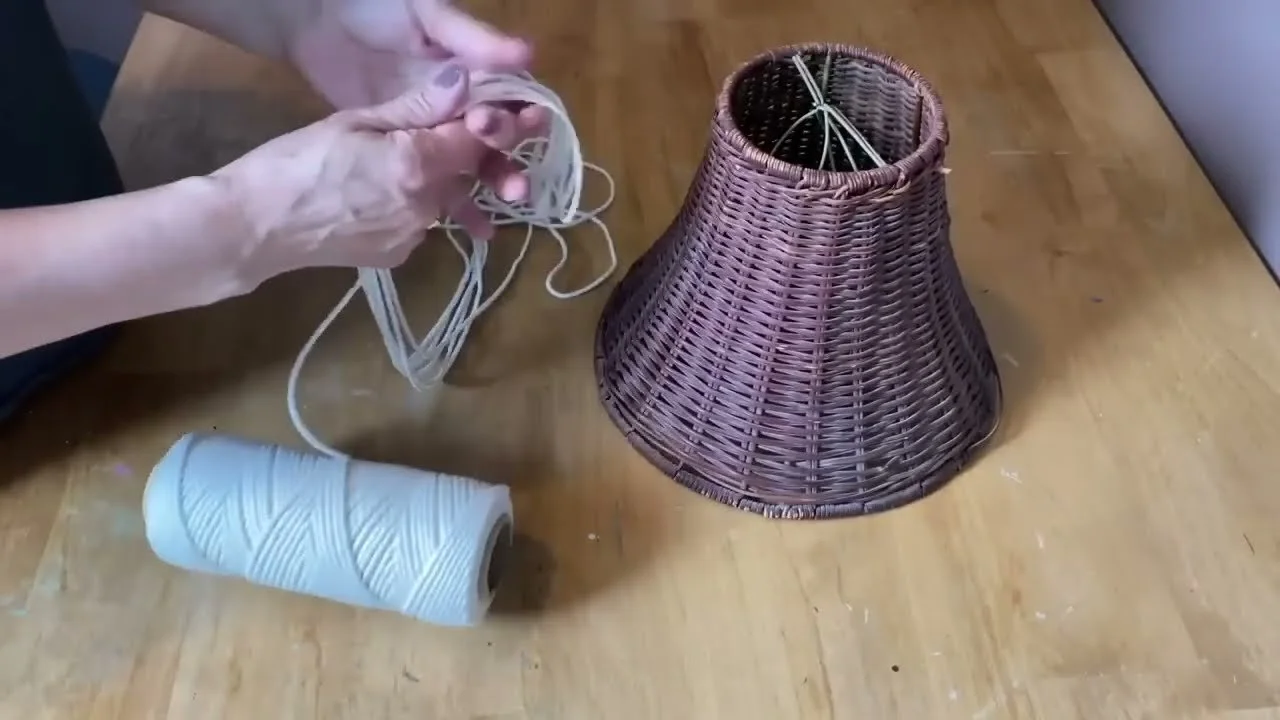
Lamp makeover: clean with an alcohol wipe, tape off the cord and socket, paint with sand paint and add a macramé fringe to the shade.
Kleenex box cover: prime the glossy finish, paint flat white and add a graphic.
Napkin holder mail sorter: chalk paint and a graphic for the front entry.
Chippy stool: layer brown, turquoise and white paint with candle wax in between, then sand for a layered chippy finish and add a transfer.
Decoupage box: black chalk paint base, floral napkins on the panels, a light polycrylic top coat, sanded edges and a new knob.
Jewellery box: scuff, two coats of white chalk paint and a quote decoupaged inside the lid.
Bleached wood box: spray with 50/50 bleach and water (in a well-ventilated area) to lighten dated wood for a modern look.
Cedar trinket box: sand back to beautiful raw wood.
Love the decoupage box? Here are my 5 easy decoupage methods.
Frames & Signs
Dried flower frame: scuff the orange stain off 50-cent frames, paint and Mod Podge dried and faux flowers in layers.
Heart frame to photo frame: cut off the dated heart, paint, then iron on an inkjet photo (seal it with hairspray first so it doesn't smear).
Chippy frames with new prints: black chalk paint, candle wax, white on top, then pull packing tape off for chipping without sanding.
Hairspray crackle frame: a thick coat of hairspray under white acrylic in long strokes, dried with a heat gun. See my hairspray technique.
Welcome coat rack: layer black, candle wax, Christmas green and white, sand back and add a welcome transfer between the natural pegs.
Gone Fishing sign: black chalk paint on live edge scrap wood, distressed with candle wax.
Workshop and tea lover plaques: yard sale plaques with reverse transfers. Customize them for Grandpa, Dad or a coffee bar.
Ticking stripe sign: tape off stripes with painter's tape and distress the edges.
Elmer's glue crackle board: black, then grey chalk paint with school glue in between for big crackles. Here's my crackle technique.
Dog leash sign: hooks for the leash and jacket, with a dog paw for the O.
Pressure-washed plaque: lift the thick varnish and old print, sand to raw wood and add a new label sheet transfer with polycrylic.
Rusty Junk Decor
Horseshoe sign: nail an old horseshoe onto a distressed board.
Rusty nail jar: glue matching rusty nails around a jar and top it with a rusty mason jar lid.
Galvanized bucket: one of my best sellers. Always grab these!
Faux flower basket: snip off ugly handles with side cutters.
Curtain ring hangers: glue curtain ring clips onto rusty wire to hang a sign or print.
Loaf pan basket: a rusty loaf pan with a handle makes a primitive little basket.
Foot massager parts: I took a $3.99 thrifted foot massager apart and turned the pieces into several projects!
My Best Tips
Check the toy section for wooden blocks and the hardware store "oops" shelf for cheap paint.
Layer dark under light. When you sand, the dark peeks through for an authentic aged look.
Less is more with your top coat. Too much polycrylic or Mod Podge causes bubbles and wrinkles.
Use a lint roller to hold round things still while you add vinyl.
Add a word. Pieces with a quote or graphic always sell better at craft sales.
Still want more? See 88 thrift store finds transformed and 60+ epic thrift store makeovers.
If you give it a try, I'd love to see how it turns out! Tag me @OurUpcycledLife on social media. I always enjoy seeing your beautiful creations. 💕 Until next time, happy crafting!
