
What if I told you that you could make ordinary paper look and feel like plastic, and water would bead right off it? This easy DIY coating turns plain paper into flexible, sturdy sheets using a few simple ingredients you probably already have in your kitchen.
It's perfect for gift tags, labels, bookmarks, junk journals, mixed media and even outdoor crafts. It's a fun one to experiment with, and you can tint it too.
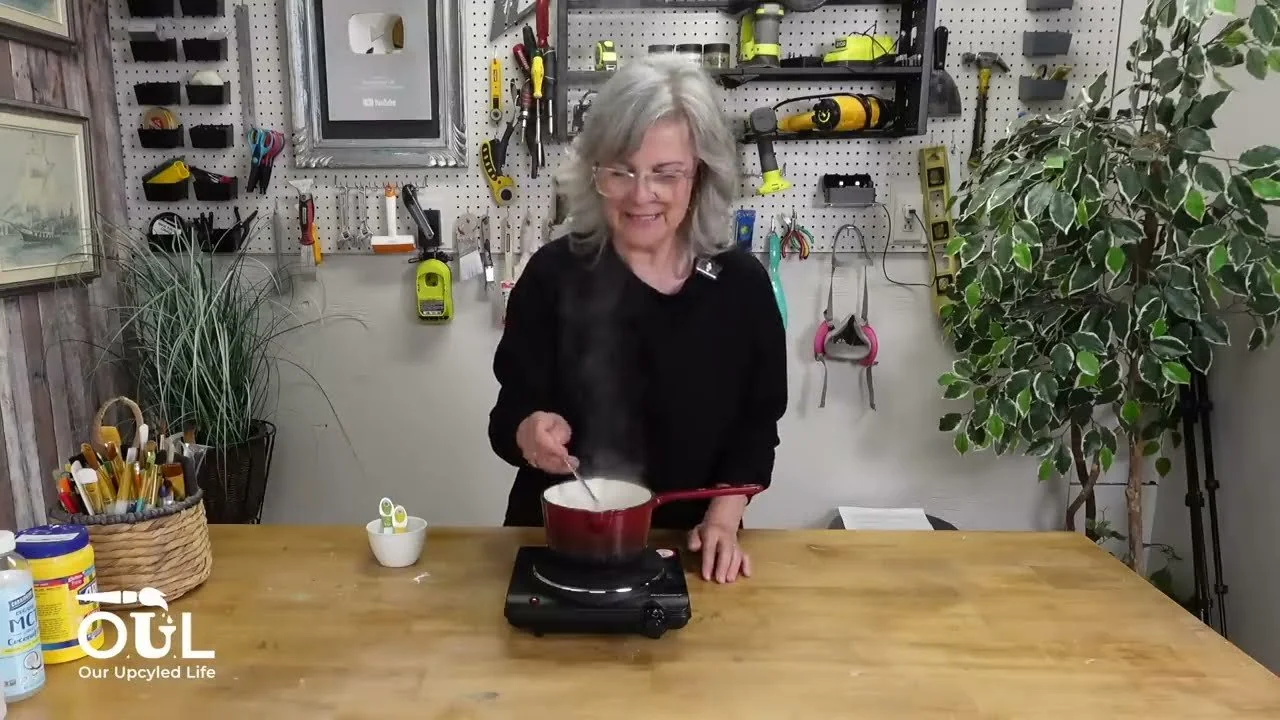
What You'll Need
1 cup of water
1 tablespoon of cornstarch
1 teaspoon of vinegar
1 teaspoon of coconut oil (optional, for extra flexibility)
A saucepan you use just for crafting
A paintbrush
Paper printed on a laser printer, or scrapbook paper
Parchment paper or a silicone mat
An iron or heat press
Clear polycrylic spray (only if you're using inkjet prints)
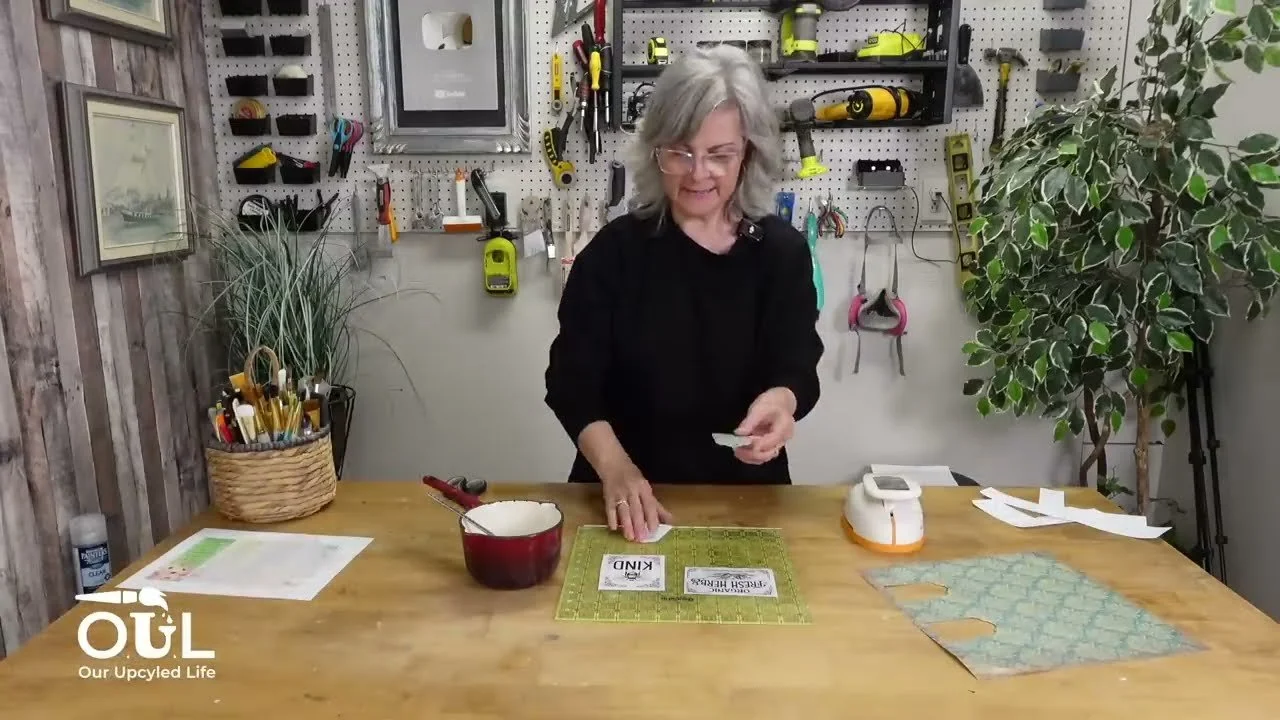
How to Do It
Mix the water and cornstarch together really well, then stir in the vinegar and coconut oil. The vinegar helps it last longer.
Heat it in a saucepan, stirring constantly, until it thickens to a pudding consistency. Turn the heat down if it starts to boil hard. Don't walk away from it.
Take it off the heat and let it cool for a few minutes.
Lay your paper on parchment paper, a silicone mat or a plastic board, and brush on a light coat.
Let it dry for a couple of hours, then flip it over and coat the back. Two coats on each side works well.
If your paper curls as it dries, place it between a silicone mat or parchment paper and press it with an iron on high (no steam) for a few seconds. Let it cool before you peel it off.
Using an Inkjet Printer?
Inkjet ink will run and smear when you brush on the coating, so seal it first. Spray both sides of your printed sheet with clear polycrylic spray and let it dry, then apply the coating as above. The ink won't move at all.
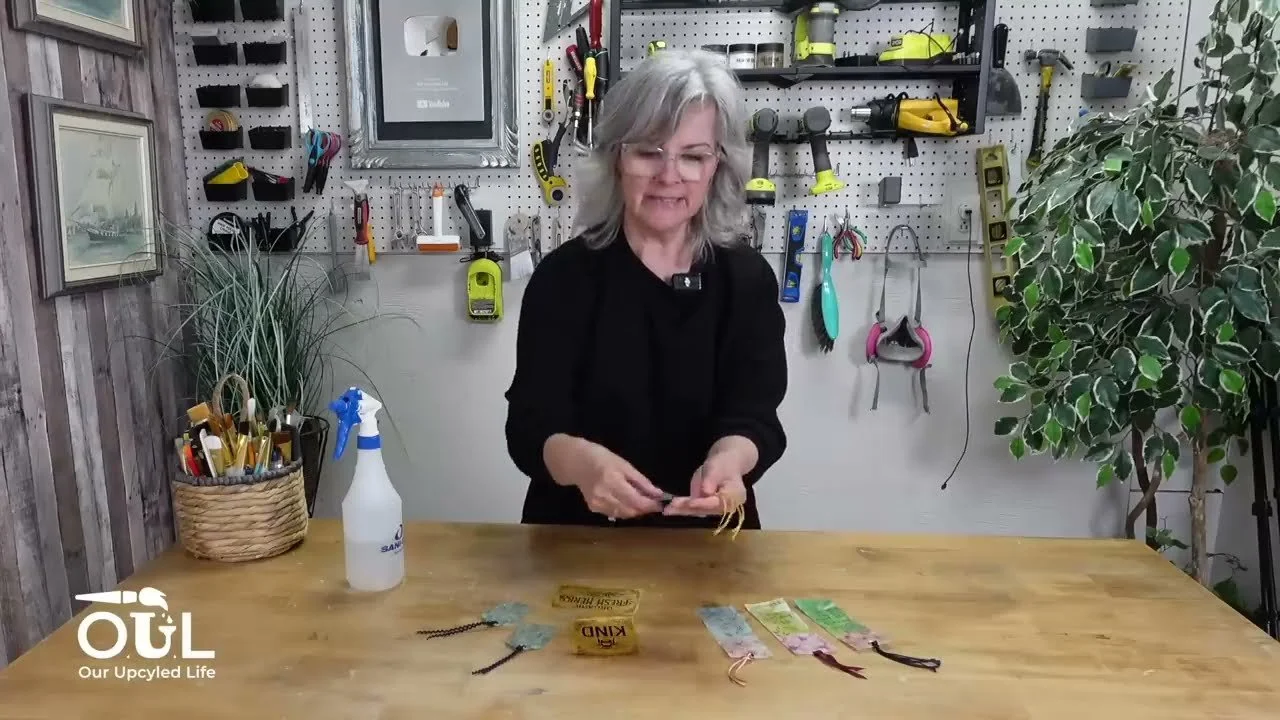
My Best Tips
Keep the coats light. You can always add another one.
Give it an antique look by mixing a little instant coffee with a couple of teaspoons of water and brushing it over the top.
Add colour with a touch of mica powder, food colouring or acrylic paint.
Never use wax paper when pressing, because it will stick.
Store leftovers in a sealed container in the fridge for up to a couple of weeks.
It's water-resistant, not waterproof, so water beads up and wipes off, but don't soak it.
Need pretty graphics for your tags and bookmarks? Members of Our Upcycled Society get my whole graphics library, with new designs every week, plus all my DIY recipe booklets 💛
If you give it a try, I'd love to see how it turns out! Tag me @OurUpcycledLife on social media. I always enjoy seeing your beautiful creations. 💕 Until next time, happy crafting!
