
I love using Mod Podge to put photos and graphics on wood, and there's more than one way to do it. So I tested four different methods side by side, using the same graphic on each block of wood, so you can see the difference and pick your favourite.
All you need is some scrap wood, a bit of chalk paint and Mod Podge. I used Matte because I love that look, but Gloss works too.
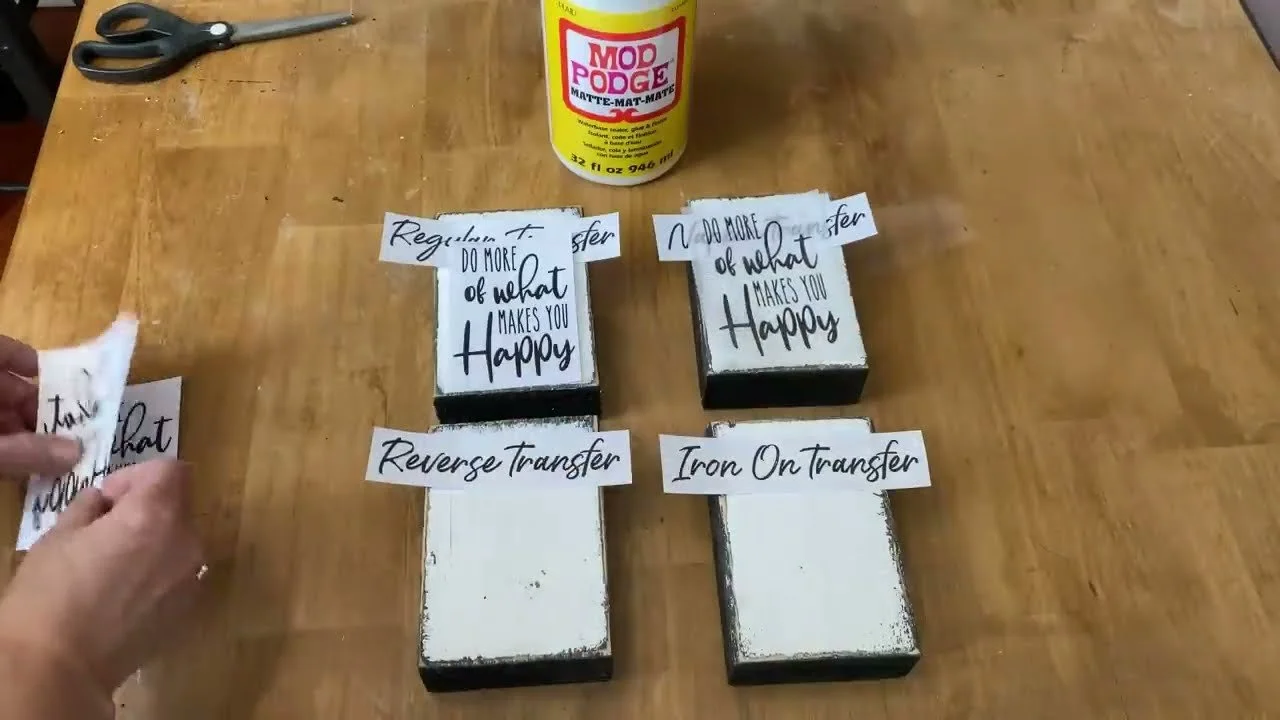
What You'll Need
Scrap wood (I used 2x4 offcuts)
Chalk paint (homemade works great)
Mod Podge Matte
A paintbrush
Your graphic or photo printed on regular paper with a laser printer, or a printed napkin
A damp rag
Parchment paper and an iron (for the iron-on method)
A little piece of plastic wrap
An 80 grit sanding block
Prep Your Wood
Paint your wood with chalk paint. It works much better for transfers than acrylic or latex paint. I did a black base coat with white on top.
Once it's dry, sand the edges for a rustic, chippy look.
Method 1: Regular Transfer
This is the most common and the easiest. You don't need to reverse your text.
Cut your paper the same size as your wood so no edges show.
Brush a light, even coat of Mod Podge on the back of the paper.
Press it onto the wood, smoothing out every bubble and wrinkle.
Once it's dry, add a light top coat of Mod Podge.
When the top coat is dry, sand the edges so the paper blends right into the wood.
Method 2: Reverse Transfer
This is my favourite. There's no paper left behind, so it looks like it was painted right on the wood.
Reverse (mirror) your graphic before printing it on a laser printer. This is really important, or your words will come out backwards.
Brush a light coat of Mod Podge over the front of the graphic.
Flip it face down onto the wood and press out all the bubbles and wrinkles.
Let it dry overnight.
Dampen the paper with a wet rag until you can just see the words through it. Don't soak it.
Gently rub the paper off with your fingers until only the image is left.
Seal it with a light top coat of Mod Podge.

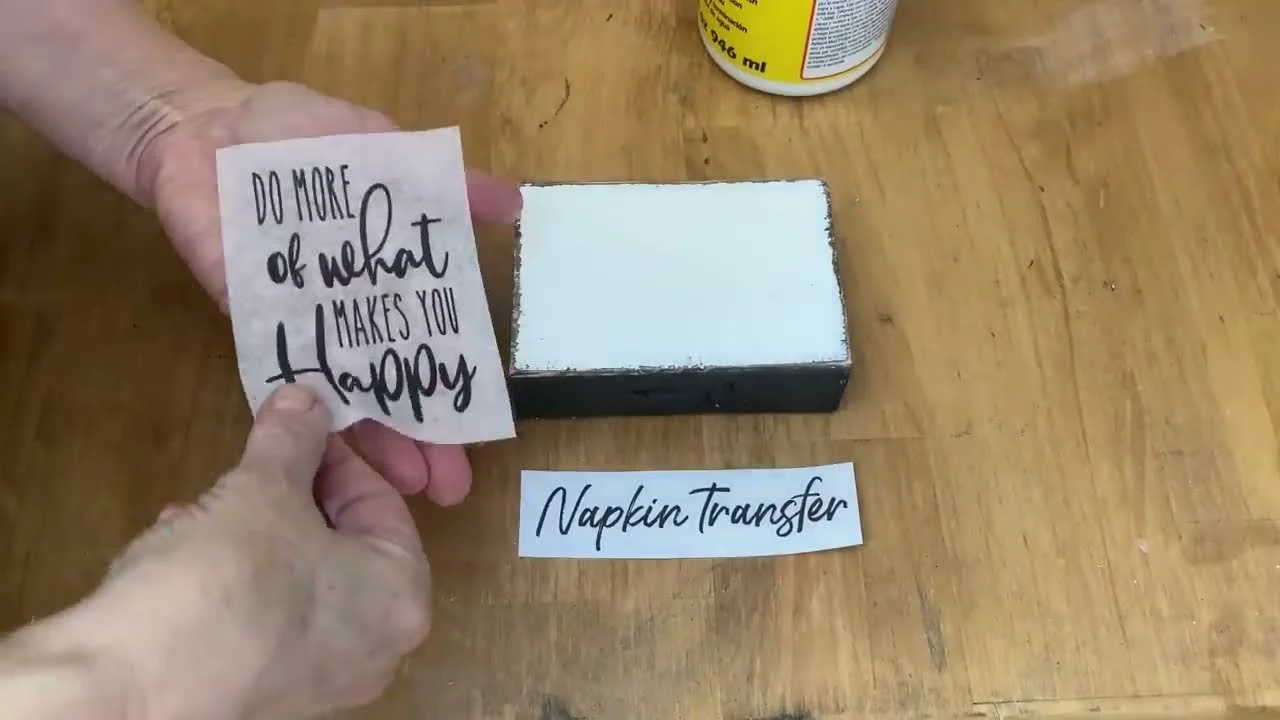
Method 3: Napkin Transfer
Brush a light coat of Mod Podge onto the wood. Don't make it too thick.
Gently lay the napkin on top and press it down with your finger.
Tap it with your paintbrush to smooth out any wrinkles. For stubborn bubbles, dab them with a little piece of plastic wrap.
Once it's dry, add a light top coat of Mod Podge, then sand the edges to blend.
Method 4: Iron-On Transfer
This one can be a little fussy, so be patient and give it a try.
Cut your paper the exact size of your wood.
Brush a generous coat of Mod Podge onto the wood and let it dry completely.
Lay your graphic on top and cover it with parchment paper. It has to be parchment, not wax paper, or it will stick.
Iron it on the highest setting with no steam until the Mod Podge melts and the paper sticks to the wood. Lift the parchment to check the edges, being careful because it's hot.
Let it cool, add a light top coat of Mod Podge, then sand the edges.
My Best Tips
Use chalk paint. Transfers stick better to it than to acrylic or latex paint.
Using an inkjet printer? You'll need to do an extra step to your prints first. A laser printer is easiest.
Don't over-wet the reverse transfer. Damp is all you need.
Sand the edges. It blends the paper into the wood and makes it look professional.
Want to try more transfers? See my polycrylic transfer, packing tape transfer and magazine picture transfer. Members of Our Upcycled Society get my whole graphics library, with new designs every week, plus my Transfers Made Simple ebook free 💛
If you give it a try, I'd love to see how it turns out! Tag me @OurUpcycledLife on social media. I always enjoy seeing your beautiful creations. 💕 Until next time, happy crafting!
