
Dried oranges have that nostalgic, Christmas-long-ago feel, and they look so beautiful strung as a garland or hung on the tree. But if you've ever made them and ended up with brown, sad-looking slices, you're not alone. That's the number one complaint I hear.
I spent hours testing different tricks, and this is the method that gives me bright, glowing slices that look like little pieces of stained glass every time. No dehydrator needed, just your oven.
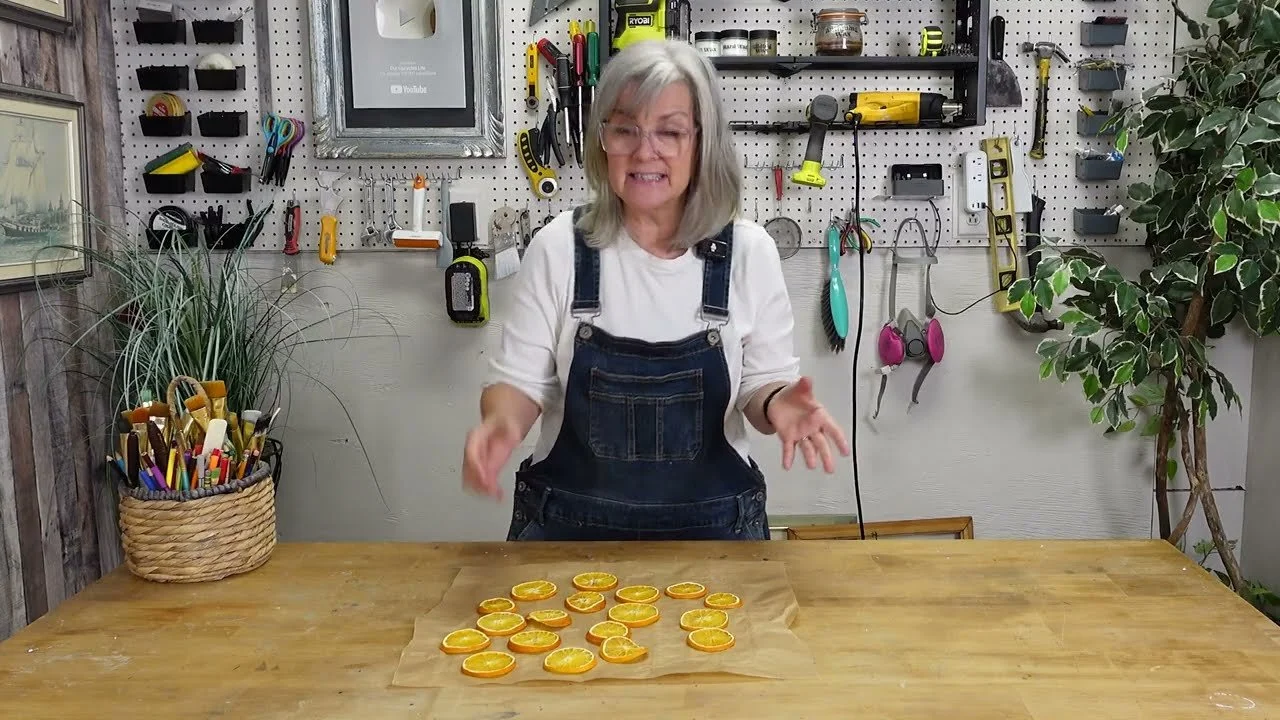
What You'll Need
Navel oranges with no blemishes
A sharp knife
Paper towel
4 cups of water
4 tablespoons of lemon juice
1 tablespoon of salt
Parchment paper
A wooden spoon
Polycrylic or Mod Podge (optional, to seal)
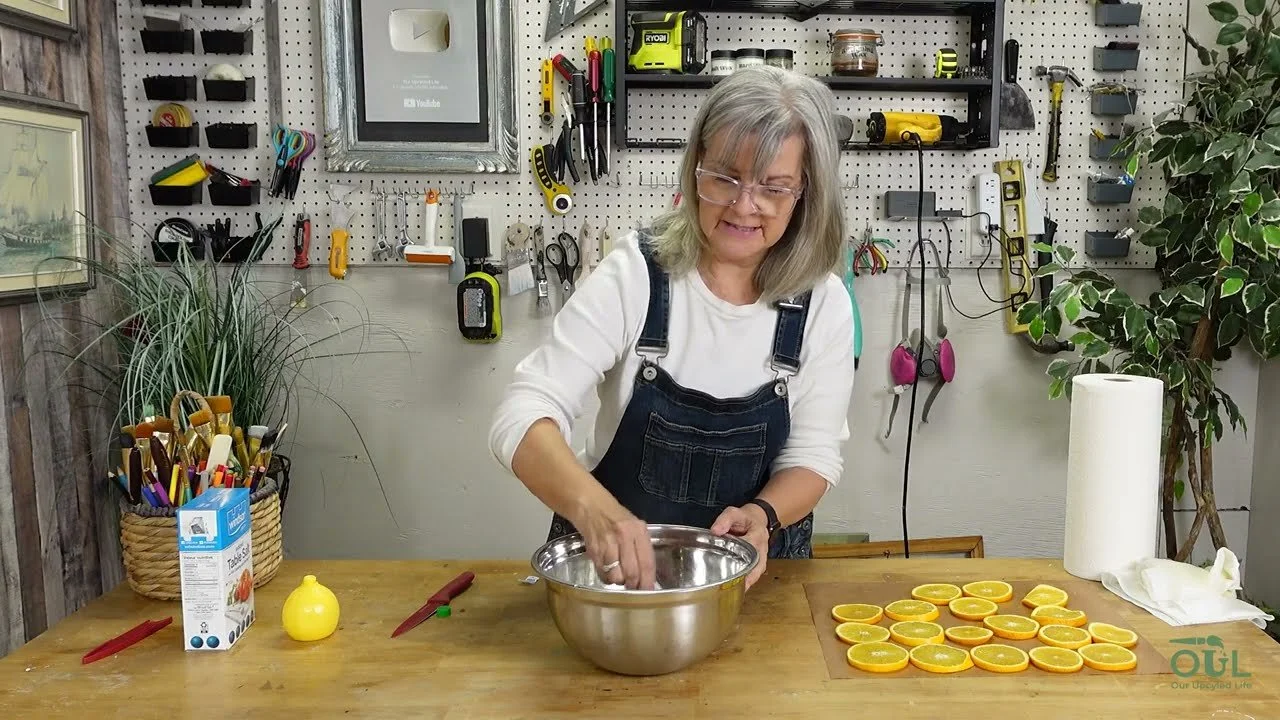
How to Do It
Cut the ends off your oranges and set them aside. You won't use them.
Slice the oranges 1/8 to 1/4 inch thick. Take your time and keep them as even as you can. Pick out any seeds.
Blot the slices with paper towel to soak up as much juice as possible.
Mix 4 cups of water, 4 tablespoons of lemon juice and 1 tablespoon of salt. The lemon juice stops browning and the salt draws out moisture.
Soak the slices for 15 to 20 minutes. Don't skip this step!
Lay them between layers of paper towel and press out as much liquid as you can.
Preheat your oven to 170°F (about 75°C), or as low as it will go.
Take a rack out of the oven, cover it with parchment paper, and lay the slices flat so they aren't touching. Using the rack instead of a pan lets the air flow all around them.
Put the rack in the oven and prop the door open slightly with a wooden spoon so the moisture can escape.
Flip the slices every hour. They'll take 4 to 6 hours. They're ready when the centres look slightly see-through and the edges feel dry.
Take them out when they're about 90% dry and let them finish drying overnight.
If you like, brush on a coat of polycrylic or Mod Podge for a pretty sheen and to help them last for years.

My Best Tips
Use navel oranges. Sweeter little ones like clementines have more sugar, and they brown more easily.
The 4 things that cause browning: slices cut too thick, an oven that's too hot, no airflow under the slices, and not blotting enough moisture before baking.
Starting to darken? Take them out, turn the oven off to cool it down, then start again.
Store them in a sealed container somewhere cool and dry. They'll last for months.
Looking for Christmas graphics for gift tags to go with your garland? Members of Our Upcycled Society get my whole graphics library, full of Christmas designs, with new ones added every week 💛
If you give it a try, I'd love to see how it turns out! Tag me @OurUpcycledLife on social media. I always enjoy seeing your beautiful creations. 💕 Until next time, happy crafting!
