
Painted glass jars and bottles are one of my favourite upcycles, but there's nothing worse than paint that chips or peels off. I've tweaked my method over the years, and with a couple of extra steps, my painted glass doesn't budge, even when I scrub it hard.
Here's exactly how I paint glass for a smooth, durable finish that's ready for any DIY project.
What You'll Need
Glass jars or bottles
Hot soapy water
Rubbing alcohol and a cloth
Spray primer or flat white spray paint
Chalk paint (I use my homemade white chalk paint)
A chip brush
A sponge
How to Do It
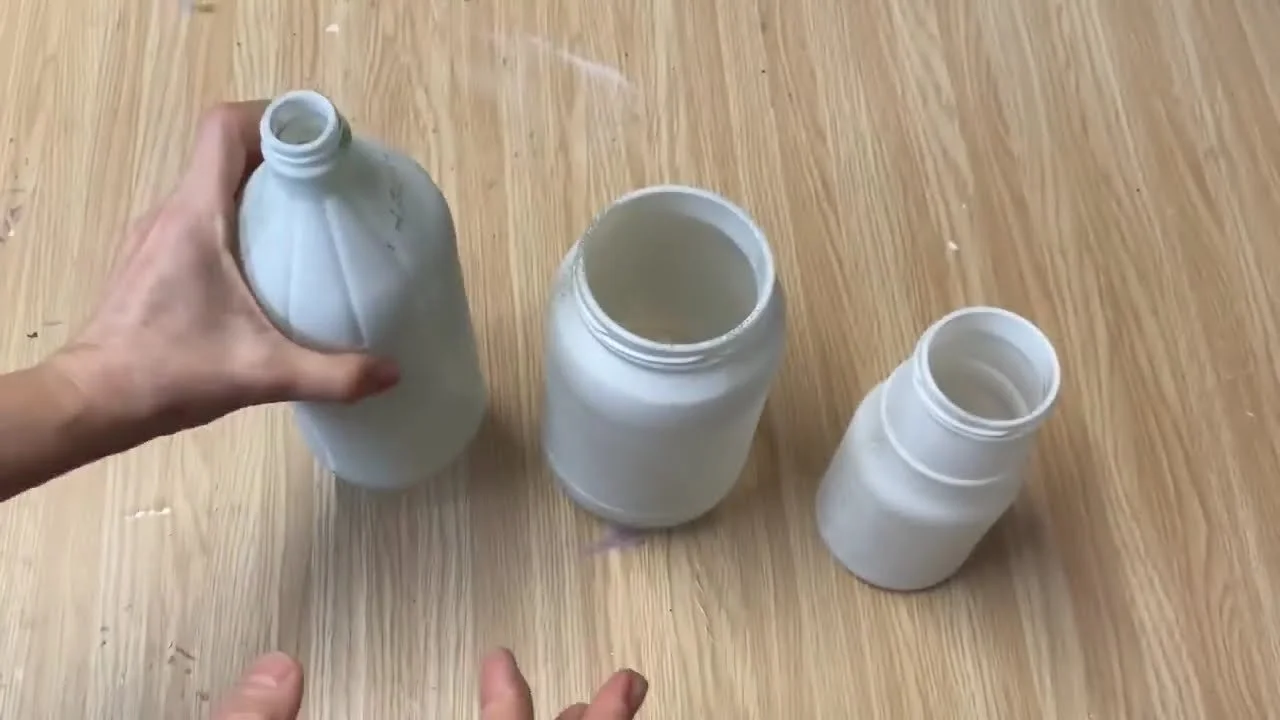
Scrub your jars in hot soapy water to remove any labels, grease and food residue.
Wipe them down inside and out with rubbing alcohol. Don't skip this step! Any leftover grease will stop the paint from sticking.
Give each jar a very light spritz of spray primer or flat white spray paint. It doesn't need to cover completely, just enough to give the paint something to grip.
Paint the bottoms first with chalk paint and let them dry.
Brush a light coat of chalk paint over the sides.
Let it dry completely. If you add the next coat too soon, the first one will lift off.
Brush on a second light coat and let it dry completely again.
For the final coat, dab the paint on with a sponge. This hides any brush strokes and gives a smooth finish.
My Best Tips
The rubbing alcohol step is key. Clean glass is what makes paint stick.
A light spritz of primer makes a huge difference to how well the paint grips.
Keep your coats light and let each one dry completely.
Finish with a sponge for a smooth look without brush marks.
Make your own paint for this! Here's my DIY chalk paint. Then add a graphic with my packing tape transfer. Members of Our Upcycled Society get my whole graphics library, with new designs every week, plus all my recipe booklets 💛
If you give it a try, I'd love to see how it turns out! Tag me @OurUpcycledLife on social media. I always enjoy seeing your beautiful creations. 💕 Until next time, happy crafting!
