
Before you buy another pack of junk journal paper, look around your house! You can make beautiful papers, transfers, envelopes and embellishments from fast food napkins, toilet paper, tin foil, coffee, magazines and scraps you'd normally throw out. Here are my favourite free junk journaling ideas.
My Go-To Supplies
Mod Podge, school glue or clear glue
Instant coffee and tea bags
Napkins, tissue paper, magazines and old book pages
Label sheet backing paper, packing tape and sandwich bags
A laser printer (some techniques work with inkjet too)
A brayer (or an old credit card)
Make Your Own Papers
Leather-look paper: Scrunch up kraft paper or a paper bag, then rub in a little hair conditioner or hand cream to soften the fibres.
Momigami paper: This Japanese technique makes paper feel like fabric. It's great for collage and mixed media.
Napkin fabric paper: Lay one napkin ply into watered-down glue on fabric for strong, see-through paper.
Faux rice paper: Fast food restaurant napkins and glue. I wrapped one around a recycled glass jar.
Coffee and tea stained paper: Lay lace, string or found objects on wet paper, or paint coffee patterns like circles, herringbone and zigzags.
Ragged edges: Wet and tear the edges, then dip them in coffee for a dark, antique edge.
Embossed toilet paper: Press four to eight wet layers into a stamp and let it dry for 24 hours.
Tin foil texture paper: Dab and roll paint across crumpled foil, then press paper into it.
Shaving cream marbling: Pour watered-down acrylic paint over shaving cream, press in paper and scrape. Every one is a surprise!
Handmade paper: Blend scrap paper into pulp, use a DIY deckle frame made with a staple gun and screen, and dry it overnight.
Seed paper: Add saved flower seeds to your pulp for a gift that grows.
Transfer Techniques
Label sheet transfers: Print on the shiny backing of label sheets, then press firmly with a brayer.
Sandwich bag transfers: Two layers of plastic baggie over your print make an affordable alternative to rub-on transfers.
Packing tape transfers: Soak strips in warm water and rub off the paper.
Tissue paper transfers: Dollar store tissue paper and a very gentle hand. Let it dry completely before peeling.
Photo transfers on glass: Print a family photo and transfer it to a jar for a heartfelt gift.
Book page and magazine transfers: Rub from the middle out, then a top coat clears the cloudy haze.
DIY stencil paste: Mix your own to get any colour and the right consistency, then gently peel the stencil away.
Envelopes, Ribbon & Embellishments
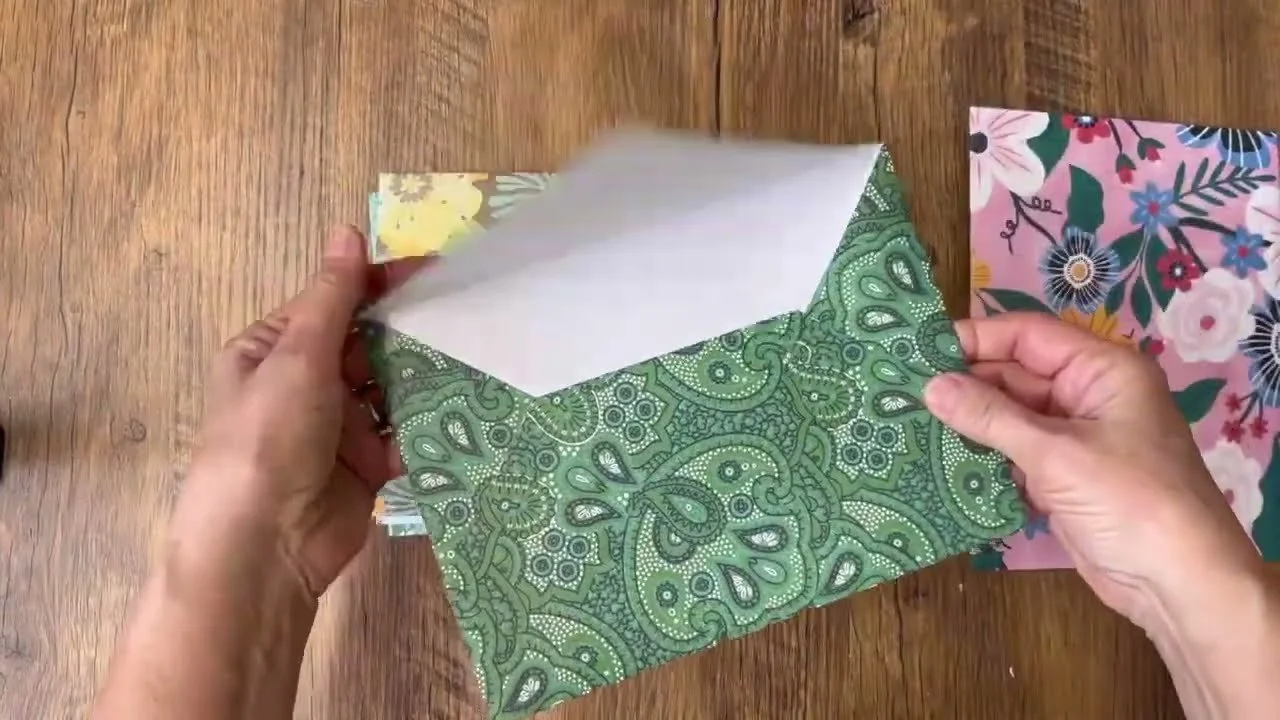
Handmade envelopes: Score with a ruler and use double-sided tape. They're sturdy enough to mail.
Fabric paper envelope: The pattern on the inside makes it extra special.
Custom ribbon: Cut fabric paper into strips while it's still on the backing.
Stitched junk journal: Embroidery floss three times the length of the journal and three holes along the spine.
Grommets: They strengthen and decorate tags, pages and covers.
Bookmarks, cards and hang tags: Use your transfers and papers on all kinds of small projects.
Clothing tag gift tags: Save tags from new clothes and give them a pretty new print.
Corner rounder: A small tool that makes everything look finished.
My Best Tips
Save every scrap. Before long, you'll have enough to make your own paper.
Always let transfers dry completely before peeling.
Press your papers with an iron (no steam) between parchment before decorating.
Experiment! Half the fun is seeing what each technique creates.
Want more? Try my photo transfer hacks, packing tape stickers and 21 Mod Podge crafts.
If you give it a try, I'd love to see how it turns out! Tag me @OurUpcycledLife on social media. I always enjoy seeing your beautiful creations. 💕 Until next time, happy crafting!
