
Paper is one of the most versatile (and cheapest!) crafting supplies there is. These paper DIYs really work, and almost all of them use things you already have in your craft room. There are vintage tintype photos, DIY washi tape, handmade paper, transfers and aged papers for junk journals, scrapbooks and decoupage.
If you love these, you'll also enjoy my 26 free junk journaling ideas.
My Go-To Supplies
Printer paper, tracing paper, tissue paper and napkins
Label sheet backing paper and clear transparency film
Mod Podge or school glue
Instant coffee, tea bags and a little baking soda
Double-sided tape from the dollar store
A bone folder and a stencil brush
Transfers & Photo Projects
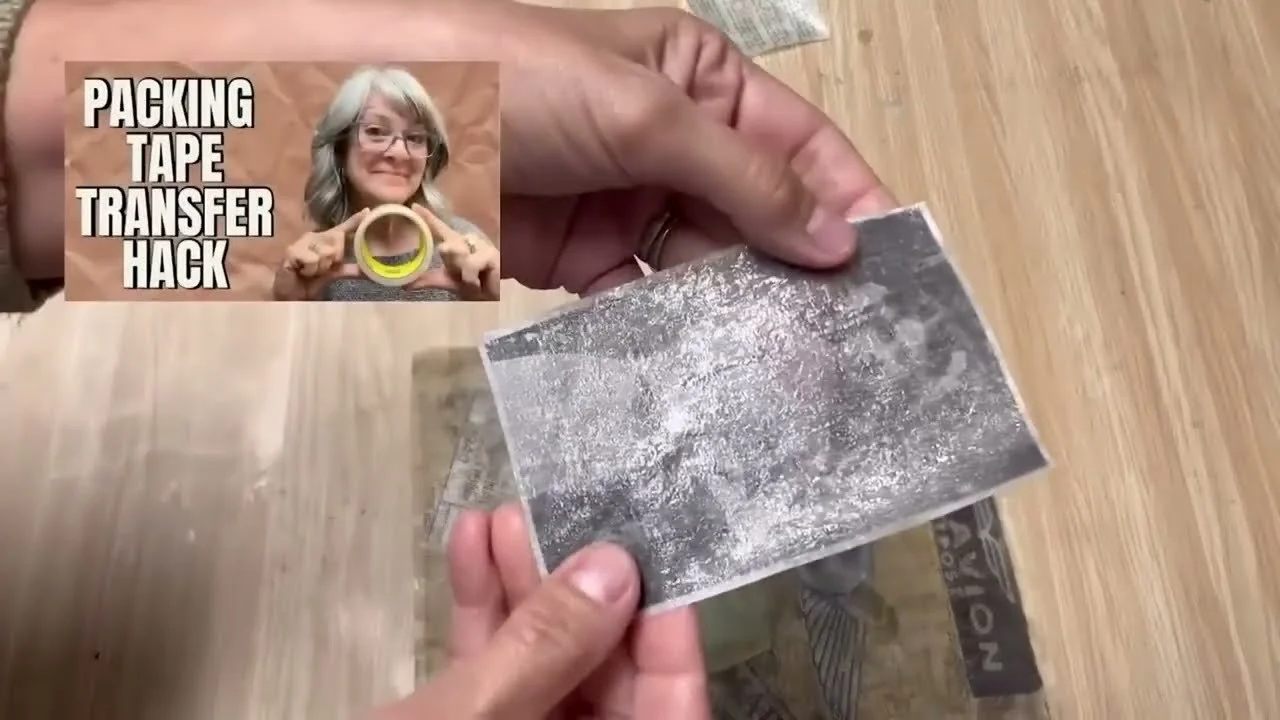
Tintype-style photos: Print onto clear transparency film (there's a version for inkjet and laser) and pop it into a frame for an antique look.
DIY rub-off transfers: Use thrifted label sheets to make your own for a fraction of the cost.
Plastic bag transfers: A graphic transfer using a sandwich bag. It really works!
Tissue paper transfers: Print onto tissue paper on the shiny label backing.
Fabric transfers: Laser prints work best, but inkjet works too.
Magazine photo transfers: Watch out for words in your photo. They'll transfer backwards.
DIY stencil paste: A thick, spreadable paste for crisp stencil lines on cards, wood and fabric.
Make & Age Your Own Paper
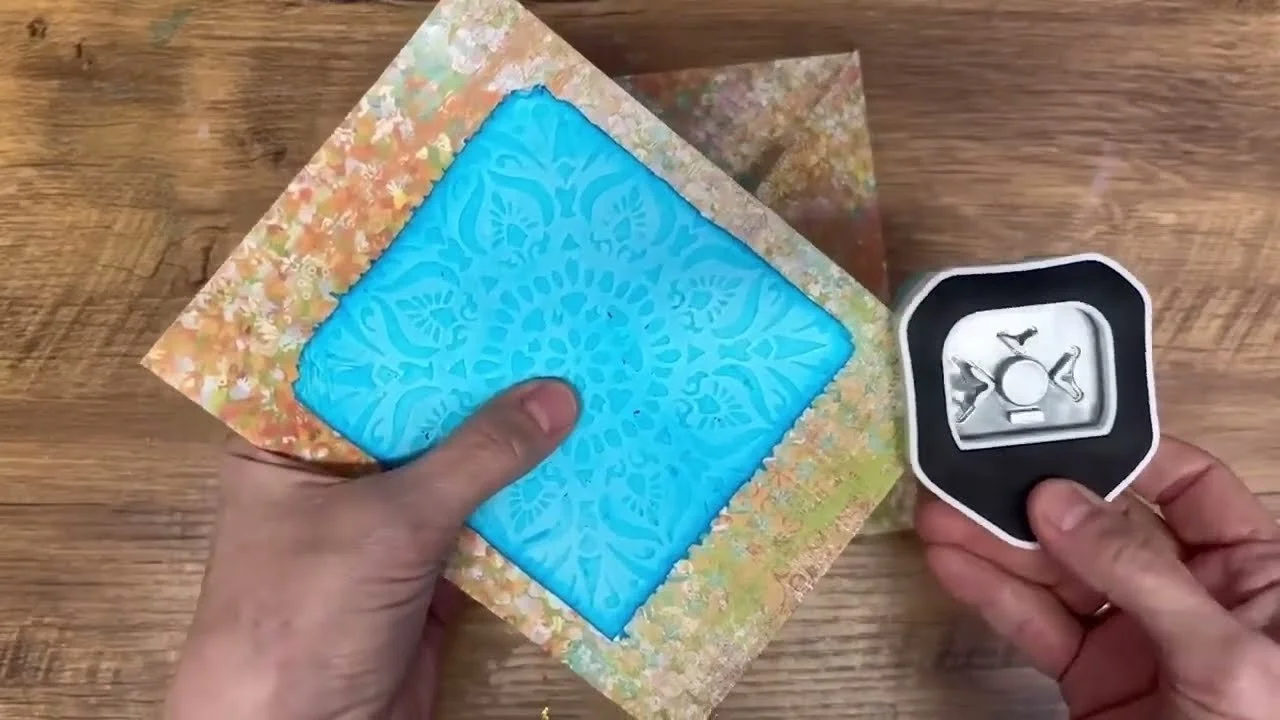
Embossed toilet paper: Push wet toilet paper into a stencil with a stencil brush, gently so it doesn't tear.
Faux leather paper: Scrunch, flatten and soften kraft paper or a paper bag.
Shaving cream marbling: Two parts water to one part acrylic paint dropped onto shaving cream in a paper-sized dish.
Homemade paper: Use two 8x10 canvas frames with the canvas removed as a mould and deckle.
Momigami paper: The Japanese technique for soft, fabric-like paper with no fancy equipment.
Fabric paper: Linen or cotton with Mod Podge or PVA glue mixed with water.
Tea and coffee staining: Add about half a teaspoon of baking soda to four cups to neutralize the acid so your papers last longer.
Blown coffee and coloured papers: Blow coffee across the page with a straw, or mix in food colouring for colour.
Fast vintage aging: Tear the edges, wrinkle the paper and dye it with coffee.
Glassine paper alternative: Treat tracing paper and let it dry outside for a see-through glassine look.
DIY rice paper: One napkin ply (or tissue paper) with glue.
Faux seed paper: Clear school glue and water in a 2:1 ratio gives you the look of handmade seed paper.
Flower seed paper: Repurpose paper scraps into pulp with real seeds for a gift that grows.
Paper Crafts & Embellishments
DIY washi tape: Lay printed paper on double-sided tape cut to the width you want.
Custom fabric ribbon: Fabric backed with spray adhesive, then cut into strips.
Envelopes: Fold the corners to meet in the middle and crease with a bone folder.
Handmade journal: Fold lined paper in half, press firmly and stitch the signatures in.
Metal grommets: An affordable kit is all you need to add them to tags and covers.
My Best Tips
Neutralize coffee and tea stains with a pinch of baking soda.
Always use just one ply of a napkin.
Let transfers dry completely before you peel or rub.
Keep a scrap paper bin. It's free supplies for paper making.
Want more? Try my photo transfer hacks and 21 Mod Podge crafts.
If you give it a try, I'd love to see how it turns out! Tag me @OurUpcycledLife on social media. I always enjoy seeing your beautiful creations. 💕 Until next time, happy crafting!
