
I found a funky, beat-up little end table at the thrift store for $7.99, and on the same trip I spotted a vintage floral tablecloth for $2.99. I knew right away they belonged together. A little paint and some fabric decoupage turned it into a one-of-a-kind piece for my bedroom.
Most people think of Mod Podge for decoupage, but for fabric I always use water-based polycrylic. It goes on smoother, it doesn't stay tacky, it's more durable, and it stays crystal clear. Here's exactly how I do it.
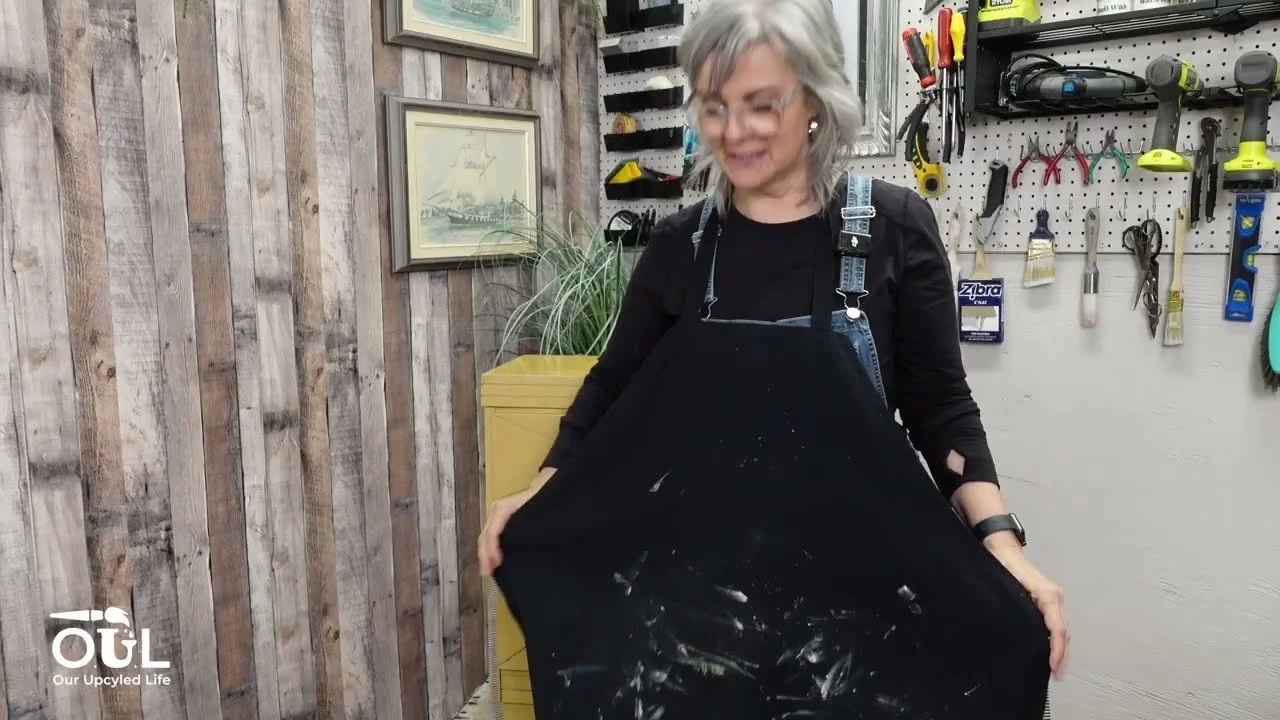
What You'll Need
A thrifted piece of furniture
A bonding primer (I use Zinsser Bulls Eye 1-2-3) if your piece is laminate or has an oil-based finish
Latex paint, a roller and a cheap paintbrush
100% cotton fabric (a thrifted tablecloth, bed sheet or pillowcase is perfect)
Water-based polycrylic sealer
A brayer or a ruler
Sharp scissors and a craft knife with a fresh blade
Cleaner, wood filler and sandpaper as needed
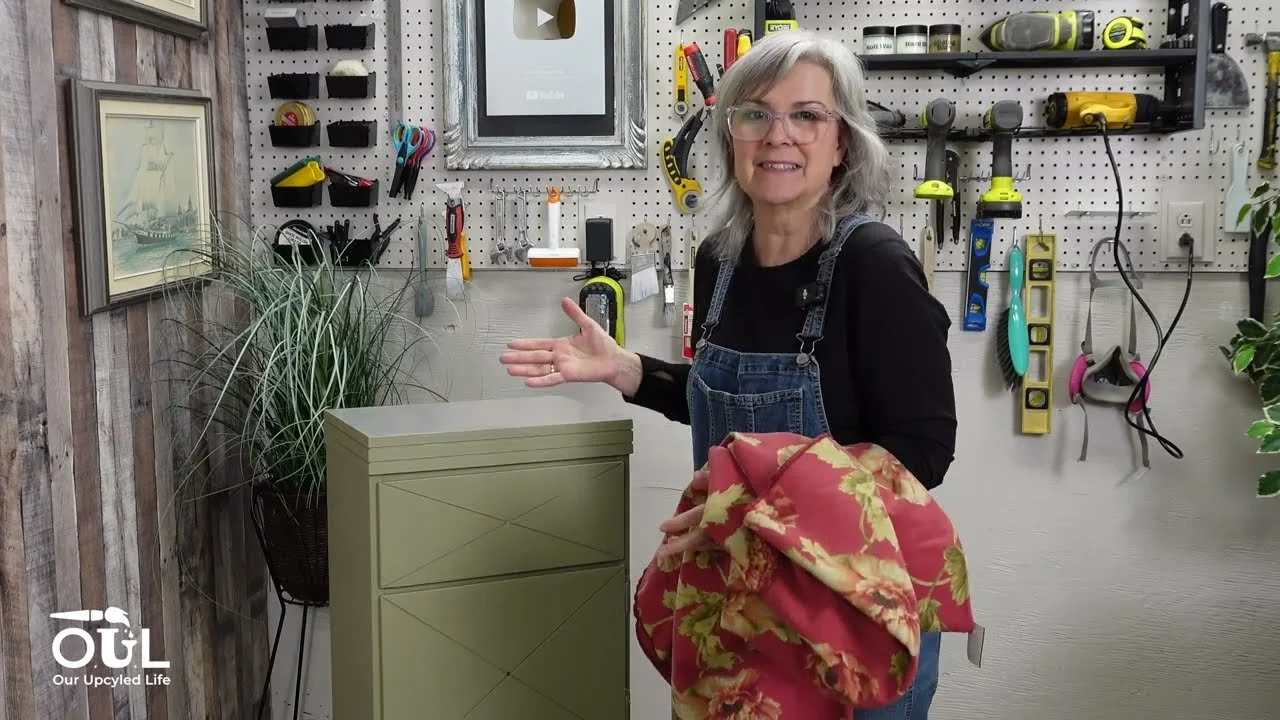
How to Do It
Clean your piece really well and fill any scratches with wood filler. Let it dry and sand it smooth.
If it's laminate or has an oil-based finish, prime it with a bonding primer so the paint will stick.
Paint everything except the top with two coats of latex paint. Leave the top just primed, because it gives the fabric something to grab onto.
Cut your fabric a little bigger than the top, centring the prettiest part of the pattern.
Brush a thick coat of polycrylic onto the top, right out to the edges. You want it pooling a little.
Lay the fabric on top and press it down firmly so the polycrylic soaks up through it. Use a brayer or a ruler to push out every bubble and wrinkle.
Brush another thick coat of polycrylic over the fabric, going right past the edges so it soaks all the way through to the wood.
Let it dry for about an hour, then add a second and third coat the same way.
Once it's completely dry, snip into each corner with scissors, then trim along each edge with a sharp craft knife held at a slight angle for a clean, bevelled edge.
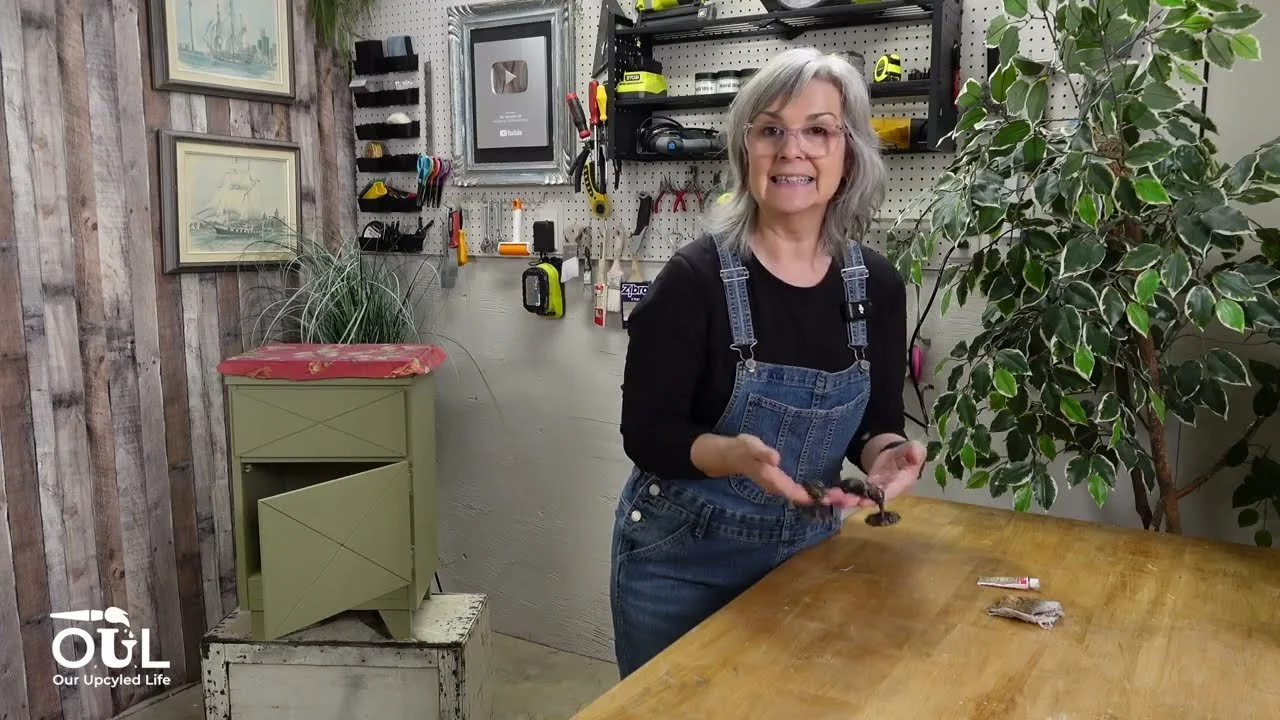
Add your hardware. I gave some saved vintage handles a rub of antique gold Rub 'n Buff.
My Best Tips
Choose cotton fabric. It soaks up the polycrylic. Avoid polyester, nylon, acrylic or spandex, because they peel right off.
Seal right past the edges. If the edges aren't soaked, the fabric will lift when you trim it.
Skip oil-based sealers. They yellow over time, while water-based polycrylic stays clear.
Removing old contact paper? Warm it with a heat gun on low and it'll peel off much more easily.
Reselling? Little details like painting the back and inside the drawers make a big difference.
Love using polycrylic? Try my polycrylic transfer next. Members of Our Upcycled Society get my whole graphics library, with new designs every week, plus my Transfers Made Simple ebook free 💛
If you give it a try, I'd love to see how it turns out! Tag me @OurUpcycledLife on social media. I always enjoy seeing your beautiful creations. 💕 Until next time, happy crafting!
