
Every year those beautiful Christmas cards come in the mail, and every January I just can't bring myself to toss them in the recycling bin. Some of that artwork is way too pretty to throw away! So this year I pulled out my stash (plus a whole bag of cards I found at the thrift store for a dollar) and came up with 10 easy ways to give them a second life.
Most of these need nothing more than a card, a little glue and a bit of ribbon. They make sweet ornaments, gift tags and handmade gifts, and a few are perfect to do with the grandkids.
What You'll Need
Old Christmas cards (save your favourites from last year, or check the thrift store)
Scissors and a paper cutter
Hot glue gun
Mod Podge (I like Matte) or school glue
Small thrifted frames
Cheap chain from old costume jewelry
A large circle punch and a regular hole punch
Popsicle sticks
A scrap piece of wood and a small picture hanger
Clear shelf liner (dollar store or thrift store) or packing tape
A grommet kit (optional)
Ribbon, string or vintage ribbon
Ink pad for distressing the edges (optional)
1. Mini Frame Ornament
I found a tiny frame at the thrift store for 50 cents and knew it had to become an ornament. Cut out your favourite little part of the card (I chose the snowman in the corner), tuck it into the frame and close it up. For the hanger, grab a little piece of chain from old costume jewelry. Put a dab of hot glue in each top corner on the back, press the chain ends into the glue and let it dry. Now it's ready for the tree!
2. Photocopy Your Favourite Card First
Got a card you love too much to cut? Make a photocopy and craft with the copy instead. You keep the original safe, and you can use the copy over and over in junk journals, paper crafts or even to make a brand-new card.
3. Wine or Champagne Bottle Gift Tag
Cut the card in half and straighten it up with a paper cutter.
Use a large circle punch (big enough to fit over the neck of the bottle) to punch a hole near the top, centred.
Gently bend the tag, don't fold it all the way, and slip it over the bottle neck.
Write a little note on the back and add a bow.
4. Bonus Round Gift Tag
Don't toss the circle you punched out! Mine had a pretty cardinal on it. Punch a small hole at the top, add a string, and you've got another gift tag for free.
5. Popsicle Stick Puzzle for the Littles
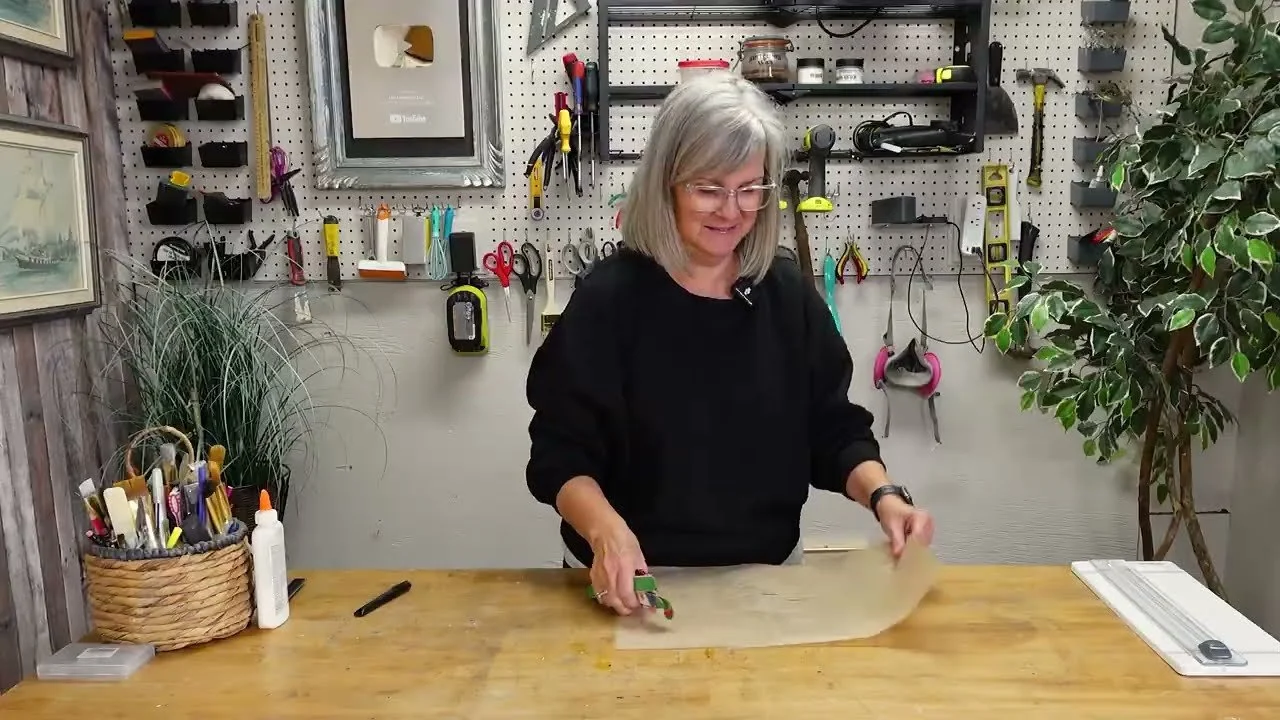
Flip your card over and glue popsicle sticks across the back with school glue or Mod Podge. I alternated red and green for a festive back.
Leave a tiny space between each stick, and keep the same amount hanging over on both ends.
Let it dry completely.
Flip it over and carefully cut between each stick with a sharp craft knife.
Now you have a puzzle! My three-year-old grandson can put one together, and they store perfectly in a zippy bag when playtime is over.
6. Decoupage a Card onto Wood (with My Packing Tape Hack)
Christmas cards are thick, and thick paper loves to wrinkle when you decoupage it. Here's my fix: press regular packing tape firmly onto the back of the card, then peel it off. It lifts away a layer of paper and leaves you with a thinner card that lays down so much nicer. Repeat if you need to. This works on magazine pages and comic book pages too.
Brush a thin layer of Mod Podge onto your scrap of wood. A little goes a long way.
Centre the card and smooth it down (a brayer helps).
Add a top coat of Mod Podge, spray it with polycrylic, or leave it as is.
Screw a little hanger onto the back.
It makes a lovely gift, and it's a fun one to do with kids using their own artwork too.
7. Deluxe Christmas Card Bookmark
Cut your card to bookmark size.
Cut two pieces of clear shelf liner a little bigger than the bookmark. No shelf liner? Cut your bookmark the width of packing tape and use that instead.
Peel the backing, lay your bookmark in, line it up, then add the second piece on top.
Smooth it out (I use a wallpaper squeegee) and trim the edges.
Punch a hole at the top and add a grommet for a finished look, then thread through some pretty vintage ribbon.
Perfect for the book lover on your list!
8. Scalloped Ribbon Christmas Card Garland
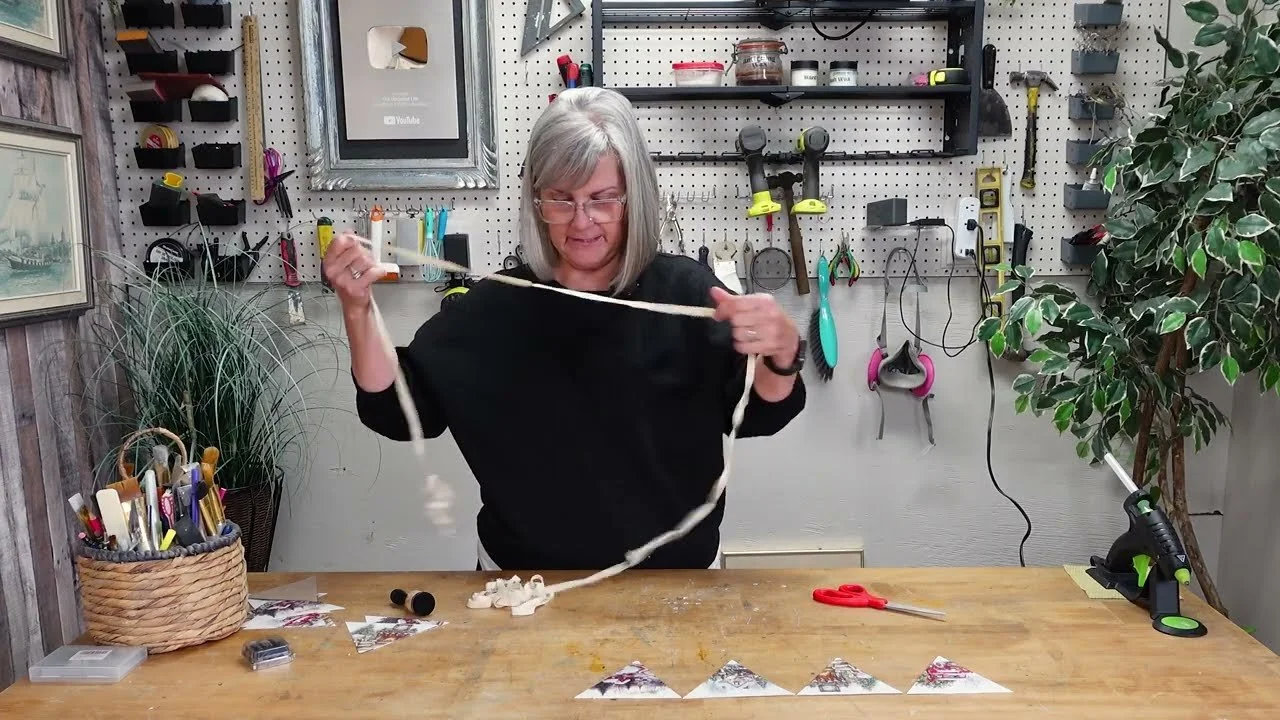
Make a triangle template from cardboard and cut the fronts of your cards into triangles.
Optional: rub an ink pad around the edges to soften that "paper" look.
Lay them out so the same image isn't side by side.
Run a little hot glue along the top of each triangle and press a scalloped-edge ribbon on top, scallop side down. Leave extra ribbon at each end for tying.
Turn the backs of the cards into gift tags so nothing goes to waste!
9. Snowman Gift Tag
I found a gift tag punch at the thrift store, but you can just as easily cut your own tag shape. Line up the part of the picture you want (I picked the snowman's head), punch it out, add a hole and a string, and it's ready for a present. Just double-check it isn't upside down. Ask me how I know!
10. Frame a Special Card
When I find a card that's too special to cut up, I frame it. Find a small frame you love at the thrift store (I found a gorgeous brass one), take it apart and use the picture inside as your template. Trim the card, pop it in and put the frame back together. It's original Christmas decor you won't find at a big box store. And if the inside of the card has a beautiful quote, punch it out and turn it into a gift tag!
My Best Tips
Thrift your cards. Thrift stores often sell whole bags of new Christmas cards for a dollar or two.
Use the whole card. Fronts become ornaments and garlands, backs and insides become gift tags.
Thin it out before you decoupage. The packing tape trick keeps thick cards from wrinkling.
Stop sticky lids. Rub a little Vaseline around your Mod Podge lid and it won't glue shut.
Get the kids involved. The puzzle, garland and decoupage projects are all kid-friendly.
Looking for more holiday upcycles? Try my 10 ways to upcycle Christmas gift bags and my decoupage for beginners guide.
If you give it a try, I'd love to see how it turns out! Tag me @OurUpcycledLife on social media. I always enjoy seeing your beautiful creations. 💕 Until next time, happy crafting!
