
Ever wanted to add a drainage hole to a cute thrifted pot, put twinkle lights in a glass bottle, or run a lamp cord through a ceramic vase? You can drill right through glass and ceramic without cracking them, and it's easier than you think.
Once you know how, the possibilities are endless: planters, lamps, soap dispensers, bottle lights, wind chimes and more.
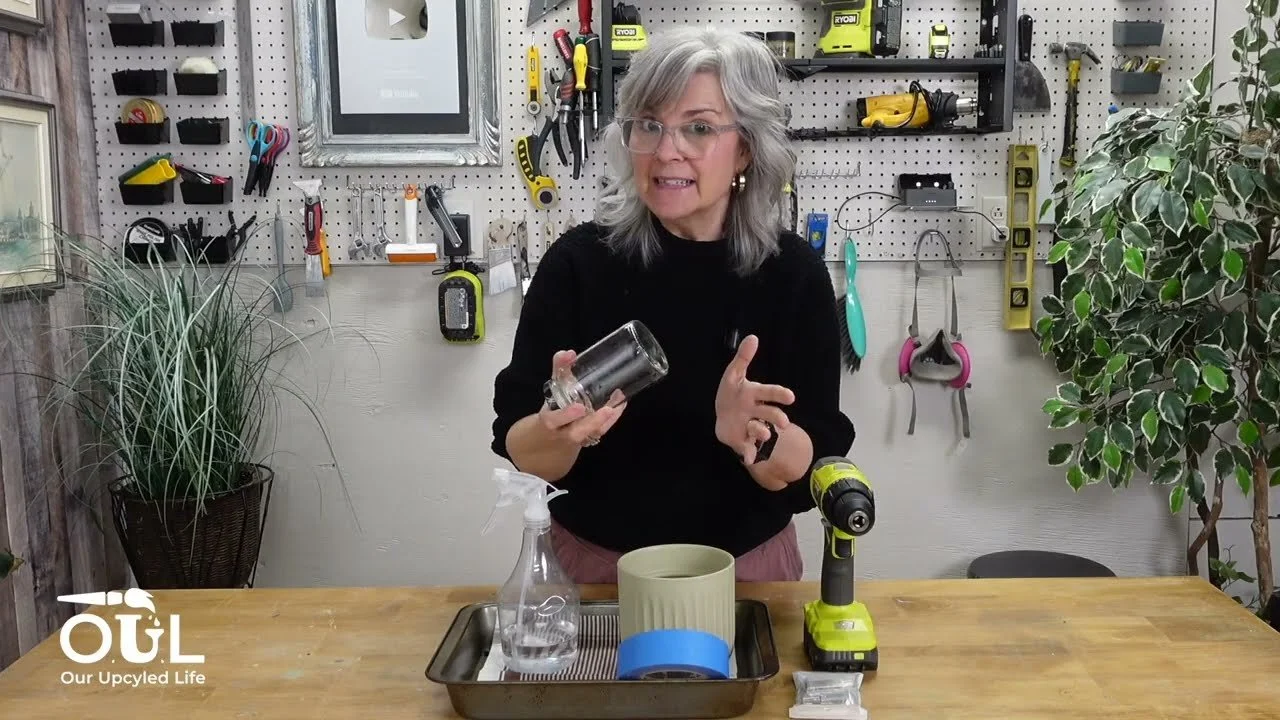
What You'll Need
A drill
Diamond drill bits made for glass and ceramic (a regular bit won't work)
A spray bottle of water, or your kitchen sink
An old baking dish and a dishcloth
Painter's tape
Safety gloves and safety glasses
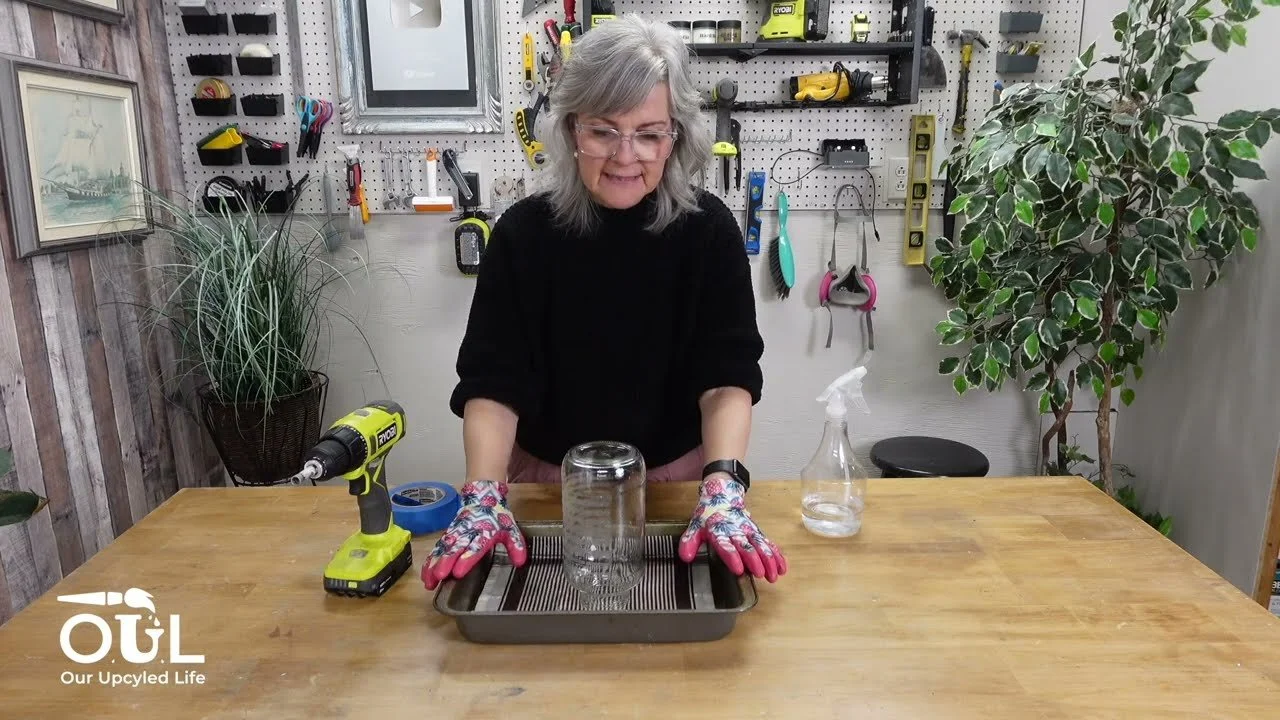
How to Do It
Put on your safety glasses and gloves. Glass can shatter if something goes wrong.
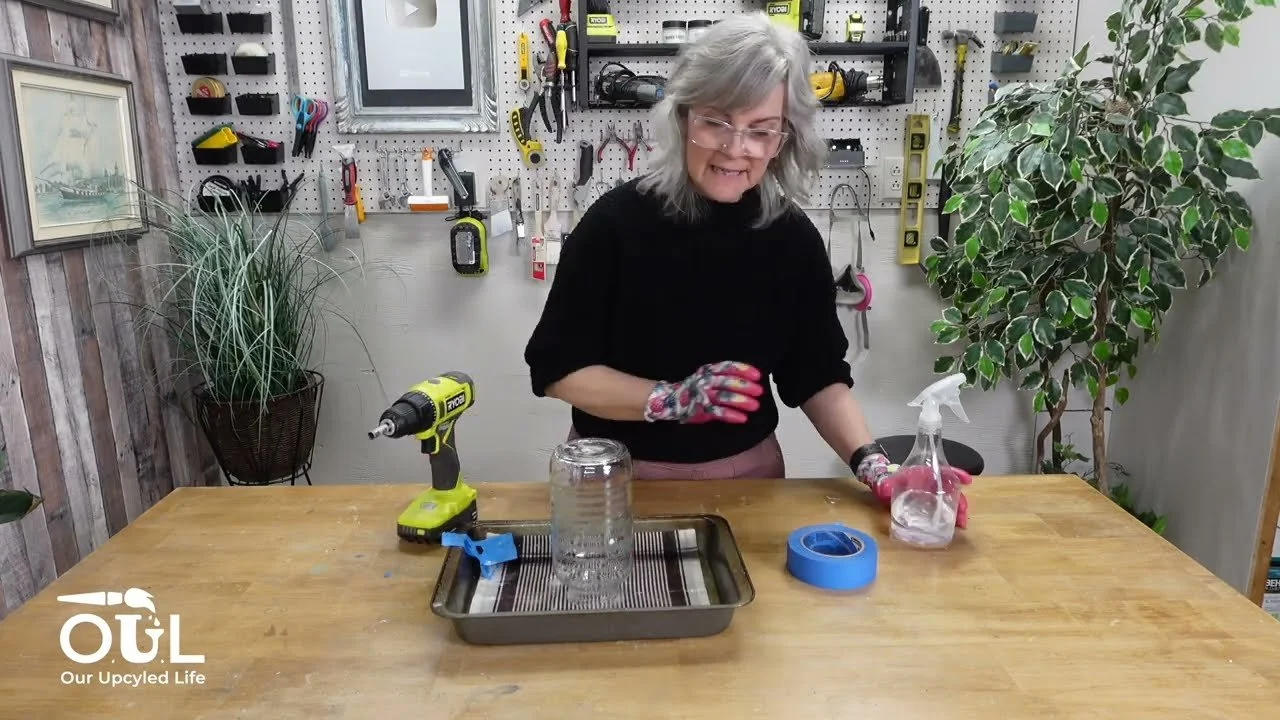
Lay a dishcloth in an old baking dish with a little water. Set your pot or bottle on it so it can't slide around. You can also work right in your kitchen sink.
Put two strips of painter's tape over the spot in an X. This helps the bit start cleanly and keeps it from skidding.
Spray the spot with water. The bit needs to stay wet and cool the whole time, or it will overheat. In the sink, just let the tap drip slowly onto it.
Start drilling at an angle, slowly and gently, until the bit bites in.
As it digs in, slowly bring the drill up until it's straight up and down. Keep adding water as you go.
Use light pressure and let the drill do the work until it goes through. Pressing too hard can make it slam through and break the piece.
Peel off the tape and rinse away the dust.
My Best Tips
Keep it wet! Water stops the bit and the glass from overheating.
Start on an angle, then straighten up once the hole has started.
Go slow with glass. Ceramic is more forgiving, but glass needs extra patience.
Check your progress by pulling the tape off partway so you can see the hole.
Safety first. Always wear gloves and eye protection.
Make your drilled jars even prettier with my no-chip glass painting method. Members of Our Upcycled Society get my whole graphics library, with new designs every week, plus all my recipe booklets 💛
If you give it a try, I'd love to see how it turns out! Tag me @OurUpcycledLife on social media. I always enjoy seeing your beautiful creations. 💕 Until next time, happy crafting!
