
I've never been one to buy new Christmas decor, and honestly, we don't need to. Every year the stores fill up with brand-new holiday stuff, and so much of it ends up collecting dust or back at the thrift store a year later. I'd much rather find pieces with a little character and give them a new life.
So this year I went thrifting and turned my finds into one-of-a-kind Christmas decor. Nothing cost more than a few dollars, and you won't find anything like it at the big box stores.
What You'll Need
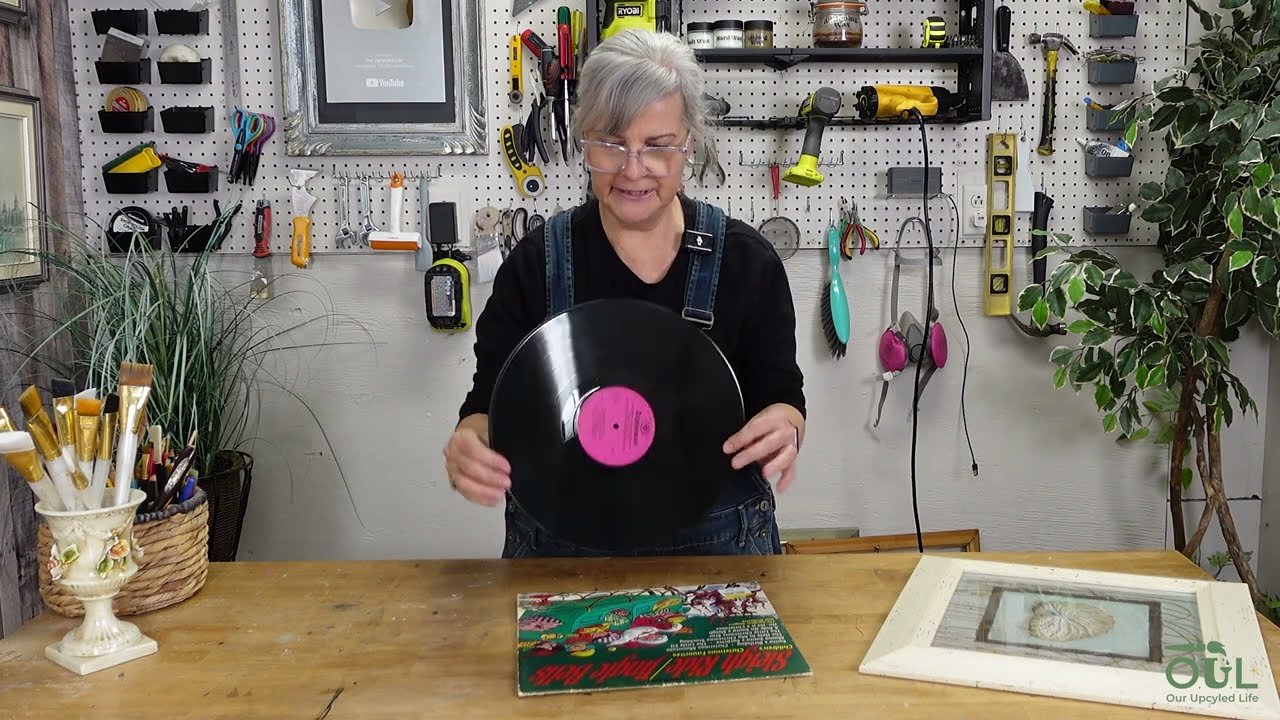
Thrifted finds: an old record album, frames, glass candle holders, candles, salt and pepper shakers and a bag of mixed figurines
Clear school glue (like Elmer's) and gel food coloring
Rubbing alcohol and a makeup sponge
Rubber gloves (trust me!)
Homemade black chalk paint
Spray paint (white and black)
Rub 'n Buff in Antique Gold
Mod Podge and a clear spray sealer
A printed graphic (inkjet is fine)
Salt, bottle brush trees and small bows
Hot glue gun
Sand (or baking soda) and antique white acrylic paint
1. Framed Vintage Record Album
I found a Christmas record at the very first thrift store I walked into, and I fell in love with the graphics. It was $3.99 and 25% off! The record itself was badly scratched, so I set it aside for another project and used the cover.
Peel off the price sticker carefully. If it starts to tear the graphic, warm it up with a heat gun first.
Before you cut up any record, do a quick search to make sure it isn't collectible.
Cut off the front of the album cover. The back of mine had a nice graphic too, so I saved it for another project.
Pop it into a thrifted frame (mine was $6.99 and 50% off) and secure the back.
I left the frame as is because its rustic cream colour picks up the cream in the album cover. Now I'm on the hunt for more Christmas records!
2. Tinted Glass Candle Holders
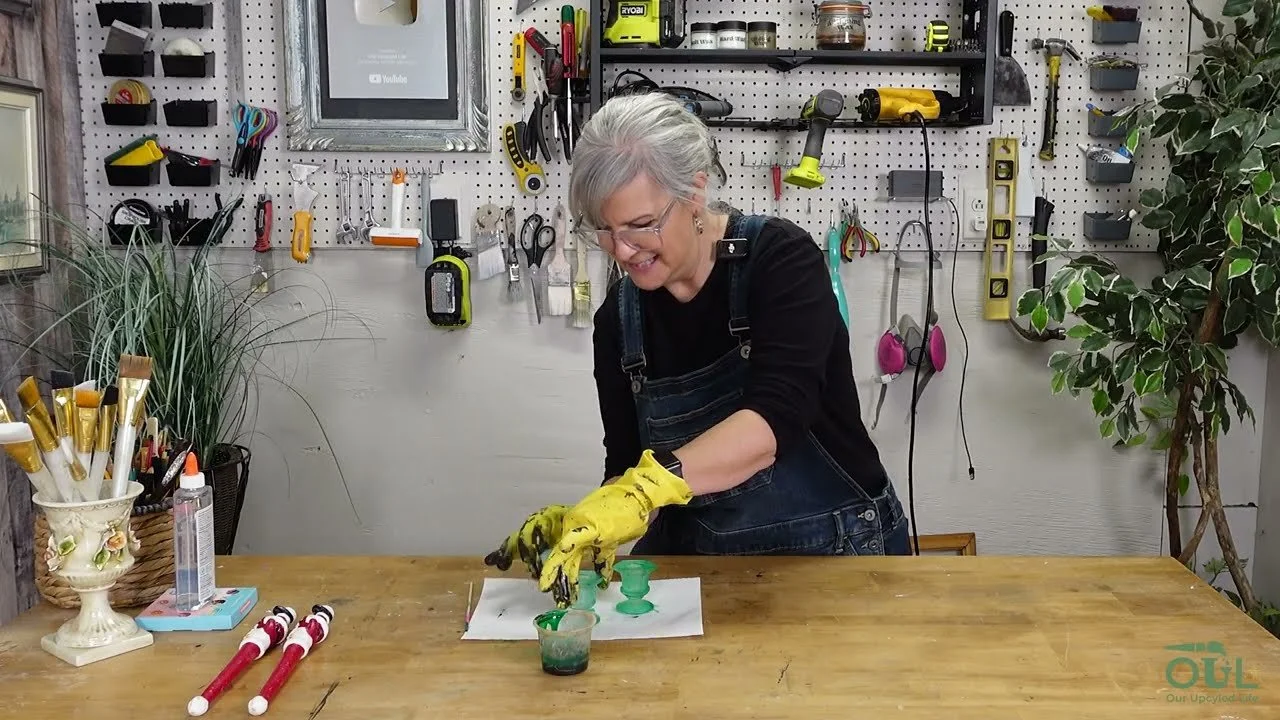
These little frosted candle holders were 99 cents each, but I wasn't fussy on the colour, so I tinted them green. The best part? It's not permanent.
Wipe the glass with rubbing alcohol to remove any grease, and let it dry.
Mix clear school glue with a little gel food coloring. Just eyeball it (about 1 1/2 tablespoons of glue was enough for me). Keep in mind it lightens as it dries.
Put on gloves and dab it onto the outside with a sponge. It looks nicer sponged than brushed.
Let it dry and add a second coat.
When the season is over, soak them in hot soapy water and the colour comes right off, so you can tint them pink or yellow for Easter! I added two sweet Santa candles I found for 50 cents, and used Stickum candle adhesive to stop them wobbling. That stuff is amazing.
3. Snowman Print Frame Makeover
This glittery snowman print was adorable, but the blue frame didn't suit my home, which has lots of black. I took off the hanger, gave the frame two coats of homemade black chalk paint and screwed a new hanger onto the top. I tested sanding it and adding Rub 'n Buff, but in the end plain black looked best. Sometimes your first instinct is right!
4. Custom Christmas Candle
The thrift store is a great place to find brand-new candles. This cinnamon one cost me 50 cents!
Print a graphic on your inkjet printer (I used one of mine).
Give it a light coat of clear spray to seal in the ink so it won't run. It also gives it a more professional look.
Once it's dry, cut it out carefully.
Brush Mod Podge on the back and smooth it onto the candle.
It turns a plain red candle into a sweet custom gift. I keep a gift bin for things like this, and this one went straight in.
5. Crystal Salt Shaker Snow Globes
I found a pair of gorgeous cut crystal salt and pepper shakers and was inspired by an idea I saw on Pinterest.
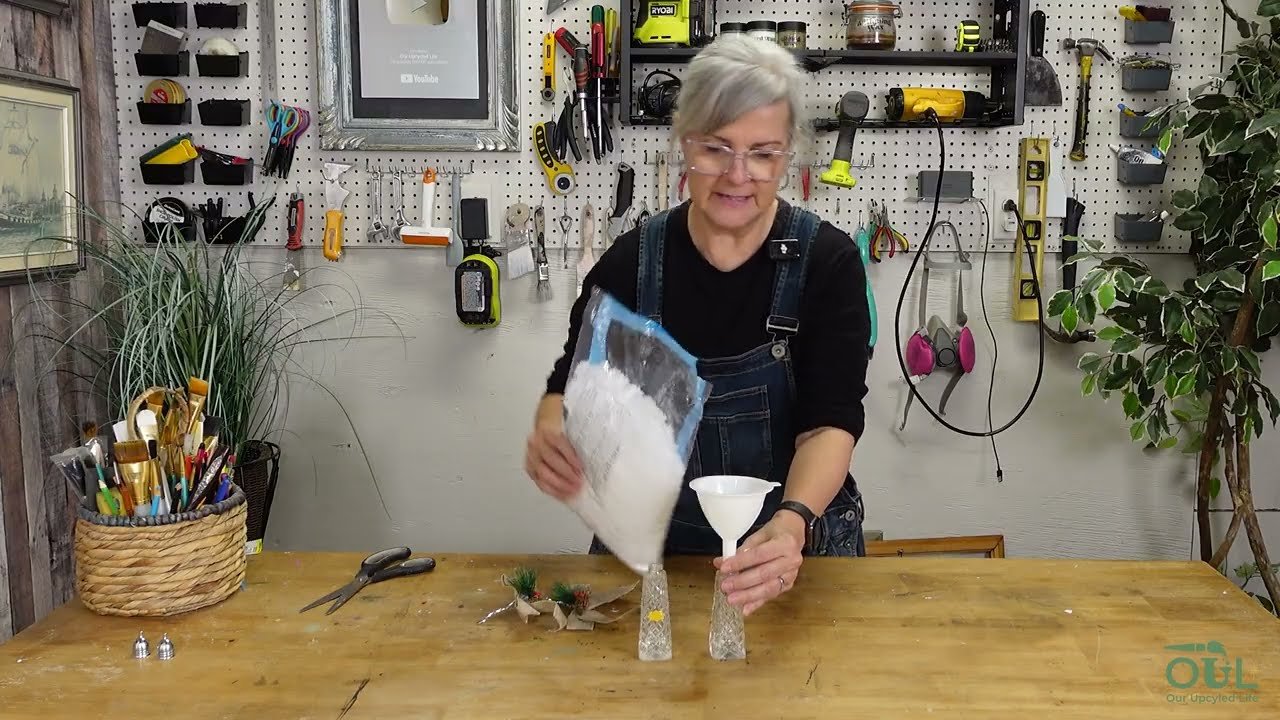
Take off the tops and fill the shakers partway with "snow." My tip: just use salt! I bought shredded snow at the dollar store and it looked exactly like salt anyway.
Pull the bases off two bottle brush trees (I find them in big bags of mixed ornaments at the thrift store).
Put a little hot glue around the rim and set a tree on top.
Finish with a little bow saved from last year's gift wrap.
6. Spray Painted & Gilded Figurines
I love thrift store goodie bags! This whole bag of little Christmas figurines was $4.49, and I opened it on camera. Most of the colours were dated, but nothing a little spray paint couldn't fix.
White: spray paint a few pieces white for a soft, neutral look that's perfect tucked into greenery.
Black and gold: spray paint some black, then rub on a little Antique Gold Rub 'n Buff so it catches the raised details. A little goes a long way, and the result looks so much more expensive.
7. Stone-Look Sand Paint
For one last piece, I mixed antique white acrylic paint with a little sand and painted it over a black base coat. The sand gives a texture that looks just like stone. No sand? Baking soda paint gives you a similar texture. Two coats took it from dollar-store-looking to something that looks really expensive.
My Best Tips
Look for potential, not perfection. Ignore the colour and look at the shape. Paint fixes almost everything.
Watch the sale tags. Most of my finds were 50% off or bought with a coupon.
Save the extras. The record, the old print and the hangers all went into my stash for future projects.
Skip the dollar store when you can. Salt works just as well as plastic snow.
Keep a gift bin. Thrifted candles and little makeovers make wonderful handmade gifts.
Love giving thrift finds a new life? Try my 10 ways to upcycle old Christmas cards and my DIY chalk paint recipe.
If you give it a try, I'd love to see how it turns out! Tag me @OurUpcycledLife on social media. I always enjoy seeing your beautiful creations. 💕 Until next time, happy crafting!
