
Why buy paper mache paste when you can mix up a strong, easy batch at home for pennies? This recipe uses just flour, school glue and water, and it dries hard and sturdy so you can paint and decorate your projects afterwards.
To show you how it works, I turned leftover packing paper from an Amazon box into a cute little decorative bowl.
What You'll Need
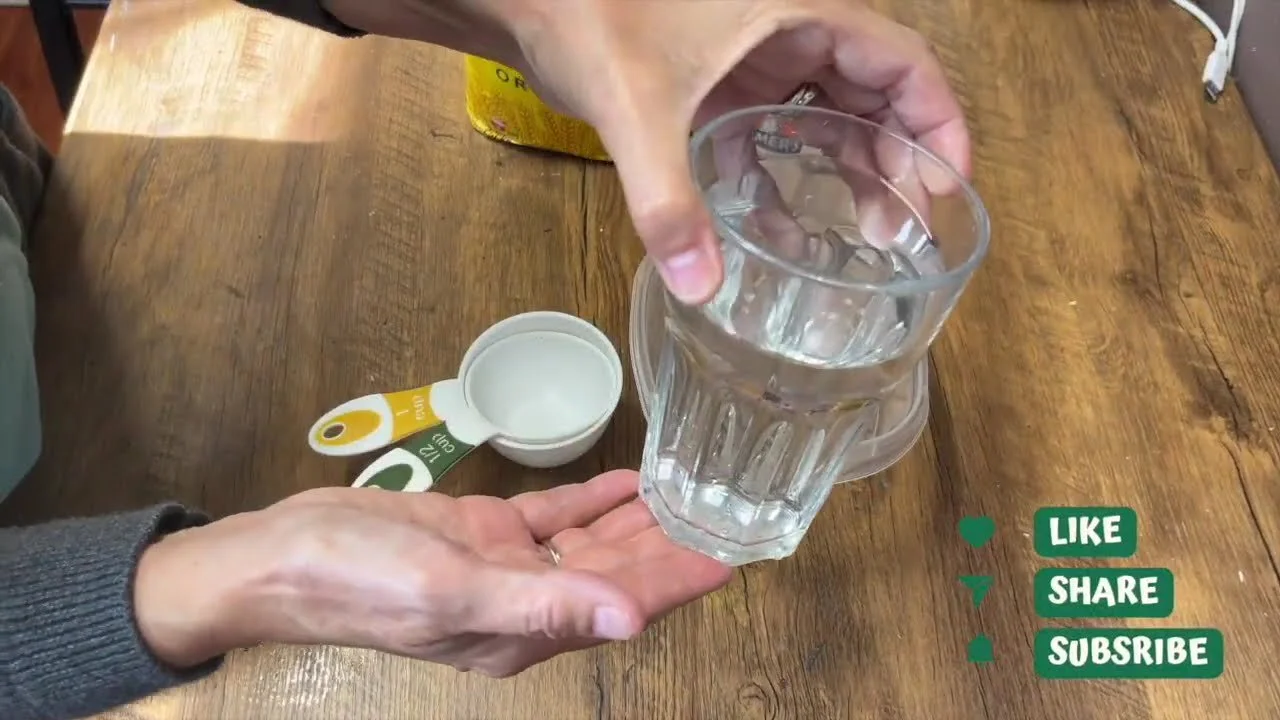
1 cup of room temperature tap water
1/2 cup of all-purpose flour
1/2 cup of PVA glue (white or clear school glue)
A bowl, a fork and measuring cups
Newspaper or packing paper
A bowl to use as a mold, plus plastic wrap (for a paper mache bowl)
Ribbon or paint to decorate (optional)
How to Make the Paste
Pour 1 cup of water into a bowl.
Add 1/2 cup of flour and mix with a fork until there are no lumps. It should look like runny pancake batter.
Add 1/2 cup of glue and mix it in really well.
How to Make a Paper Mache Bowl
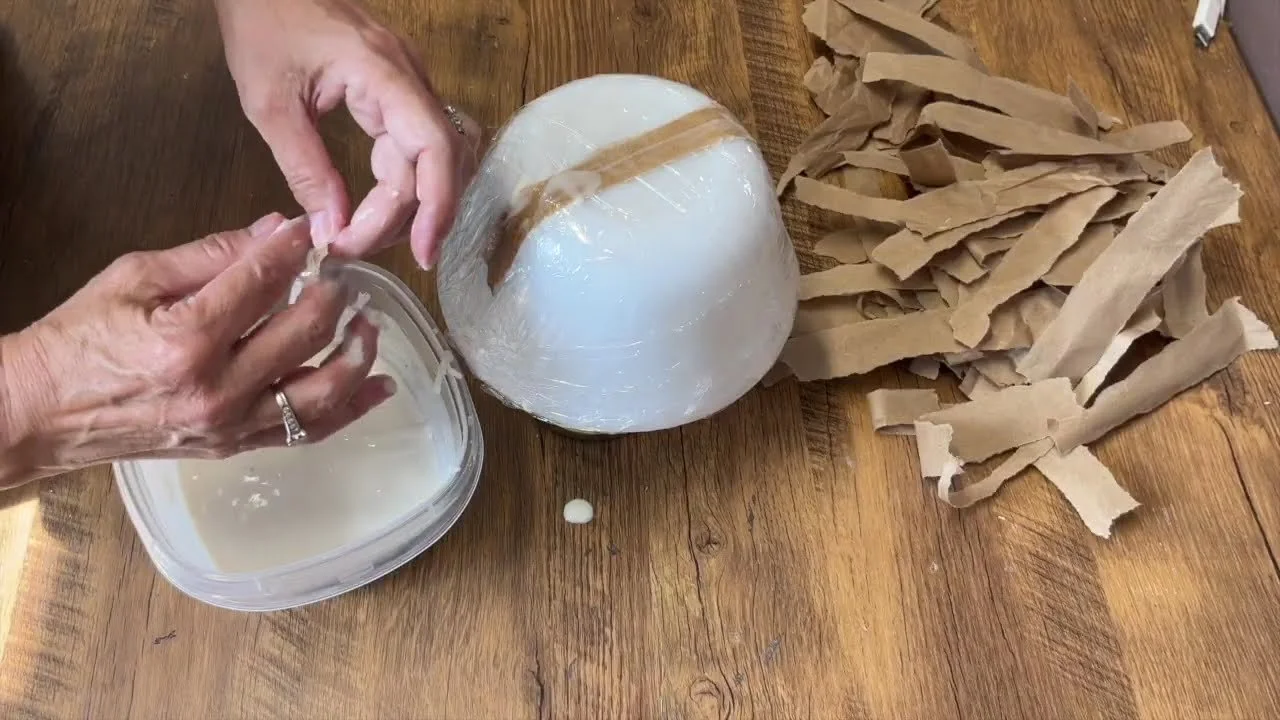
Cover the outside of a bowl with plastic wrap.
Tear your paper into pieces. Torn, ragged edges blend in better than straight cut edges.
Dip or brush the paper with paste and lay it over the bowl, overlapping the pieces until it's completely covered.
Add five or six layers in total for a really sturdy bowl.
Let it dry completely, usually overnight depending on your humidity.
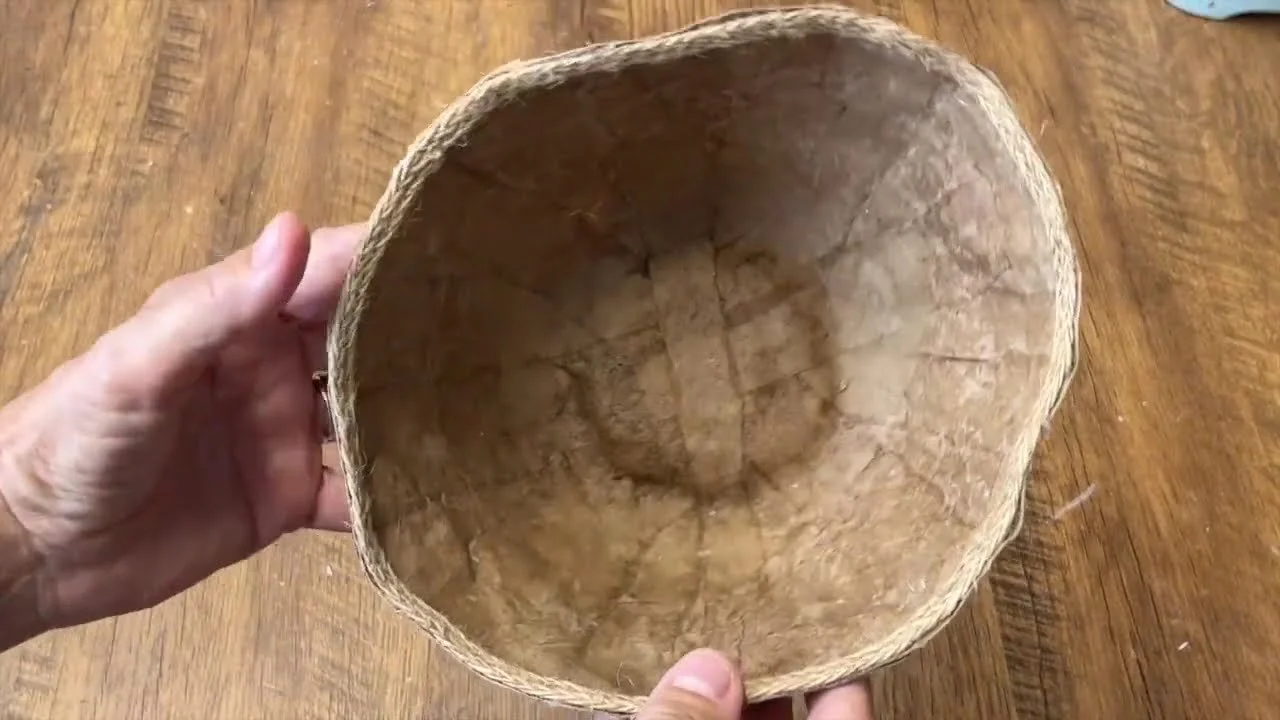
Pop it off the mold, trim around the top, and decorate it with paint or ribbon.
My Best Tips
Tear, don't cut. Ragged edges give a smoother finish.
Reuse packing paper. The paper from delivery boxes works beautifully.
More layers means more strength. Five or six is perfect for a bowl.
Use it for all kinds of shapes: masks, sculptures, bowls and decorations.
Love DIY recipes? Try my homemade air dry clay. Members of Our Upcycled Society get my clay recipe booklet, including paper mache clay, plus all my other recipe booklets and my graphics library 💛
If you give it a try, I'd love to see how it turns out! Tag me @OurUpcycledLife on social media. I always enjoy seeing your beautiful creations. 💕 Until next time, happy crafting!
