
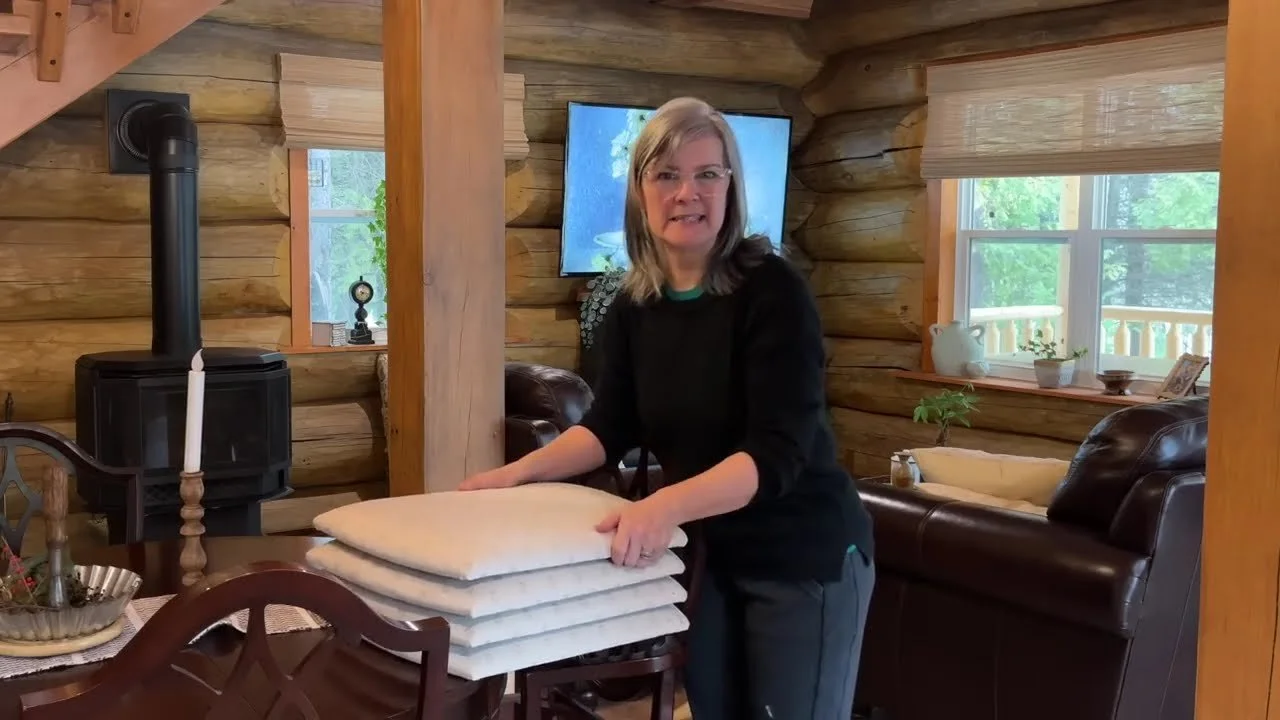
I picked up a table and chairs from a friend for $75. The wood was gorgeous, but the chair pads were stained and pilled. Instead of reupholstering, I painted the fabric, and it turned out soft, comfortable and completely refreshed.
The secret is mixing latex paint with fabric softener. Unlike chalk paint, which can leave fabric feeling crunchy, this stays soft and plush, and it doesn't rub off on your clothes.
What You'll Need
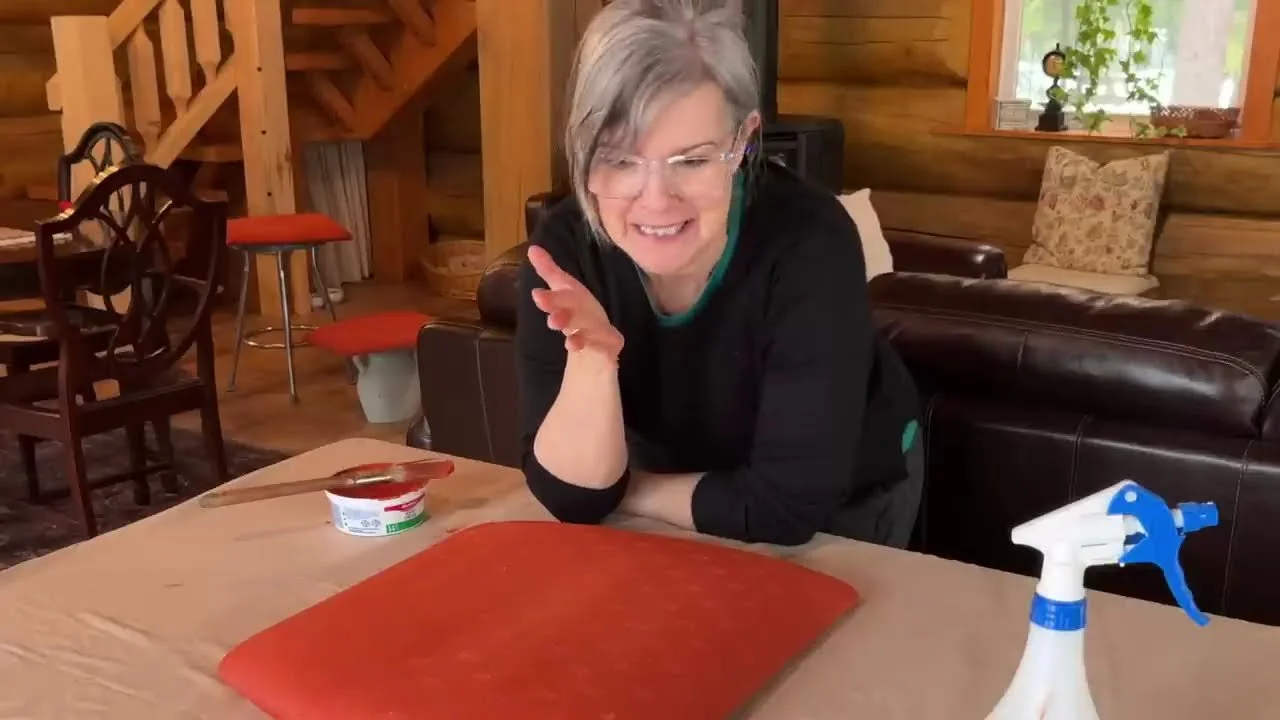
Latex paint (a tester pot is often enough)
Fabric softener (any kind)
A small dish and a stir stick
A paintbrush
A spray bottle of water
Small scissors
Furniture wax, clear and dark (optional, for a protective, aged finish)
How to Do It
Wash your fabric with hot soapy water and let it dry completely.
Carefully snip off any snags or pills without cutting the fabric.
Mix equal parts latex paint and fabric softener until it thickens and looks a little fluffy. Only mix what you need, because it doesn't store well.
Mist the fabric with water so it's slightly damp but not soaking. This helps the paint soak into the fibres.
Paint it on with long, sweeping strokes so it goes on evenly.
If the fabric dries out while you're working, mist it again.
Let each coat dry completely before adding the next. Plan on two or three coats.
For extra protection, rub on a clear wax. Add a little dark wax around the corners for a worn, aged look.
My Best Tips
Smooth fabric works best. Heavily textured or patterned fabric is harder to cover evenly.
It covers stains that won't wash out.
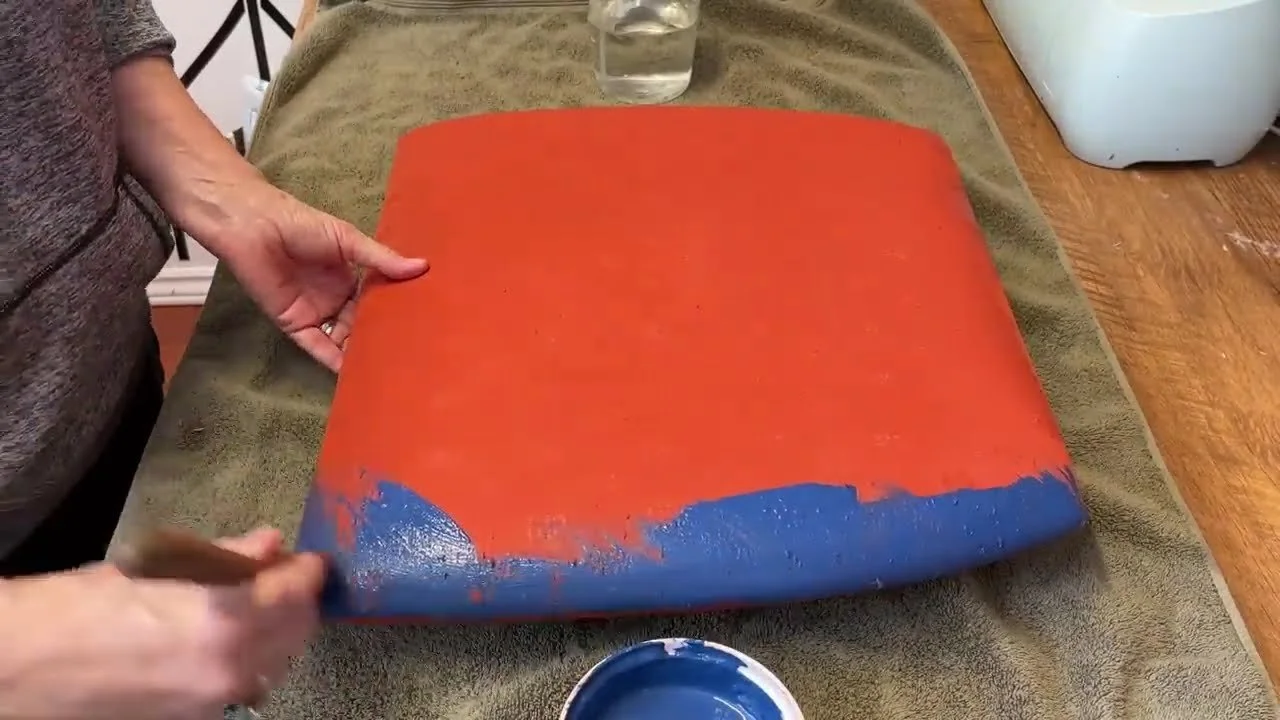
Don't love the colour? Just paint over it. My first colour was a total flop, so I painted blue right over it, and the first coat acted like a primer.
Speed up drying by setting the pieces somewhere sunny or warm.
Check the oops paint section at the hardware store for cheap tester pots.
Love giving furniture a makeover? See how I decoupage fabric onto furniture. Members of Our Upcycled Society get all my DIY recipe booklets, plus my graphics library with new designs every week 💛
If you give it a try, I'd love to see how it turns out! Tag me @OurUpcycledLife on social media. I always enjoy seeing your beautiful creations. 💕 Until next time, happy crafting!
