
Those little tubs of air dry clay at the craft store cost $10 to $15, and you can use one up in a single project. So I make my own at home for pennies, with ingredients you probably already have in your kitchen.
It's a lovely smooth, white clay that holds detail beautifully. It's perfect for ornaments, molds and all kinds of decorative pieces, and anybody can make it.
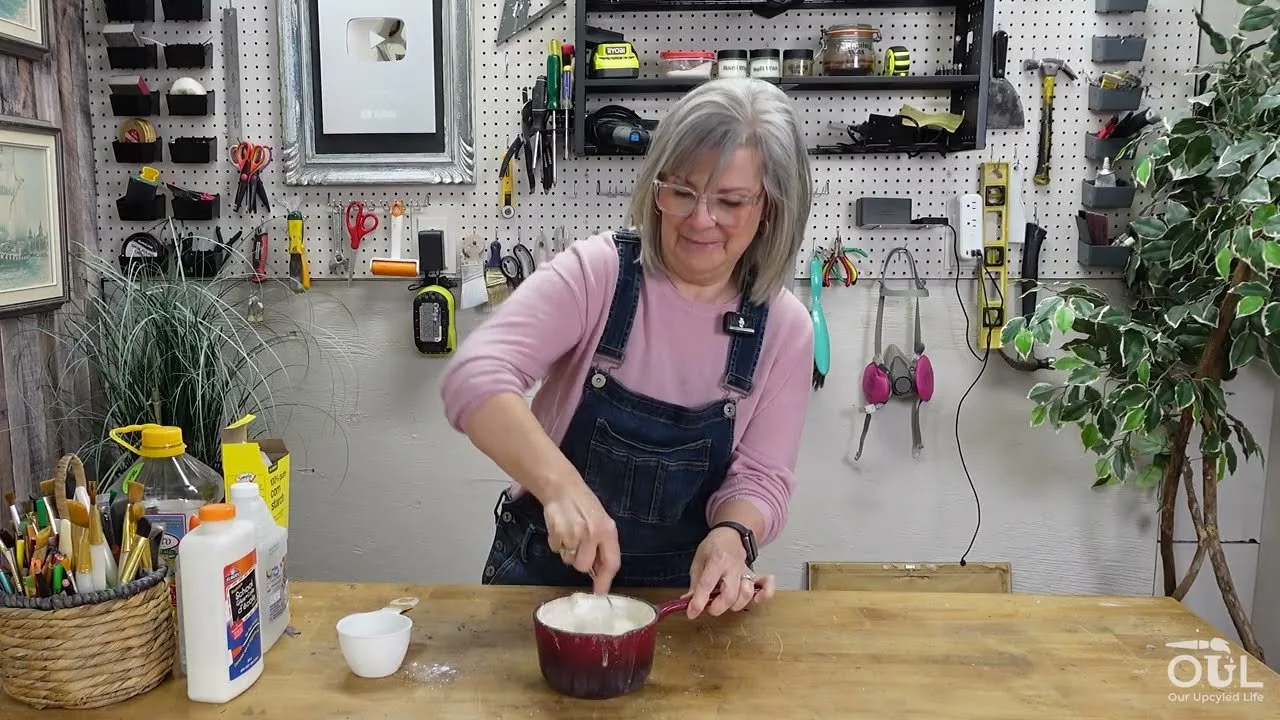
What You'll Need
1 cup of cornstarch, plus extra for kneading
1 cup of school glue (white or clear)
1 tablespoon of vinegar
1 tablespoon of vegetable or canola oil (any oil works)
A saucepan
A silicone mat
A rolling pin
Cookie cutters, molds or a plastic doily for texture
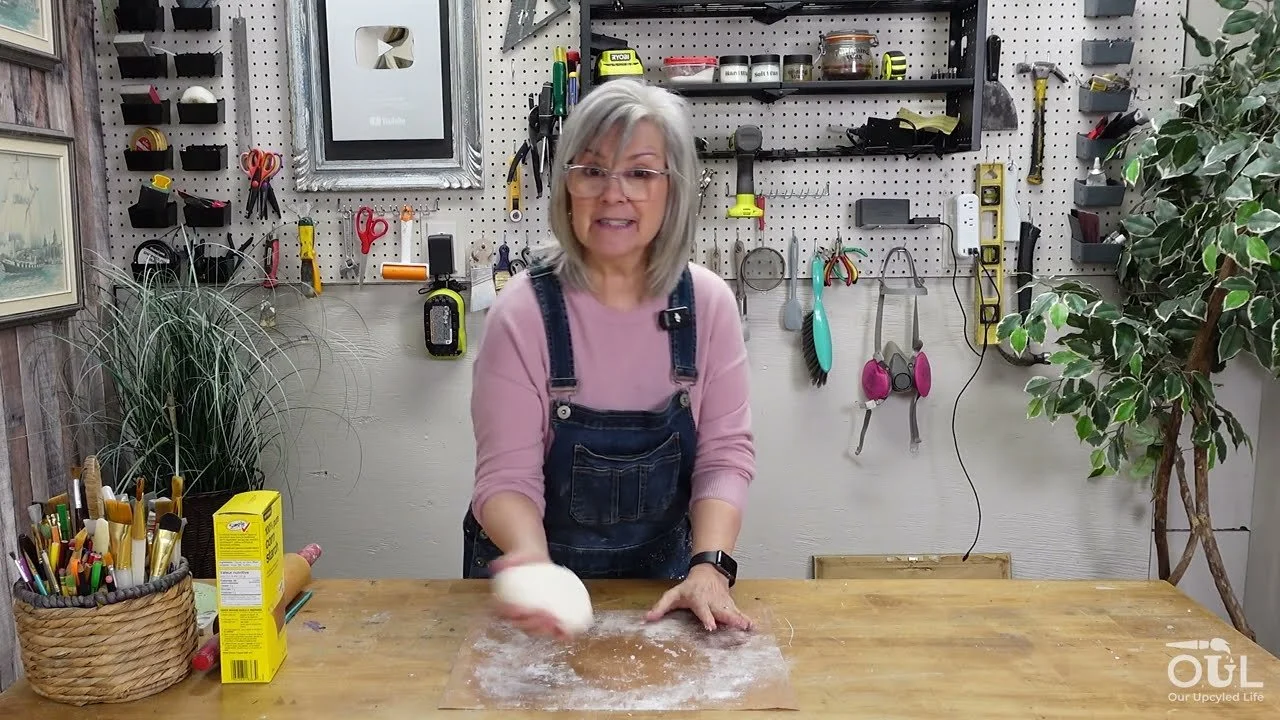
How to Do It
Add the cornstarch, glue, vinegar and oil to a saucepan and stir until it's all mixed together.
Put it on the stove over low to medium heat and keep stirring.
It will go lumpy and look a bit like cottage cheese. That's normal, so just keep stirring.
When it pulls away from the sides of the pot and comes together into a ball, take it off the heat.
Turn it out onto a silicone mat and let it cool for 15 to 20 minutes.
Sprinkle some cornstarch on the mat and knead the clay, adding more cornstarch until it doesn't stick.
Roll it out about 1/4 inch thick, then cut shapes, press it into molds, or roll a doily over it for texture. Poke a hole in the top of ornaments.
Let your pieces air dry for about 24 hours somewhere warm and dry.

My Best Tips
Dust your molds with cornstarch so the clay pops right out.
Don't worry about the lumps. They knead out once it cools.
Store leftovers in a zip bag with the air pressed out, somewhere cool and dark. It'll keep for a couple of weeks.
Make your own molds from dollar store frames and drawer pulls with my DIY silicone mold tutorial.
Love clay recipes? Try my baking soda clay too. And members of Our Upcycled Society get my clay recipe booklet with 7 tested homemade clay recipes, including cold porcelain and paper mache clay, plus all my other recipe booklets and my graphics library 💛
If you give it a try, I'd love to see how it turns out! Tag me @OurUpcycledLife on social media. I always enjoy seeing your beautiful creations. 💕 Until next time, happy crafting!
