
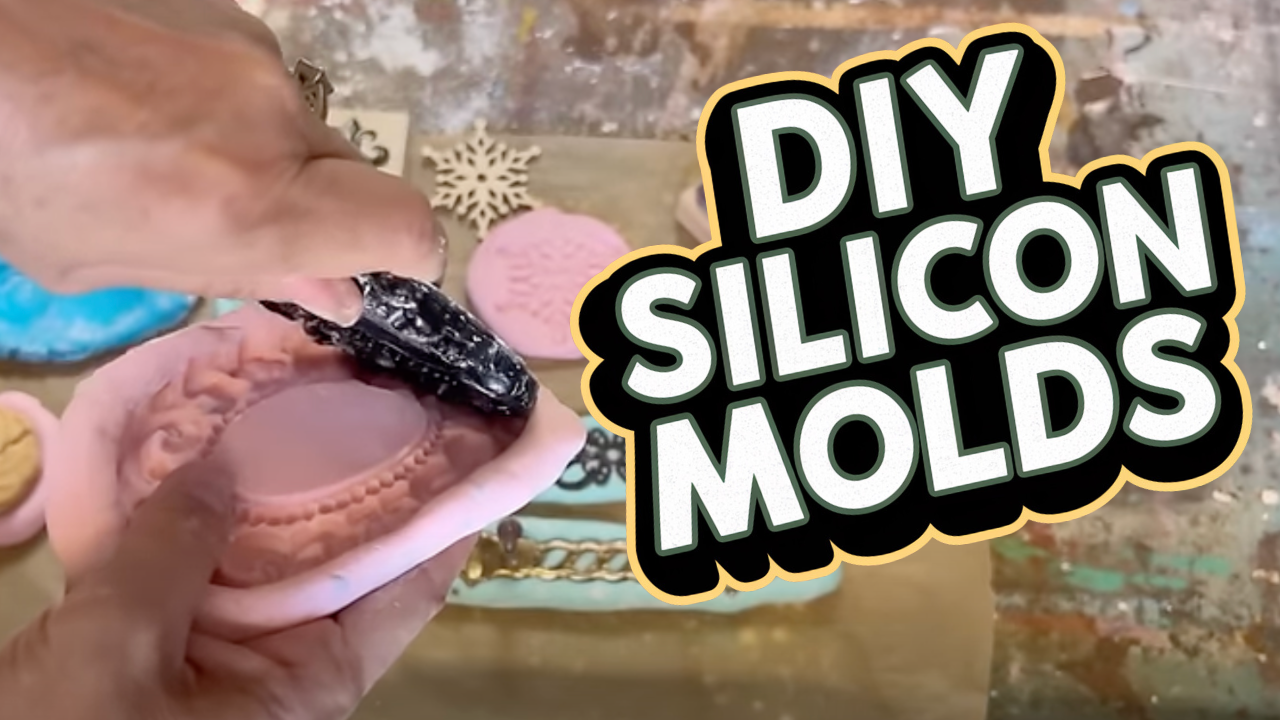
If you’ve ever looked at silicone molds online, you know they can get really pricey!
In my latest video, I’m showing how to make your own molds using 100% clear silicone, cornstarch, and a few things you probably already have in your craft room.
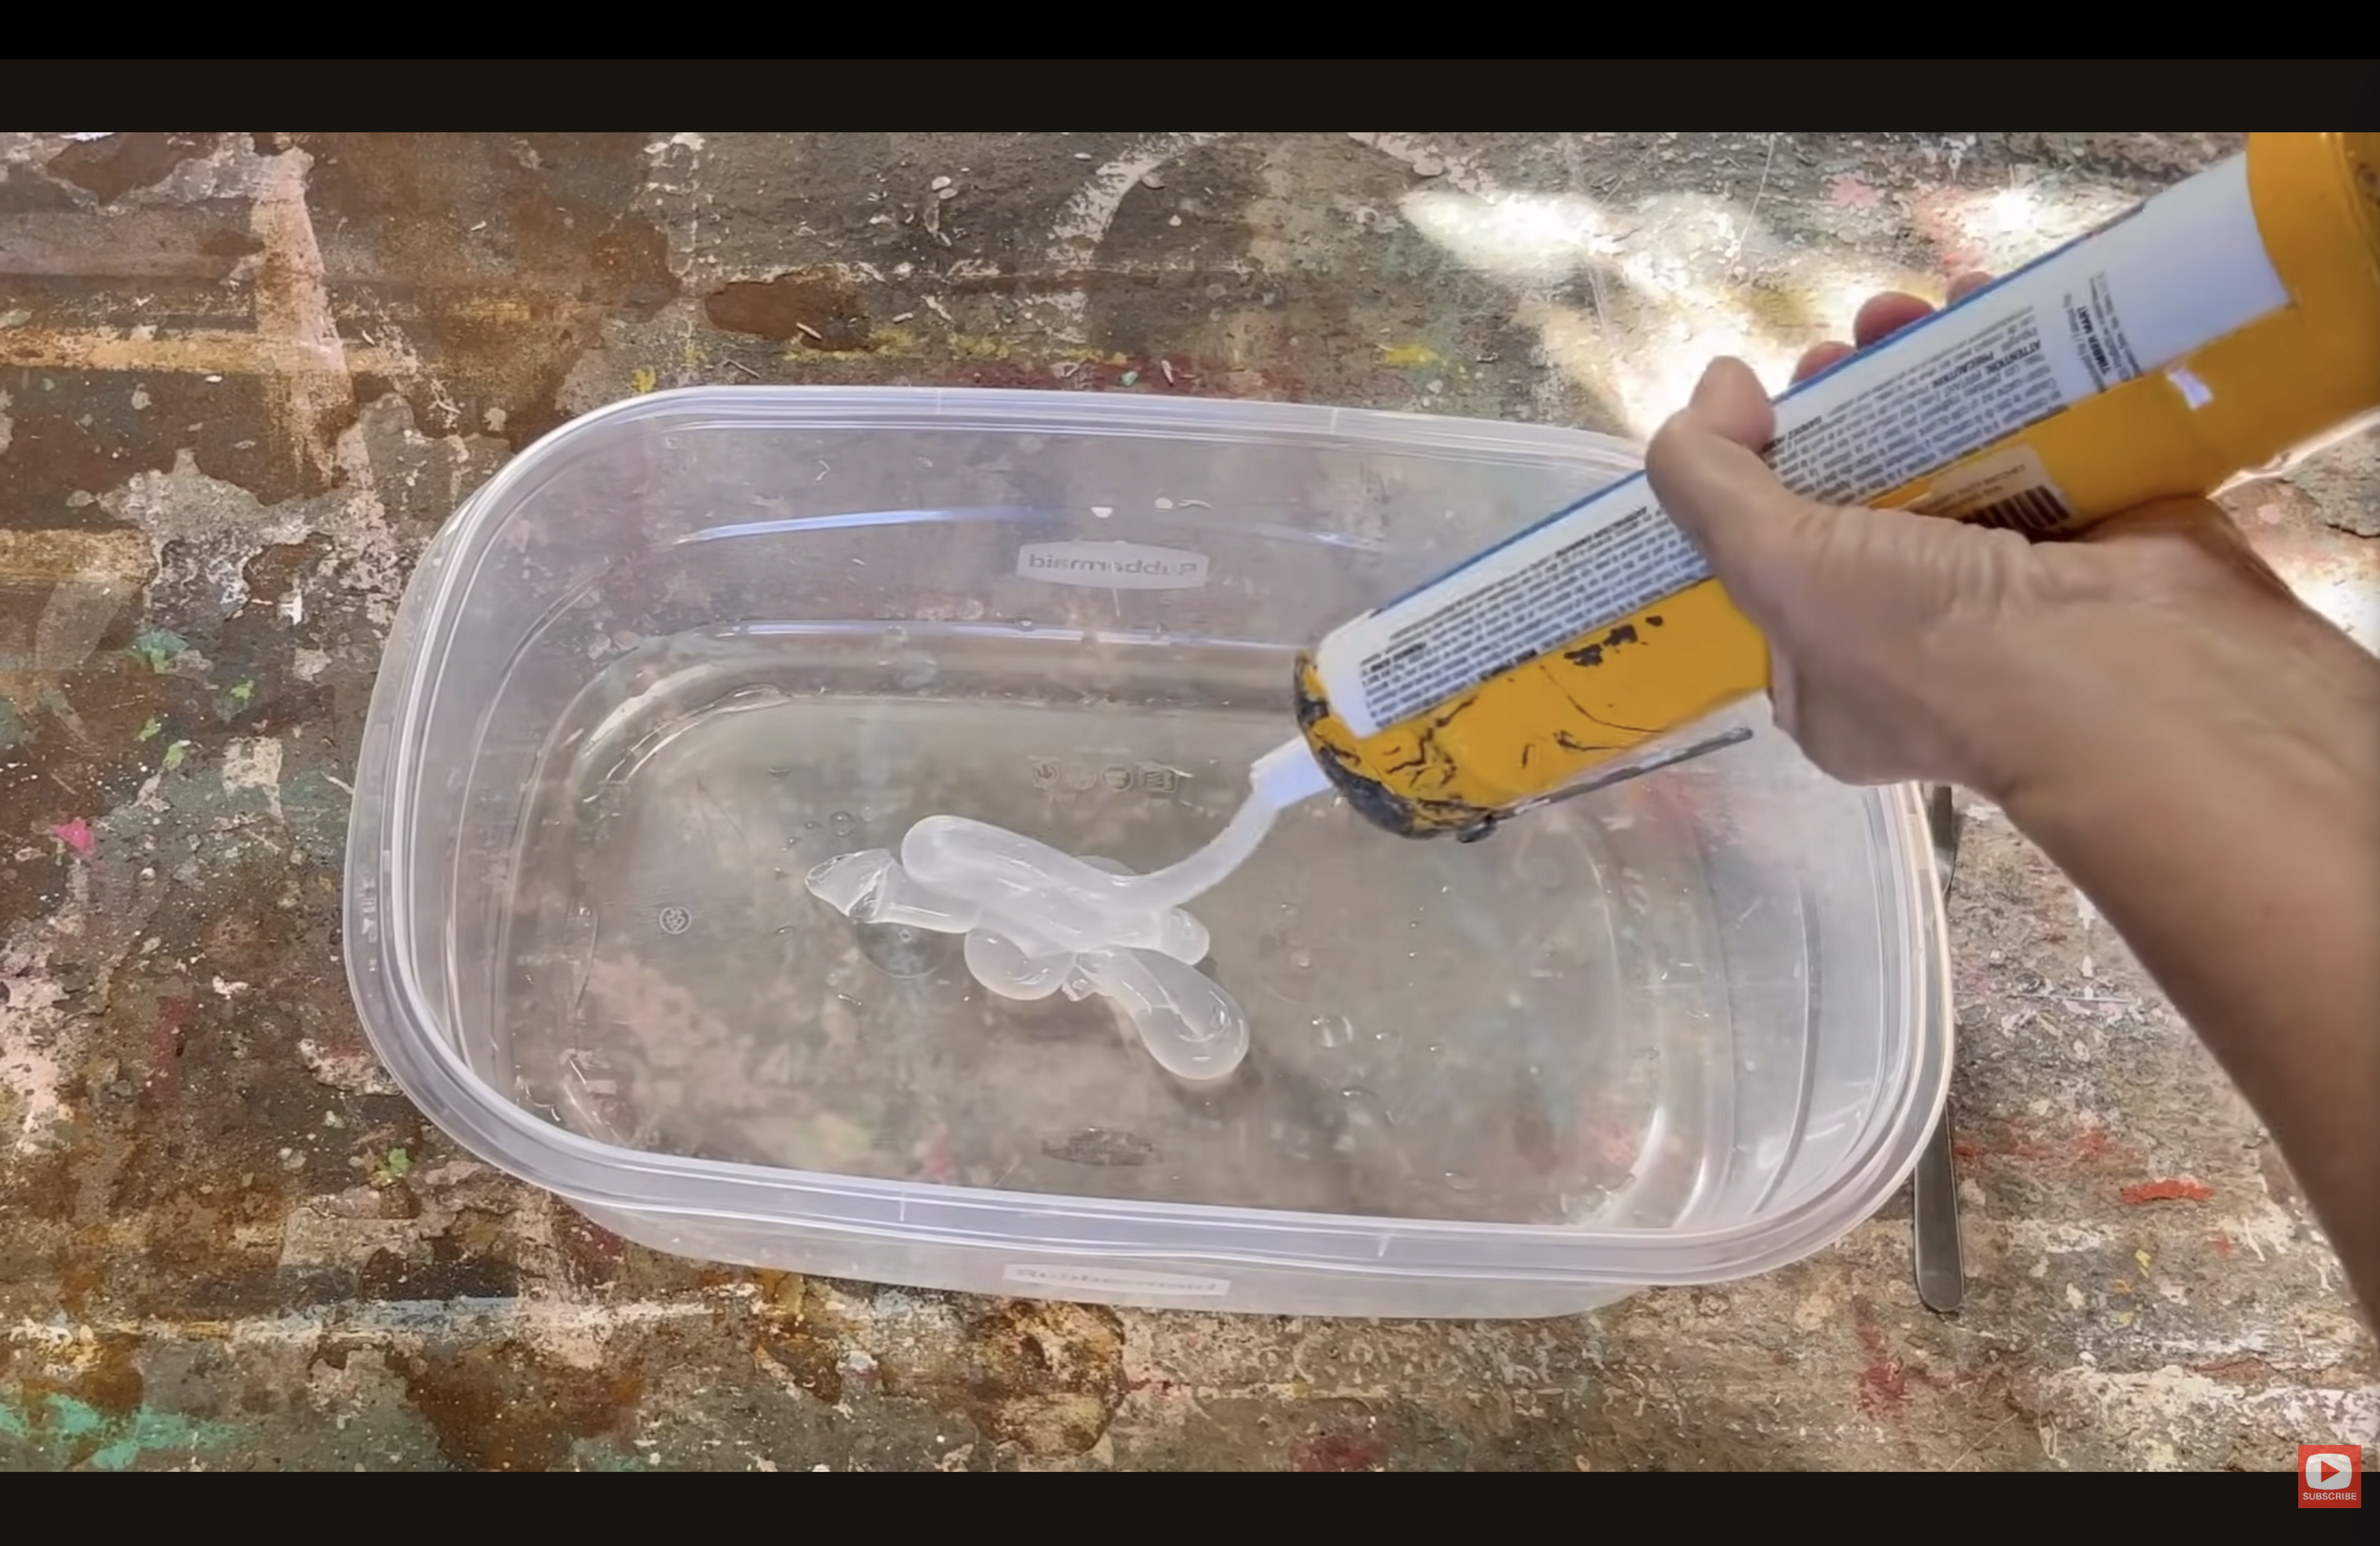
100% silicone
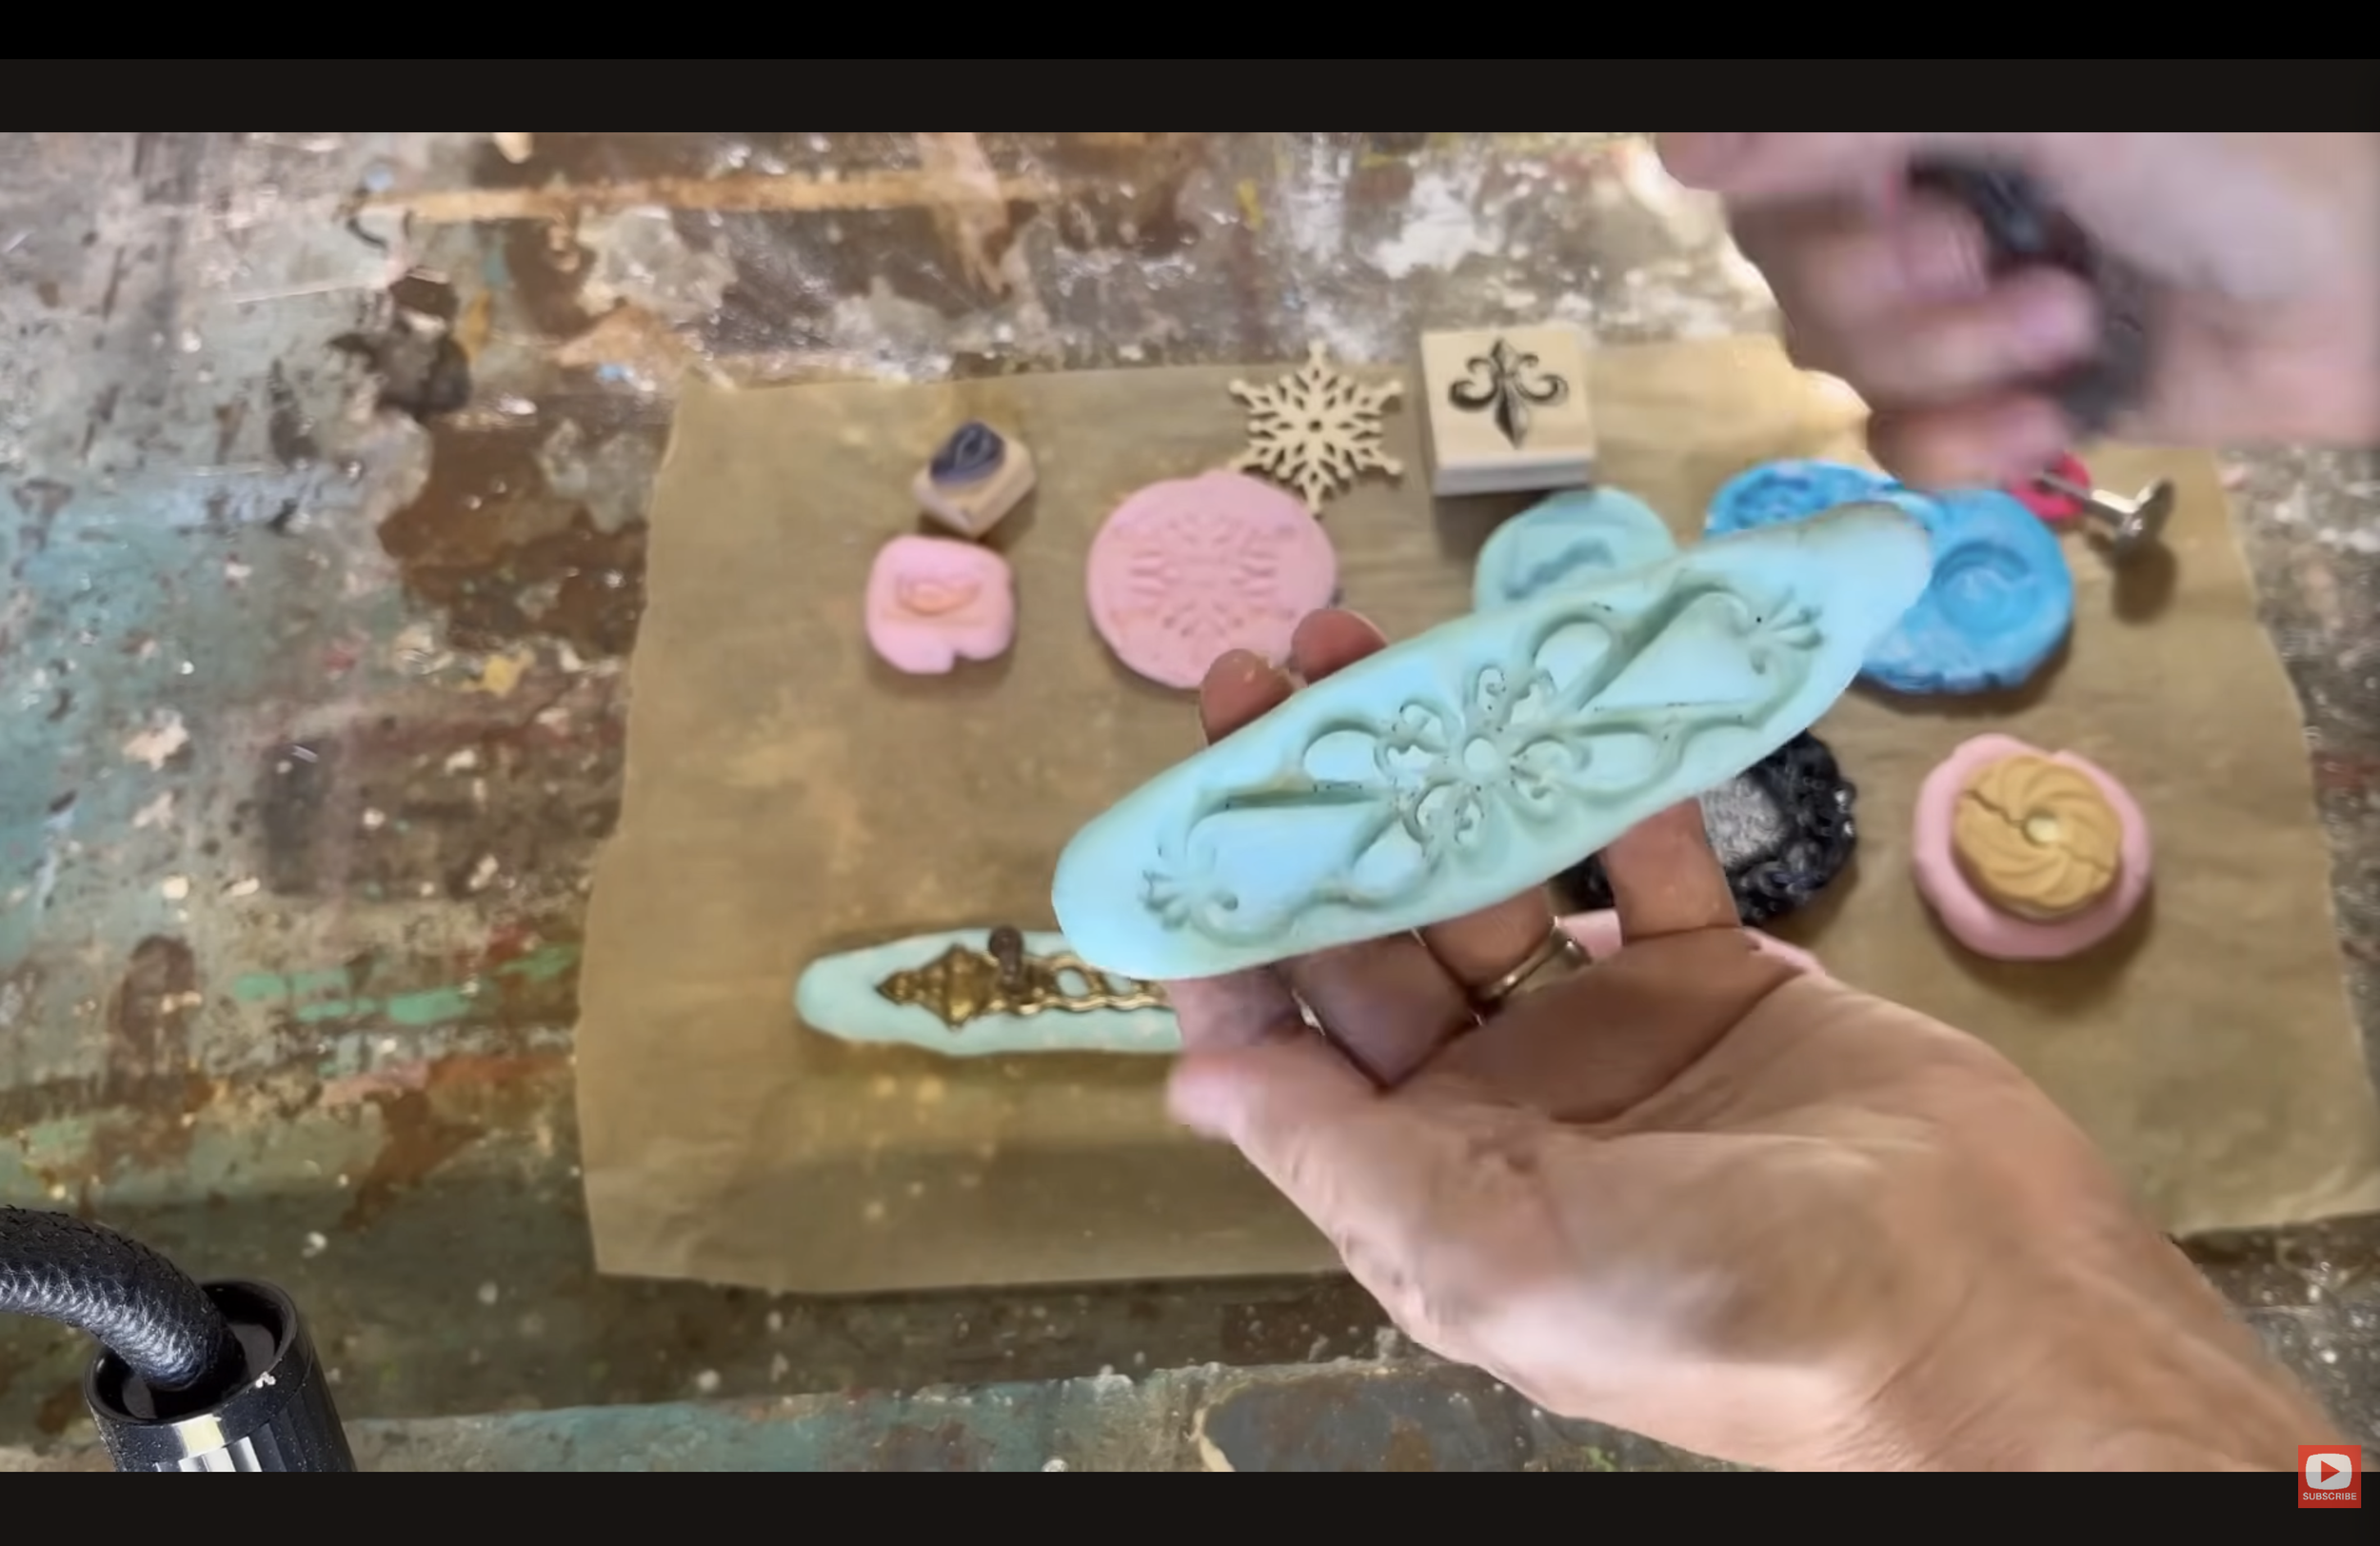
You can create beautiful, flexible molds from everyday items like old drawer pulls, buttons, frames — anything with great texture. They’re perfect for air-dry clay, resin, or plaster projects, and the detail you get is amazing.

adding cornstarch
This method is simple, budget-friendly, and once you make one batch, you’ll want to mold everything in sight.
Here's exactly how I do it.
What You'll Need
100% clear silicone (from the hardware store)
A caulking gun
Cornstarch
An old bowl and fork you won't use for food again
Gel food colouring (optional)
A rolling pin, plus two wooden slats to keep it an even thickness
Things to make molds from: drawer pulls, buttons, stamps, dollar store frames, ornaments or snowflakes
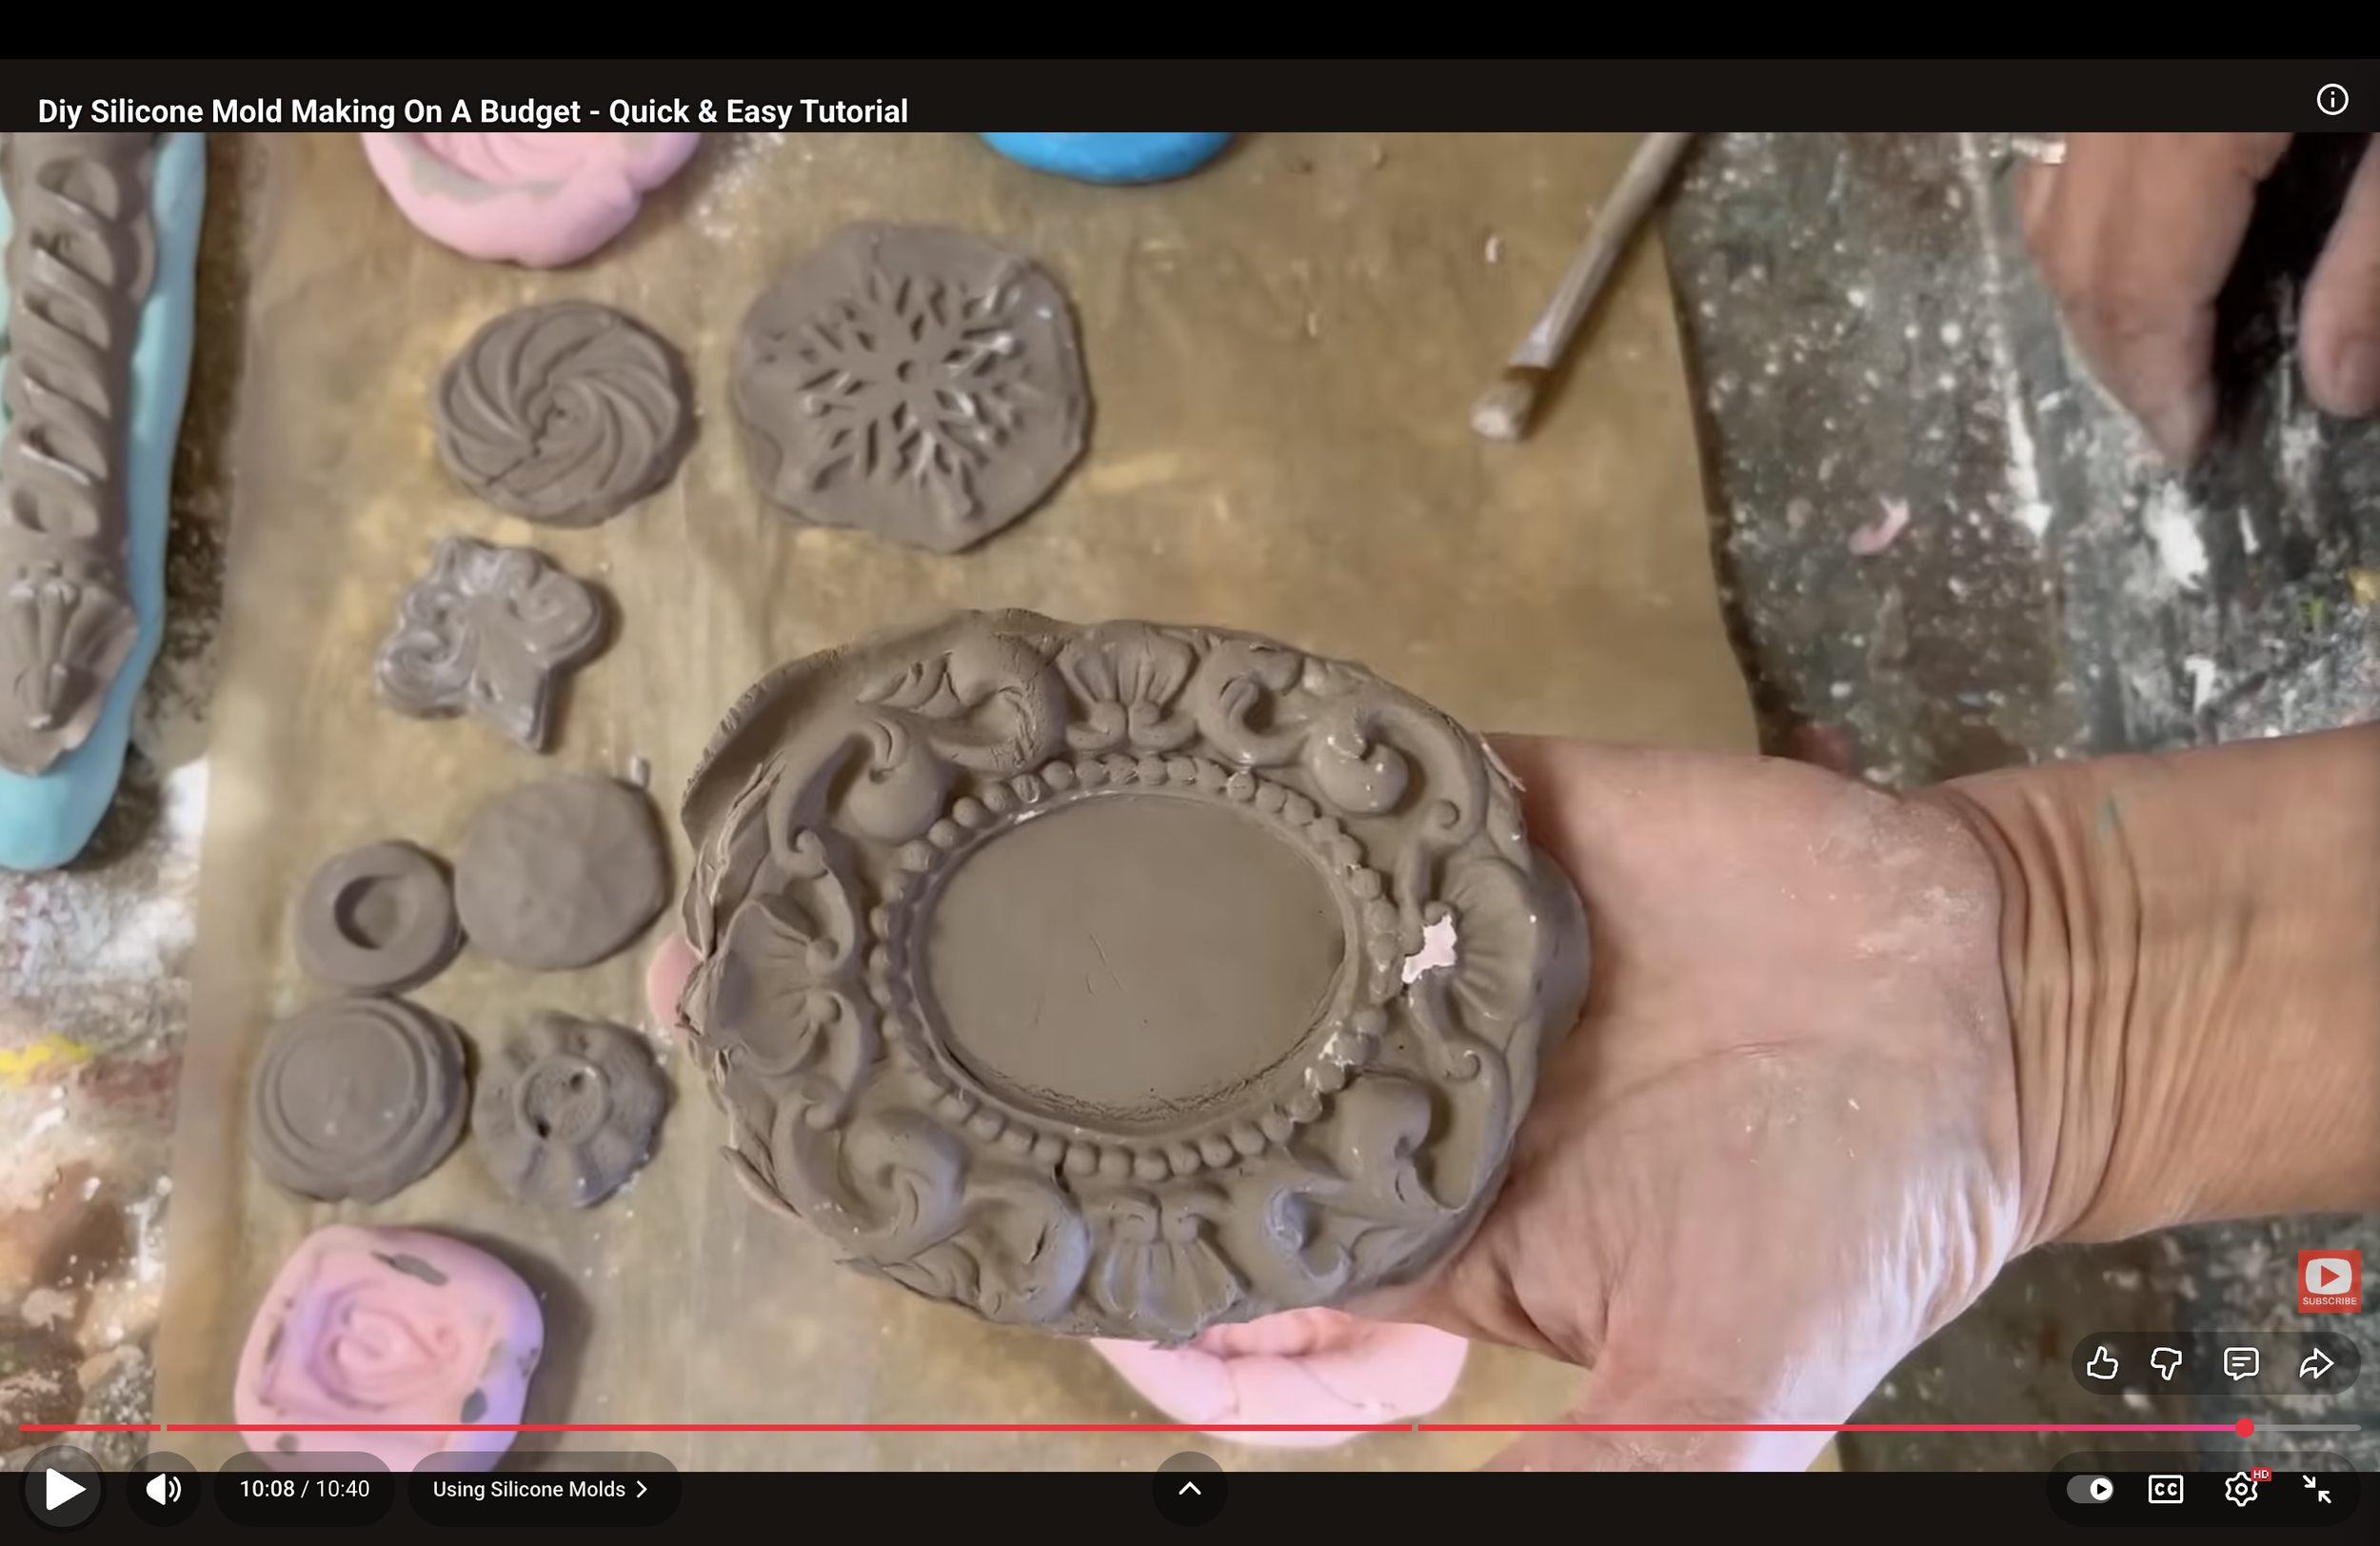
Air dry clay for using your molds
How to Do It
Work somewhere with lots of fresh air. Silicone is really stinky, so open the doors and windows, and you may want a mask.
Take off your rings! The silicone gets stuck in them.
Squeeze some silicone into your bowl and mix in cornstarch with a fork until it feels like pizza dough.
Add a little gel food colouring if you'd like coloured molds.
Coat your hands in cornstarch, then knead it into a ball. If it's still sticky, add a bit more cornstarch.
Roll it out between your two slats so it's the same thickness all over.
Gently press your objects in until the silicone just comes up around the edges. Fit as many as you can into each batch.
Let it set for a couple of hours, then carefully peel your objects out.
To use a mold, dust it with cornstarch, press in air dry clay, scrape off the extra, then flex the mold to pop the clay out. Smooth the edges and let it dry.
My Best Tips
Skip the gloves. I tried them and the silicone stuck to them. Bare hands coated in cornstarch work best.
Cornstarch beats dish soap. I've tried the dish soap recipe and always come back to this one.
Pick things with lots of detail. Swirly drawer pulls, floral frames and stamps give the prettiest results.
Use them everywhere. Glue the clay pieces onto signs, glass bottles and jars, or turn them into ornaments and gift tags.
Members of Our Upcycled Society get all my DIY recipe booklets, plus a graphics library that gets new designs every week 💛

If you give it a try, I’d love to see how it turns out! Tag me @OurUpcycledLife on social media. I always enjoy seeing your beautiful creations. 💕
Until next time, happy crafting!
