
Resin, pouring glazes and even Mod Podge Dimensional Magic are really expensive for how little you get. So I came up with a homemade dupe using supplies you probably already have at home, and it gives you that same thick, glossy, crystal clear finish.
It's safer and cheaper than resin, and it's so easy to mix up. I used it on a decoupaged block of wood and a couple of little jewelry charms, and the charms came out with a beautiful domed, glassy top.
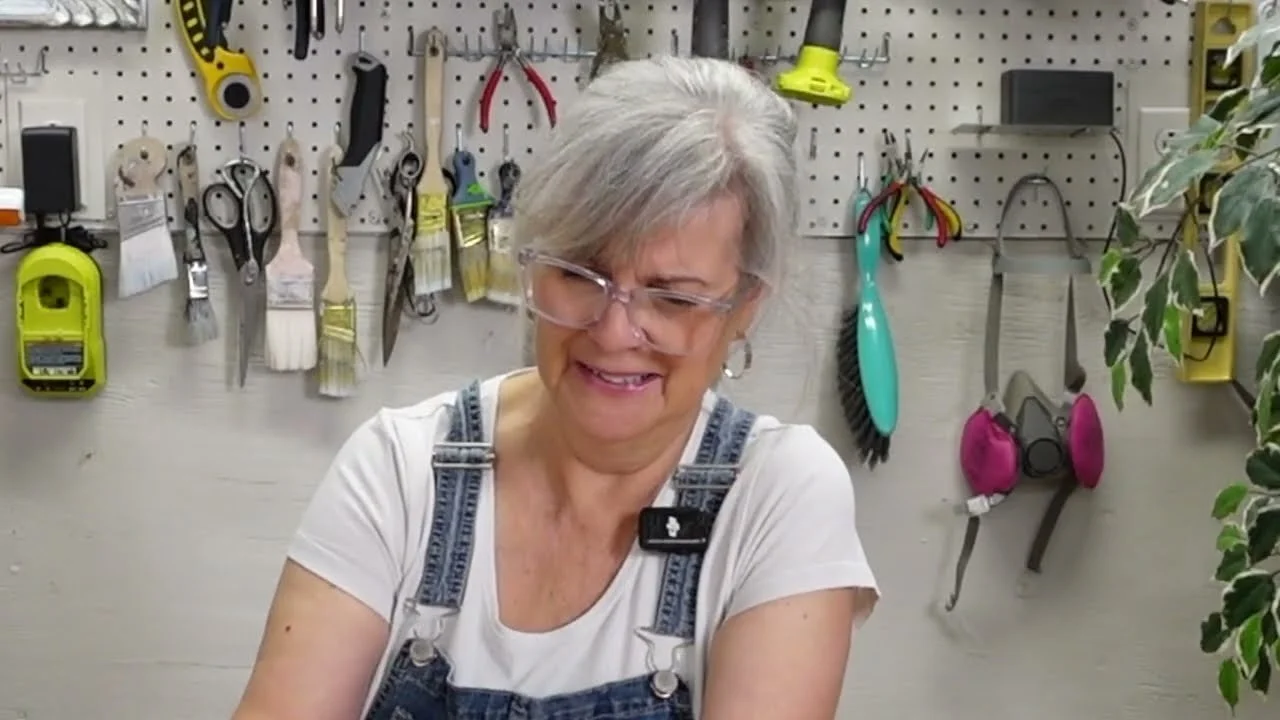
What You'll Need
Water-based Varathane in gloss or semi-gloss (or water-based polycrylic)
Clear Elmer's glue or any clear PVA glue
Dish soap
A small dish or cup for mixing
A tablespoon measure
A wooden skewer
A syringe (optional, for small pieces)
Paper towel
Something small to raise your piece up while it dries (I use little creamers)
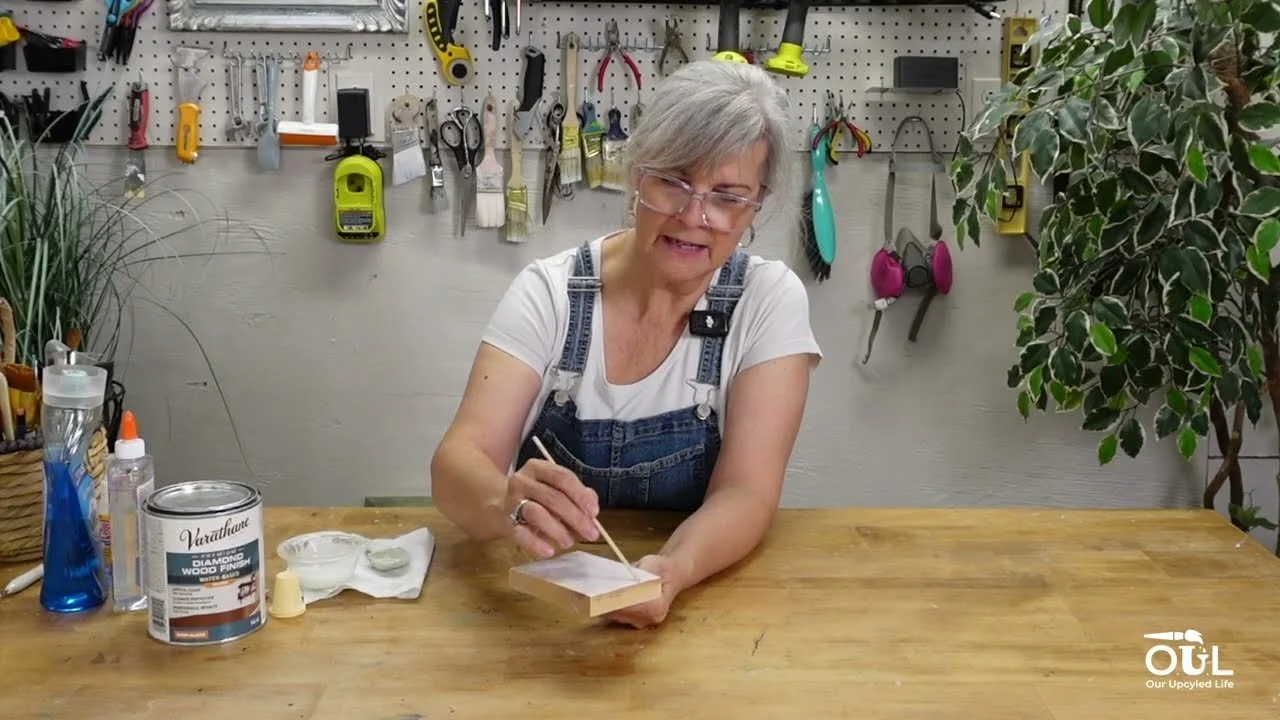
How to Do It
Mix 2 parts Varathane or polycrylic with 1 part clear glue. I used 3 tablespoons of Varathane and 1 1/2 tablespoons of glue. Stir slowly so you don't create bubbles.
Add one tiny drop of dish soap and stir it in gently. It helps bring any bubbles to the surface.
Let the mixture sit for 5 minutes, then give the dish a little tap on the table to bring up any bubbles from the bottom.
Set your piece on a raised spot over paper towel. Pour the glaze into the middle and let it flow outward. Don't brush it on, because brushing adds bubbles.
Add a little more at a time and gently push it out to the edges and corners with a skewer. Go slow so it doesn't run over the sides.
Leave it on a completely flat surface to cure for 24 hours without touching it. It levels itself out as it dries and turns crystal clear.
My Best Tips
Water-based only. Oil-based products won't mix with the glue, and they yellow over time.
Gloss looks best. Semi-gloss works too, but skip matte.
It works best on small pieces. Charms, tiles and small signs come out beautifully. Bigger pieces can get a slightly wavy finish.
Make sure it's level. A piece that tilts overnight will let the glaze slide to one side.
Spot a few bubbles? Pass a heat gun lightly over the top. Skip the hair dryer, since it blows too hard.
Love finishing your projects with a pretty graphic first? Try my polycrylic transfer method. And members of Our Upcycled Society get all my DIY recipe booklets, plus my graphics library with new designs every week 💛
If you give it a try, I'd love to see how it turns out! Tag me @OurUpcycledLife on social media. I always enjoy seeing your beautiful creations. 💕 Until next time, happy crafting!
