
Who doesn't love a good crafting hack? These are the little tricks I wish I'd known years ago. They save me time, money and so much frustration in my craft room, and most of them use things you already have, like hand sanitizer, packing tape, bread ties and even odd socks.
Whether you've been crafting for years or you're just getting started, I bet there's at least one in here that surprises you!
What You'll Need
Hand sanitizer and rubbing alcohol
Packing tape and masking tape
Sandpaper (120 or 220 grit) and tin foil
Bread ties, elastic bands and binder clips
A lint roller
Empty containers: a parmesan shaker, jar lids, glass jars, tin cans and cardboard tubes
Clear nail polish, dental floss, toothpicks and lemon juice
Wood glue and sawdust
Fabric glue (or school glue)
Tool Care Hacks
1. Snap utility knife blades the easy way. Pull the cap off the end of your utility knife. It has a slot built in! Slip the blade into it, pull it down to the one segment you want to remove and snap it back. Wrap the old blade in masking tape before it goes in the garbage.
2. Sharpen dull scissors with sandpaper. Cut along a piece of 120 or 220 grit sandpaper a few times.
3. Or use tin foil. Make long cuts through a piece of foil until it's all cut up.
4. Clean gummy blades with alcohol. A little rubbing alcohol breaks up tape and glue residue so it wipes right off.
5. Oil the hinge. A drop of any oil in the hinge, worked back and forth and wiped clean, and your scissors cut like new.
6. Revive a crusty paintbrush. Lay the brush on a piece of cling wrap, pour hand sanitizer into the bristles, wrap it up tight and let it sit for a few hours. Comb out the bristles, wash it in hot soapy water, and it's good as new.
7. Turn a parmesan container into a brush washer. Pop off the label, wash it out and add a little water. The holes in the lid hold your brushes perfectly.
8. Stop your glue sticks slipping out. Heat up your glue gun, press the end of the new stick against the back of the old one so they melt together, and it feeds right through.
9. Get every last drop of E6000. Cut the end off the tube, squeeze from the top down, then store it in a zippy bag with the air pressed out.
Paint & Glue Hacks
10. Make your own wood filler. Mix equal parts wood glue and sawdust, press it into holes, let it dry and sand smooth. If you use sawdust from the same wood, it matches beautifully.
11. Paint a whole batch of beads at once. Put beads in a jar with a little watered-down acrylic paint, put the lid on and shake! Dump them on paper towel and wipe off the extra for a quick whitewash.
12. Use lids as paint palettes. Jar lids, yogurt lids and coffee can lids are free palettes. Wash and reuse them, or pop leftover paint in a zippy bag.
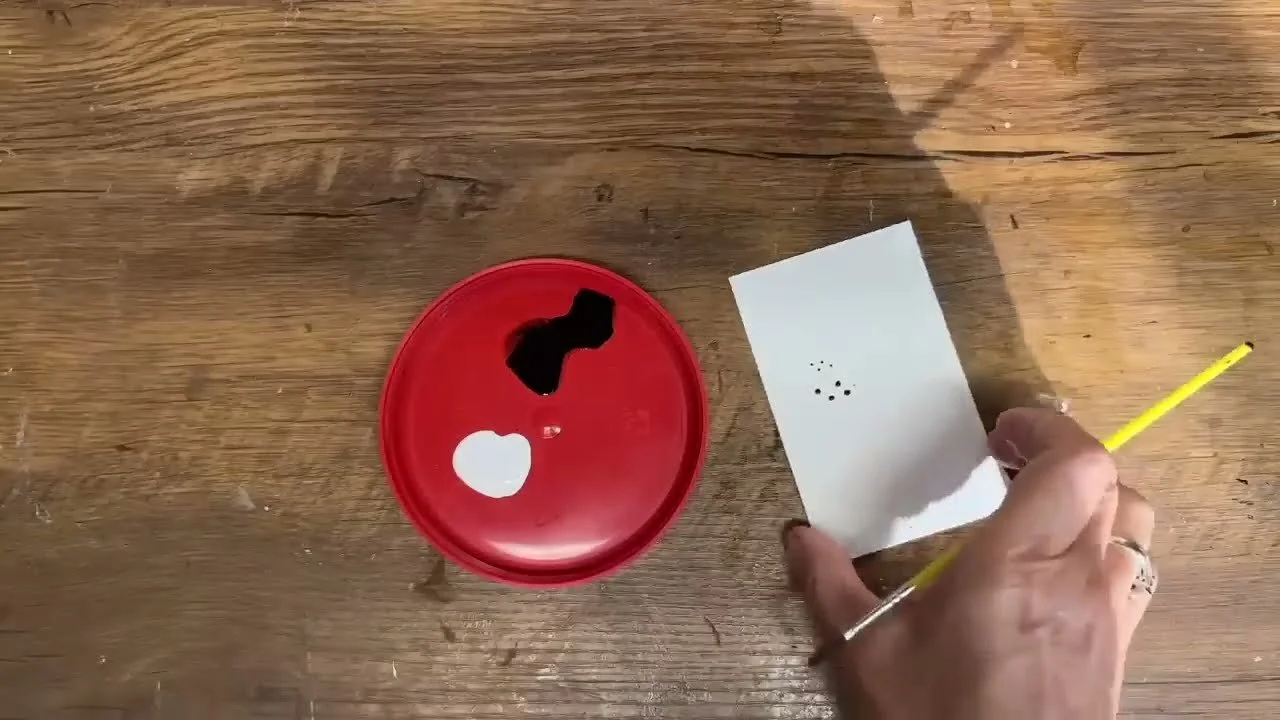
13. Make perfect little dots. Dip a toothpick, the end of a paintbrush or the end of a stamp in paint for neat, professional-looking dots.
14. Draw straight glue lines. Run your glue along the edge of a ruler, then just wipe the ruler clean.
15. Clamp small glue-ups with binder clips. They hold tiny pieces in place while the glue dries.
16. Lock a knot in place. A dab of fabric glue (or school glue) on a tight knot dries clear and it won't budge.
Paper, Fabric & Clay Hacks
17. Erase highlighter from thrifted books. Rub a little lemon or lime juice over the highlighter and it disappears. Let the page dry and craft away!
18. Upcycle clothing tags into gift tags. Press packing tape over the tag and peel it off to lift away the printing. Glue it to scrapbook paper, trim, punch a hole and reuse the original string.
19. Cut fabric shapes cleanly. Cover the fabric with packing tape first. It stiffens the fabric so you get a crisp edge, then just peel the tape away.
20. Stop your ruler from sliding. Wrap an elastic band around one end and it grips your paper or fabric.
21. Thread a needle in seconds. Dip the end of your thread in clear nail polish and let it dry so it's stiff.
22. Cut clay with dental floss. Press a length of floss through your block of air dry clay for a clean, straight cut.
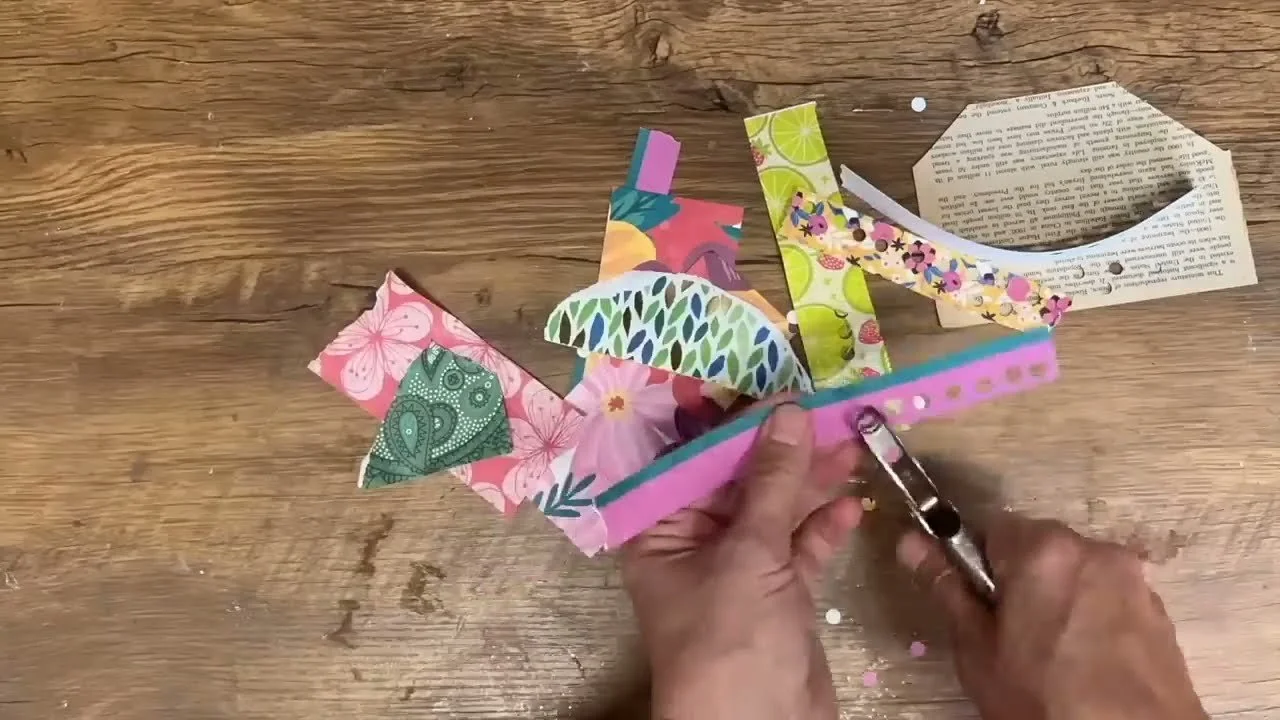
23. Make your own confetti. Grab your scrap paper and a hole punch. No need to buy any!
24. Turn paper tubes into gift boxes. Cut a section of tube, glue on scrapbook paper, trim, then fold in both ends evenly. Add a ribbon and pop a little gift inside.
Cleanup & Organizing Hacks
25. Never lose the end of your tape. Twist a bread tie around the end.
26. Remove labels with a hair dryer. Heat the label on high and it peels right off.
27. Remove sticky residue with hand sanitizer. Rub it in, let it sit a few minutes and scrape it off. An old pair of scissors makes a great scraper.
28. Fix permanent marker on a whiteboard. Scribble over it with a dry erase marker, then wipe. Like magic!
29. Tame your cords. Cut cardboard tubes into sections and wrap your glue gun, Cricut and charger cords inside.
30. Clip your stencils together. A binder clip keeps them all in one neat bundle.
31. Clean your table with odd socks. Spray your cleaner, slip a lonely sock on your hand and scrub. Then toss it in the wash.
32. Keep an old card for scraping. An old gift card or credit card scrapes dried paint and glue off your table.
33. Hold round things still with a lint roller. Rest a jar on the sticky roller and it won't roll away while you work.
34. Pick up glitter with a lint roller. Packing tape works too.
35. Save that glittery tape. Don't toss it! Use the glitter-covered tape or lint sheet in junk journals and mixed media pages.
36. Shop your recycling bin first. Glass jars and tin cans make free organizers, and the thrift store craft section is full of bargains. I found a bag of 12 decorative scissors for $4.99!
My Best Tips
Check what you have before you buy. Most of these hacks use things headed for the recycling bin.
Keep a hack kit handy. Hand sanitizer, packing tape and a lint roller earn their spot in every craft room.
Be careful with blades. Always tape up old utility knife blades before throwing them out.
Love clever shortcuts? Try my packing tape transfer and my easy homemade air dry clay.
If you give it a try, I'd love to see how it turns out! Tag me @OurUpcycledLife on social media. I always enjoy seeing your beautiful creations. 💕 Until next time, happy crafting!
