
These are the thrift store makeovers I get asked about the most. They're simple, budget-friendly and easy to copy at home. You'll find furniture flips, frames, signs, glass, garden decor, a few clever hanging hacks, and even a way to strip varnish with oven cleaner.
My Go-To Supplies
Homemade chalk paint, sand paint and coffee paint
Mod Podge and Polycrylic for graphic transfers
Instant coffee for coffee staining
Butcher block oil for anything food related
Candle wax, a stencil brush and 80 grit sandpaper
E6000 and Gorilla Glue
Felt pads and a few kitchen forks (you'll see!)
Furniture Makeovers
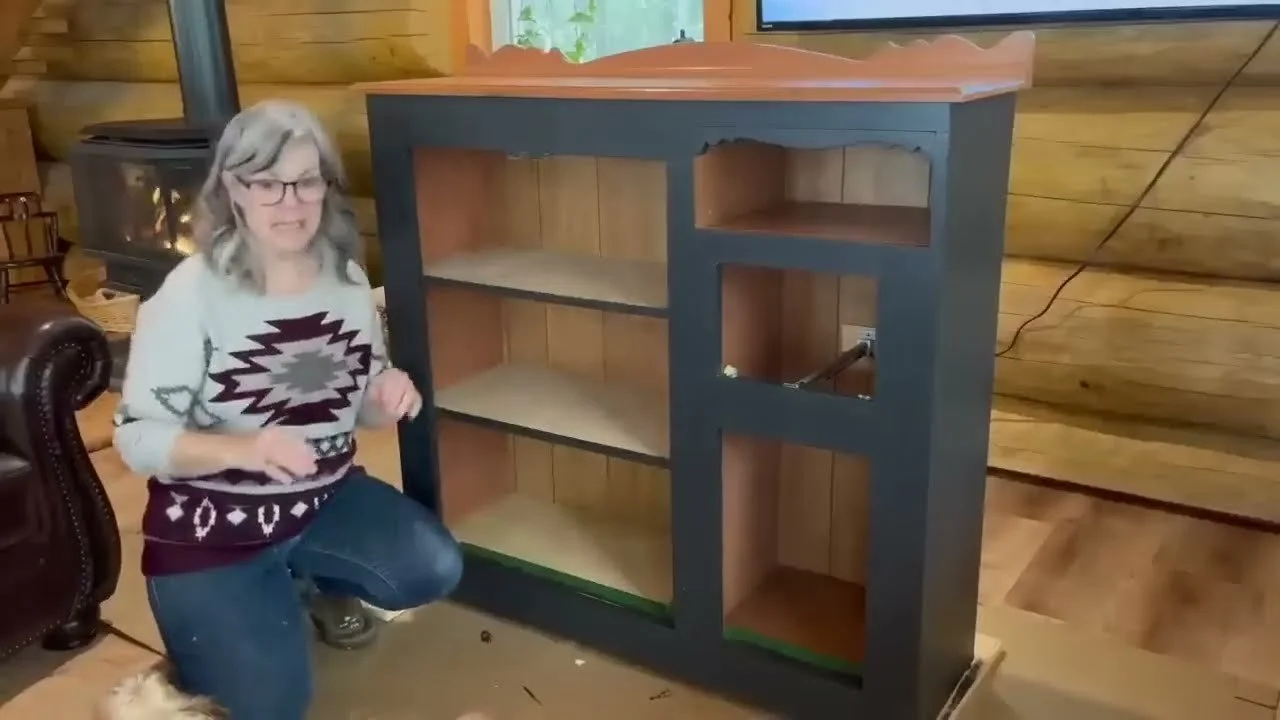
Thrifted TV cabinet: It fit the spot perfectly but was too much wood on wood, so I gave it a fresh new look.
Retro side table: A compact, dated table turned into a modern end table for beside my chair.
Antique Larkin soap cabinet: I kept its uneven, chippy character and just cleaned and protected it.
Vintage hutch: I removed the funky wine glass holders and adjusted it so my Keurig fits underneath.
Plant stand stool: A friend's plant stand cut down so all the legs match.
Vintage step stool: Taken apart, scraped, sanded and straightened.
Roadside chair: Saved from the landfill. I hate seeing usable chairs tossed out.
Coat rack: I knocked off the broken, glued-on hooks and replaced them.
Dresser door welcome sign: The back of an antique dresser door painted black and made into a front door sign.
DIY thrifted lamp: Mask off the cord and bulb area before painting.
Frames, Art & Mirrors
Sun-faded oil painting: A $3.19 find. I matched the original colours with acrylics and dabbed them back in.
Frame turned sign: Clean the frame, then add painted MDF and a graphic.
Coffee-stained art: Print a map, crinkle it and coffee stain it for instant vintage art.
Stamped frame: Stamp acrylic circles with the end of a tin can for contrast.
Rustic patina mirror: Black chalk paint base, then a light dry brush with a stencil brush.
Chippy distressed frames: $5.99 frames at 50% off, painted with homemade chalk paint and distressed.
Ornate frame with MDF: Paint both the frame and a piece of MDF to fit inside.
Egg carton flower frame: Cut egg cartons into flowers and fill a frame with them.
Macramé mirror: Lark's head knots all the way around the frame.
Signs & Wood Decor
Wooden plaque: I laid a laser-printed label sheet into wet Polycrylic for a crisp transfer.
Horseshoe sign: A reverse graphic transfer. It's perfect for horse lovers.
Antique doorknob sign: My friends save unique pieces like this for me instead of throwing them out.
Rusty hinge sign: New wood aged with paint techniques, with an old hinge and pole screwed on.
Pallet wood sign: A free piece of pallet wood with a reverse graphic transfer.
$1.99 plaque: I distressed the ugly blue and painted black on top.
Veggie garden signs: Ding new wood with a hammer, paint it black, then decoupage.
Tie-dye beach signs: Lay plastic wrap into wet paint and blend. Kids love this one!
Retro wooden tray: I stripped off a dated painted stencil and gave it a new look.
Bread boards: Coffee stained, then treated with butcher block oil so they're food safe.
Rolling pins: A graphic and a ribbon, done in an afternoon.
Wooden bead garland: Take apart a $2.99 beaded back massager or car seat cover for the beads.
Glass, Pottery & Candles
Amber tinted glass: Homemade Mod Podge mixed with brown food colouring.
Candlestick decoupage: Thin thick paper with packing tape so it lays smoothly.
Glass tray: Black, then white chalk paint scraped back with scissors so the black peeks through.
Sand paint vase: Lots of texture for an earthy look.
Coffee paint candle holder: Textured paint made with my own coffee grounds.
Little clay jar: Persist with a scuff pad and those stubborn stickers will come off.
Votive makeover: A small touch-up breathes new life into a dated votive.
Macramé pot hanger: Handmade pottery with thrifted wooden rings.
Piggy bank: Covered a souvenir logo and decoupaged it.
Vintage container: Matte black spray paint inside and out.
Rusty nail jar: Hot glue old nails all around a white painted jar.
Garden & Rusty Junk
Birdhouse: Hammer in popped nails, sand with 80 grit and paint it a happy yellow.
Wire basket planter: Pieces I'd tucked away for ages finally came together.
Colander planter: Hung from a wooden ring with twine.
Vintage rake: Sealed with matte Polycrylic so the paint stops chipping, then mounted on wood.
Old hinge decor: I use E6000 and hot glue together so pieces don't tip while bonding.
Bleached wicker baskets: Soak them in a tote of warm water and bleach to lighten dated orange stain.
Teapot and crackle drawer: Glue under chalk paint creates wonderful cracks as it dries.
Jewelry box: Pop out the knobs and remove the dated insides.
Clever Hacks
Oven cleaner varnish stripping: I put Easy-Off to the test on a box, frame and candlesticks to break through old varnish.
Felt pads behind paintings: They protect your walls from marks if the frame shifts.
Fork picture hanging trick: Slide a fork over the wall screw to guide the hanging wire onto it.
My Best Tips
Ask friends and family to save unique pieces for you instead of tossing them.
Look for beaded massagers and seat covers. They're full of wooden beads.
Coffee staining is a cheap, easy way to make plain paper look primitive.
Always use a food-safe oil on bread and cutting boards.
Want more? Try my 40+ upcycling tricks, my 50+ thrift flips and my 21 Mod Podge crafts.
If you give it a try, I'd love to see how it turns out! Tag me @OurUpcycledLife on social media. I always enjoy seeing your beautiful creations. 💕 Until next time, happy crafting!
