
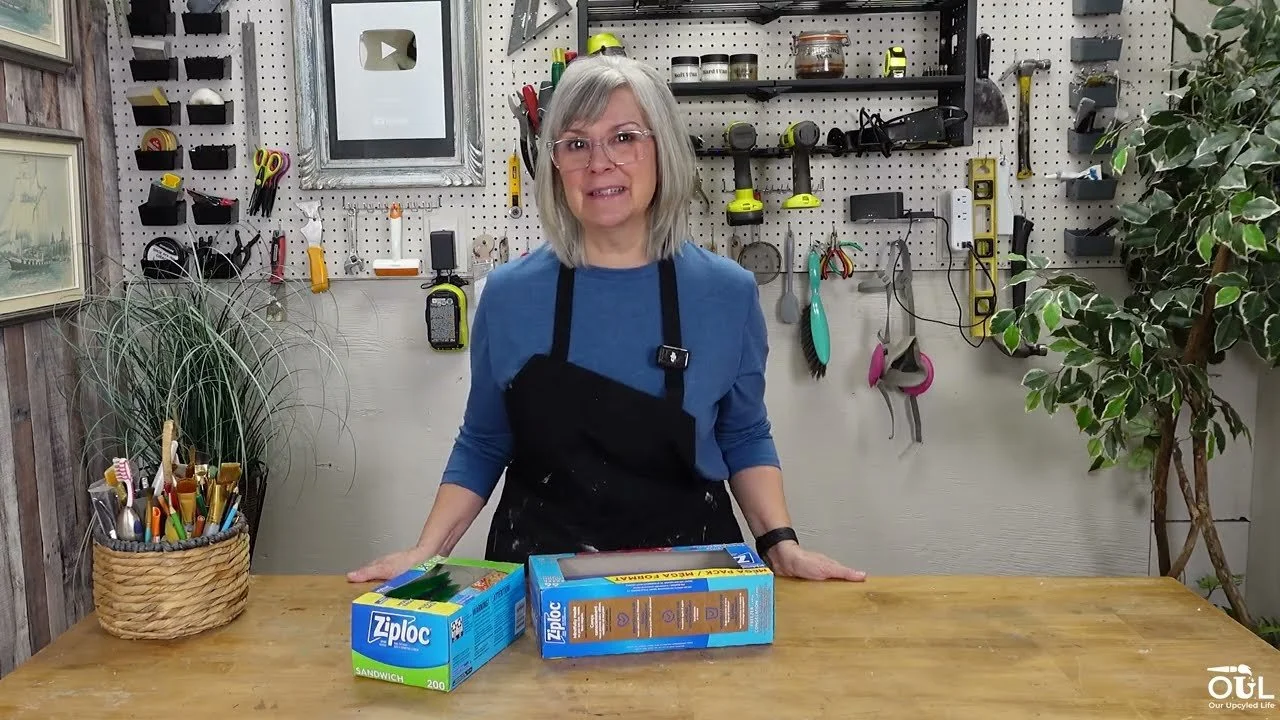
Have you ever wanted to save your grandkids' artwork or an important paper, but didn't want to buy a laminator? I've got a simple hack for you using something you already have in your kitchen drawer: a Ziploc bag. It sounds a little crazy, but it really works, and it only takes a few minutes.
The heat melts the plastic right onto your paper, so you end up with a sturdy, protected keepsake that's ready for the fridge. If your bags have the writing area on them, even better. You can add the artist's name and the date so you'll always remember who made it.
What You'll Need
Ziploc storage bags or sandwich bags
The picture, artwork or paper you want to laminate
Parchment paper
A tea towel
An EasyPress or heat press (a regular iron on high with no steam works too)
Scissors
How to Do It
Lay a tea towel on your table and put a piece of parchment paper on top.
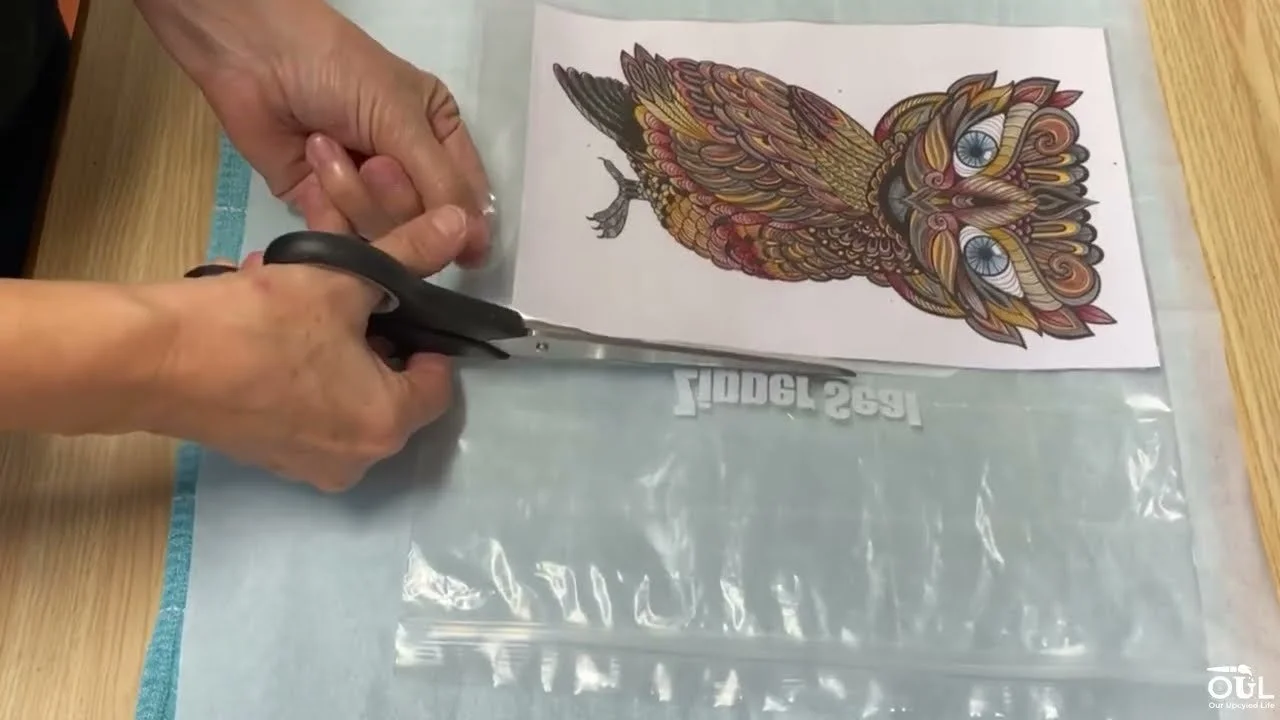
Slide your picture into the Ziploc bag and push it right down into the bottom corner so it's snug.
Cut around the picture, leaving a little edge of plastic all the way around.
Lay it on the parchment paper and put a second piece of parchment paper on top.
Set your press down and hold it still for about 30 seconds. Don't slide it around yet, or your picture can shift inside the bag.
Move the press to any part you missed, then flip the whole thing over and press the back too.
Once the plastic has melted on, you can move the press back and forth to make sure it's sealed really well.
Let it cool completely, peel off the parchment paper and trim the edges neatly.
My Best Tips
Keep it snug. The tighter your picture sits in the corner of the bag, the less it moves while you press.
Use the writing strip. Bags with a label area are perfect for writing a name and date on the back.
Let it cool before peeling. The plastic sets as it cools, so be patient.
Pop it on the fridge with a magnet. It's sturdy and will last for years.
Looking for pretty printables to laminate? Members of Our Upcycled Society get my whole graphics library, with new designs added every week 💛
If you give it a try, I'd love to see how it turns out! Tag me @OurUpcycledLife on social media. I always enjoy seeing your beautiful creations. 💕 Until next time, happy crafting!
