
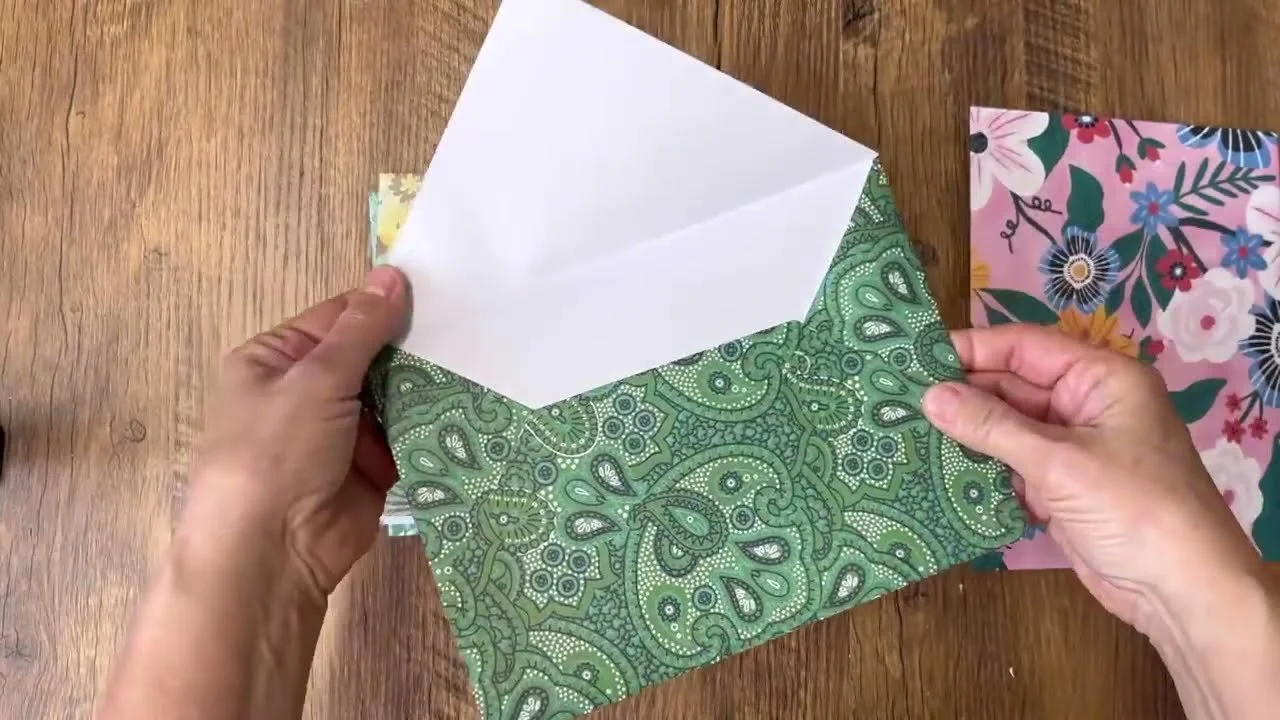
Stop buying envelopes! With a square of paper and a couple of simple folds, you can make your own custom envelopes in any size in just a few minutes. They're perfect for handmade cards, little notes, gift cards, junk journals and scrapbooking.
It's also a wonderful way to use up pretty scrapbook paper scraps, and you can even make them double-sided with a pattern inside and out.
What You'll Need
A square of paper in any size (scrapbook paper, printer paper, packing paper or gift wrap)
A bone folder
A ruler
Double-sided tape or a glue stick
A corner punch (optional)
How to Do It
Cut your paper into a square. The size of the square decides the size of your envelope.
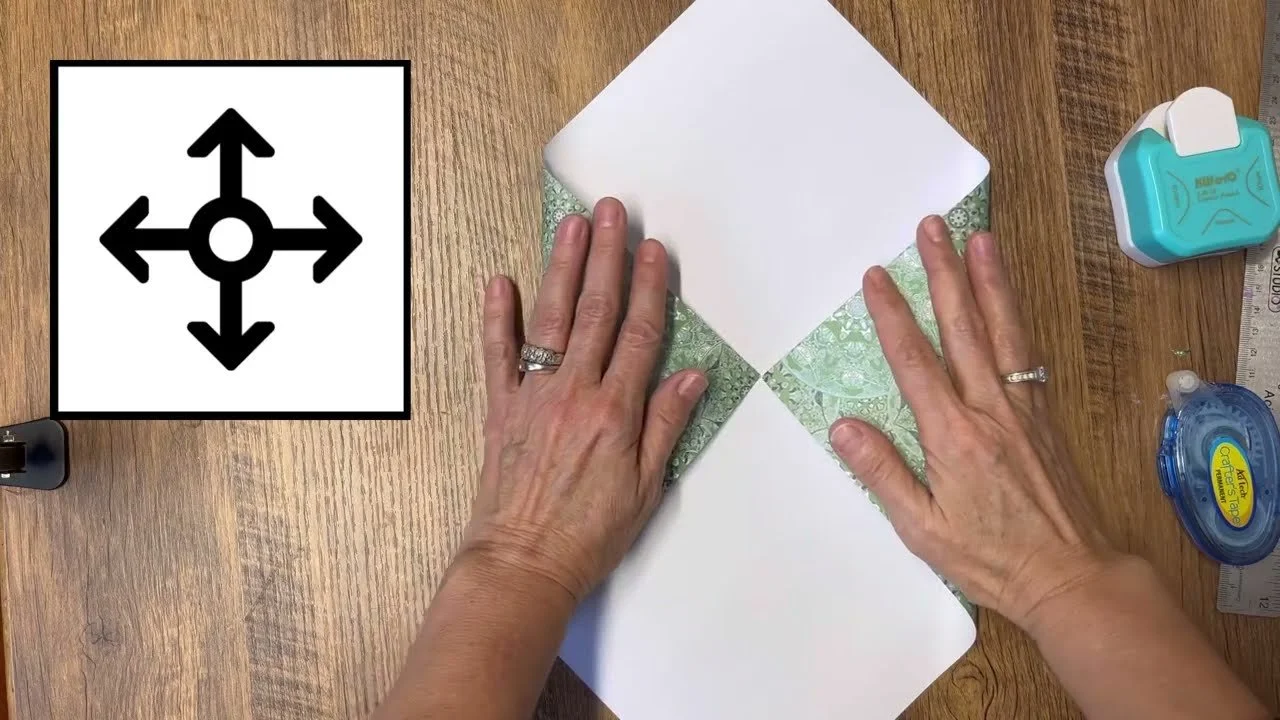
Fold all four corners in so they meet in the middle, and crease each fold with your bone folder.
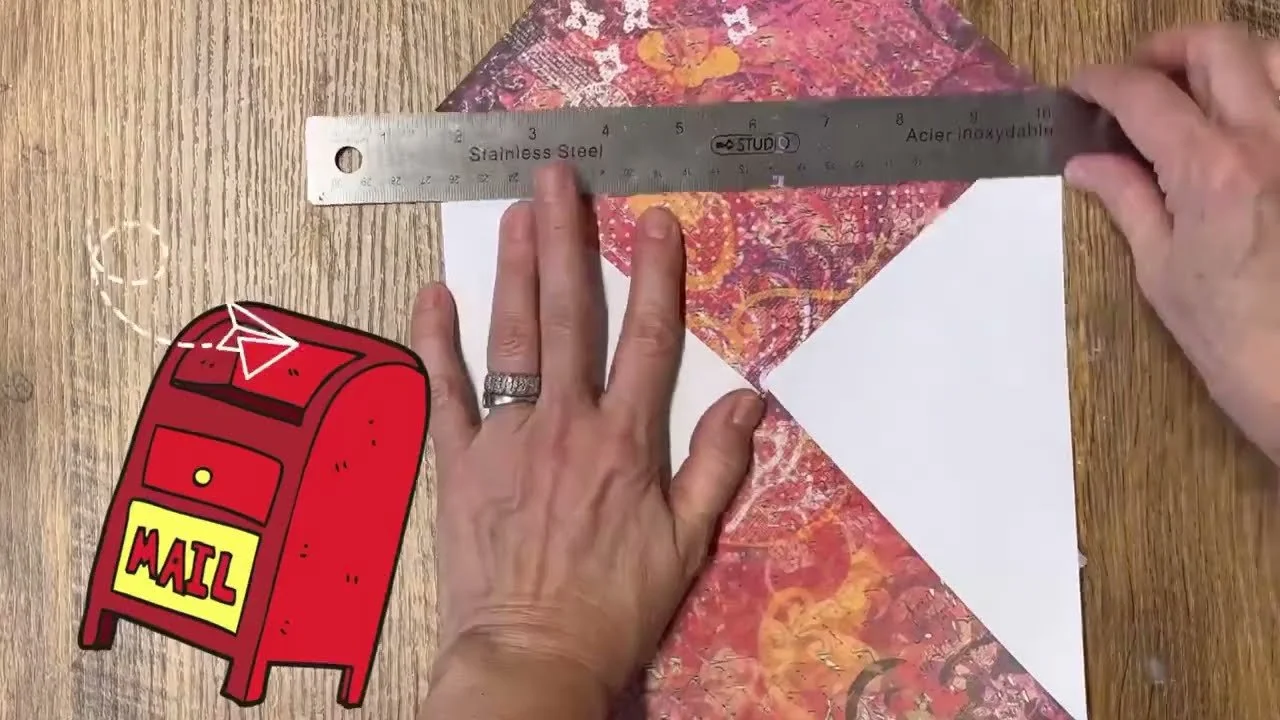
Unfold the bottom flap partway. Lay your ruler across the top of the folds, bring the bottom of the paper up to meet the ruler, and crease it.
Line your ruler up between the two side points, fold the side triangles back along it, and crease them.
Add double-sided tape along the edges of the side triangles, fold them in, and press them down.
Add tape along the sides of the bottom flap, then fold it up to create the pocket.
Lay the ruler across the top points, crease the top flap, and fold it down.
Round the corners with a corner punch if you like.
Once your card or note is inside, seal it with tape, a glue stick or a pretty sticker.
My Best Tips
Use a bone folder. Crisp creases make a huge difference, and your envelope will lie flat.
Make it double-sided by gluing two squares of paper together before folding.
Mailing it? Put the plain side out so you can write the address and add a stamp.
Use up scraps by making little envelopes for junk journals and mixed media.
Fun with grandkids: let them draw or stamp on plain paper envelopes.
Looking for pretty paper to print for your envelopes? Members of Our Upcycled Society get my whole graphics library, with new designs every week 💛
If you give it a try, I'd love to see how it turns out! Tag me @OurUpcycledLife on social media. I always enjoy seeing your beautiful creations. 💕 Until next time, happy crafting!
